

The 10-Minute Guide to Mastering Phone Photography From a Playful High Desert Family Photographer
Okay, confession time, I’m a professional photographer and I almost never take photos of my own kids with my “actual camera.” Gasp. I know.
Honestly, I only take out my camera for my sewing blog or clients. Most of the photos I take of my kids are on the fly or while we are out in the world. I have grumpy teenagers who don’t really want nice photos taken. Womp-womp.
So I’ve learned some simple tricks over the years to get great photos with my phone (I have an Android, but these will work if you have an iPhone) that look professional!
Here are 15 helpful tips to help you get great photos with your phone!
Let’s get started!
1. Lighting is Life – no matter what kind of camera or phone you’re using!
Having lots of light solves most problems, like blur or grain in your photos.
Whether you’re inside or out, stand with your back to the main light source (the window or sun)!
Natural light is your best friend when it comes to taking photos.
Instead of reaching for artificial light (like turning on bright overhead lights or table lamps), head toward your windows! Try to position your child near a window and avoid direct sunlight, which can be too harsh. No squinty eyes, please.
When outdoors, morning and evening light can be gorgeous. You will get a nice glow in the evening. And, just after the sun goes down is easy too, no shadows to deal with. Shade is your best friend if it’s the middle of the day.
2. Get Closer
Use your feet! Instead of zooming in or cropping (both reduce photo quality), walk closer to your subject. This way, the image’s clarity remains, and you capture more details. Whether it's your baby’s tiny toes or a sweet little smile, getting closer will make a big difference.
3. Use the Rule of Thirds
This is photography 101. Imagine your image is divided into nine equal parts. You’ll have 2 vertical lines and 2 horizontal lines. Try positioning the most important parts of your image along these lines or at the points where they cross over. It helps show a more balanced composition. This technique will help you create more interesting photos. Fun Fact: The eye naturally goes to those areas in a photo.

4. Focus on the Eyes
When taking portraits, focus on the eyes. They add interest and emotion to your photos. Tap on the screen where the eyes are to ensure they’re in focus. This simple trick will make your photos look clean and crisp!
5. Wait for Candid Moments
Some of the best photos are taken when the subject isn’t looking at the camera. Capture your toddler playing, laughing, or simply exploring the backyard. This requires patience while you hold your phone, waiting for that perfect moment.
Candid photos show real emotions and might even be more memorable than posed shots.

6. Use Burst Mode for Movement
Toddlers are wiggle worms and constantly on the move. Sometimes it feels impossible to get a clear photo. Use burst mode to take a series of photos at one time.
Then, look through them later and find that perfect one where your cutie is looking right at the camera, smiling.
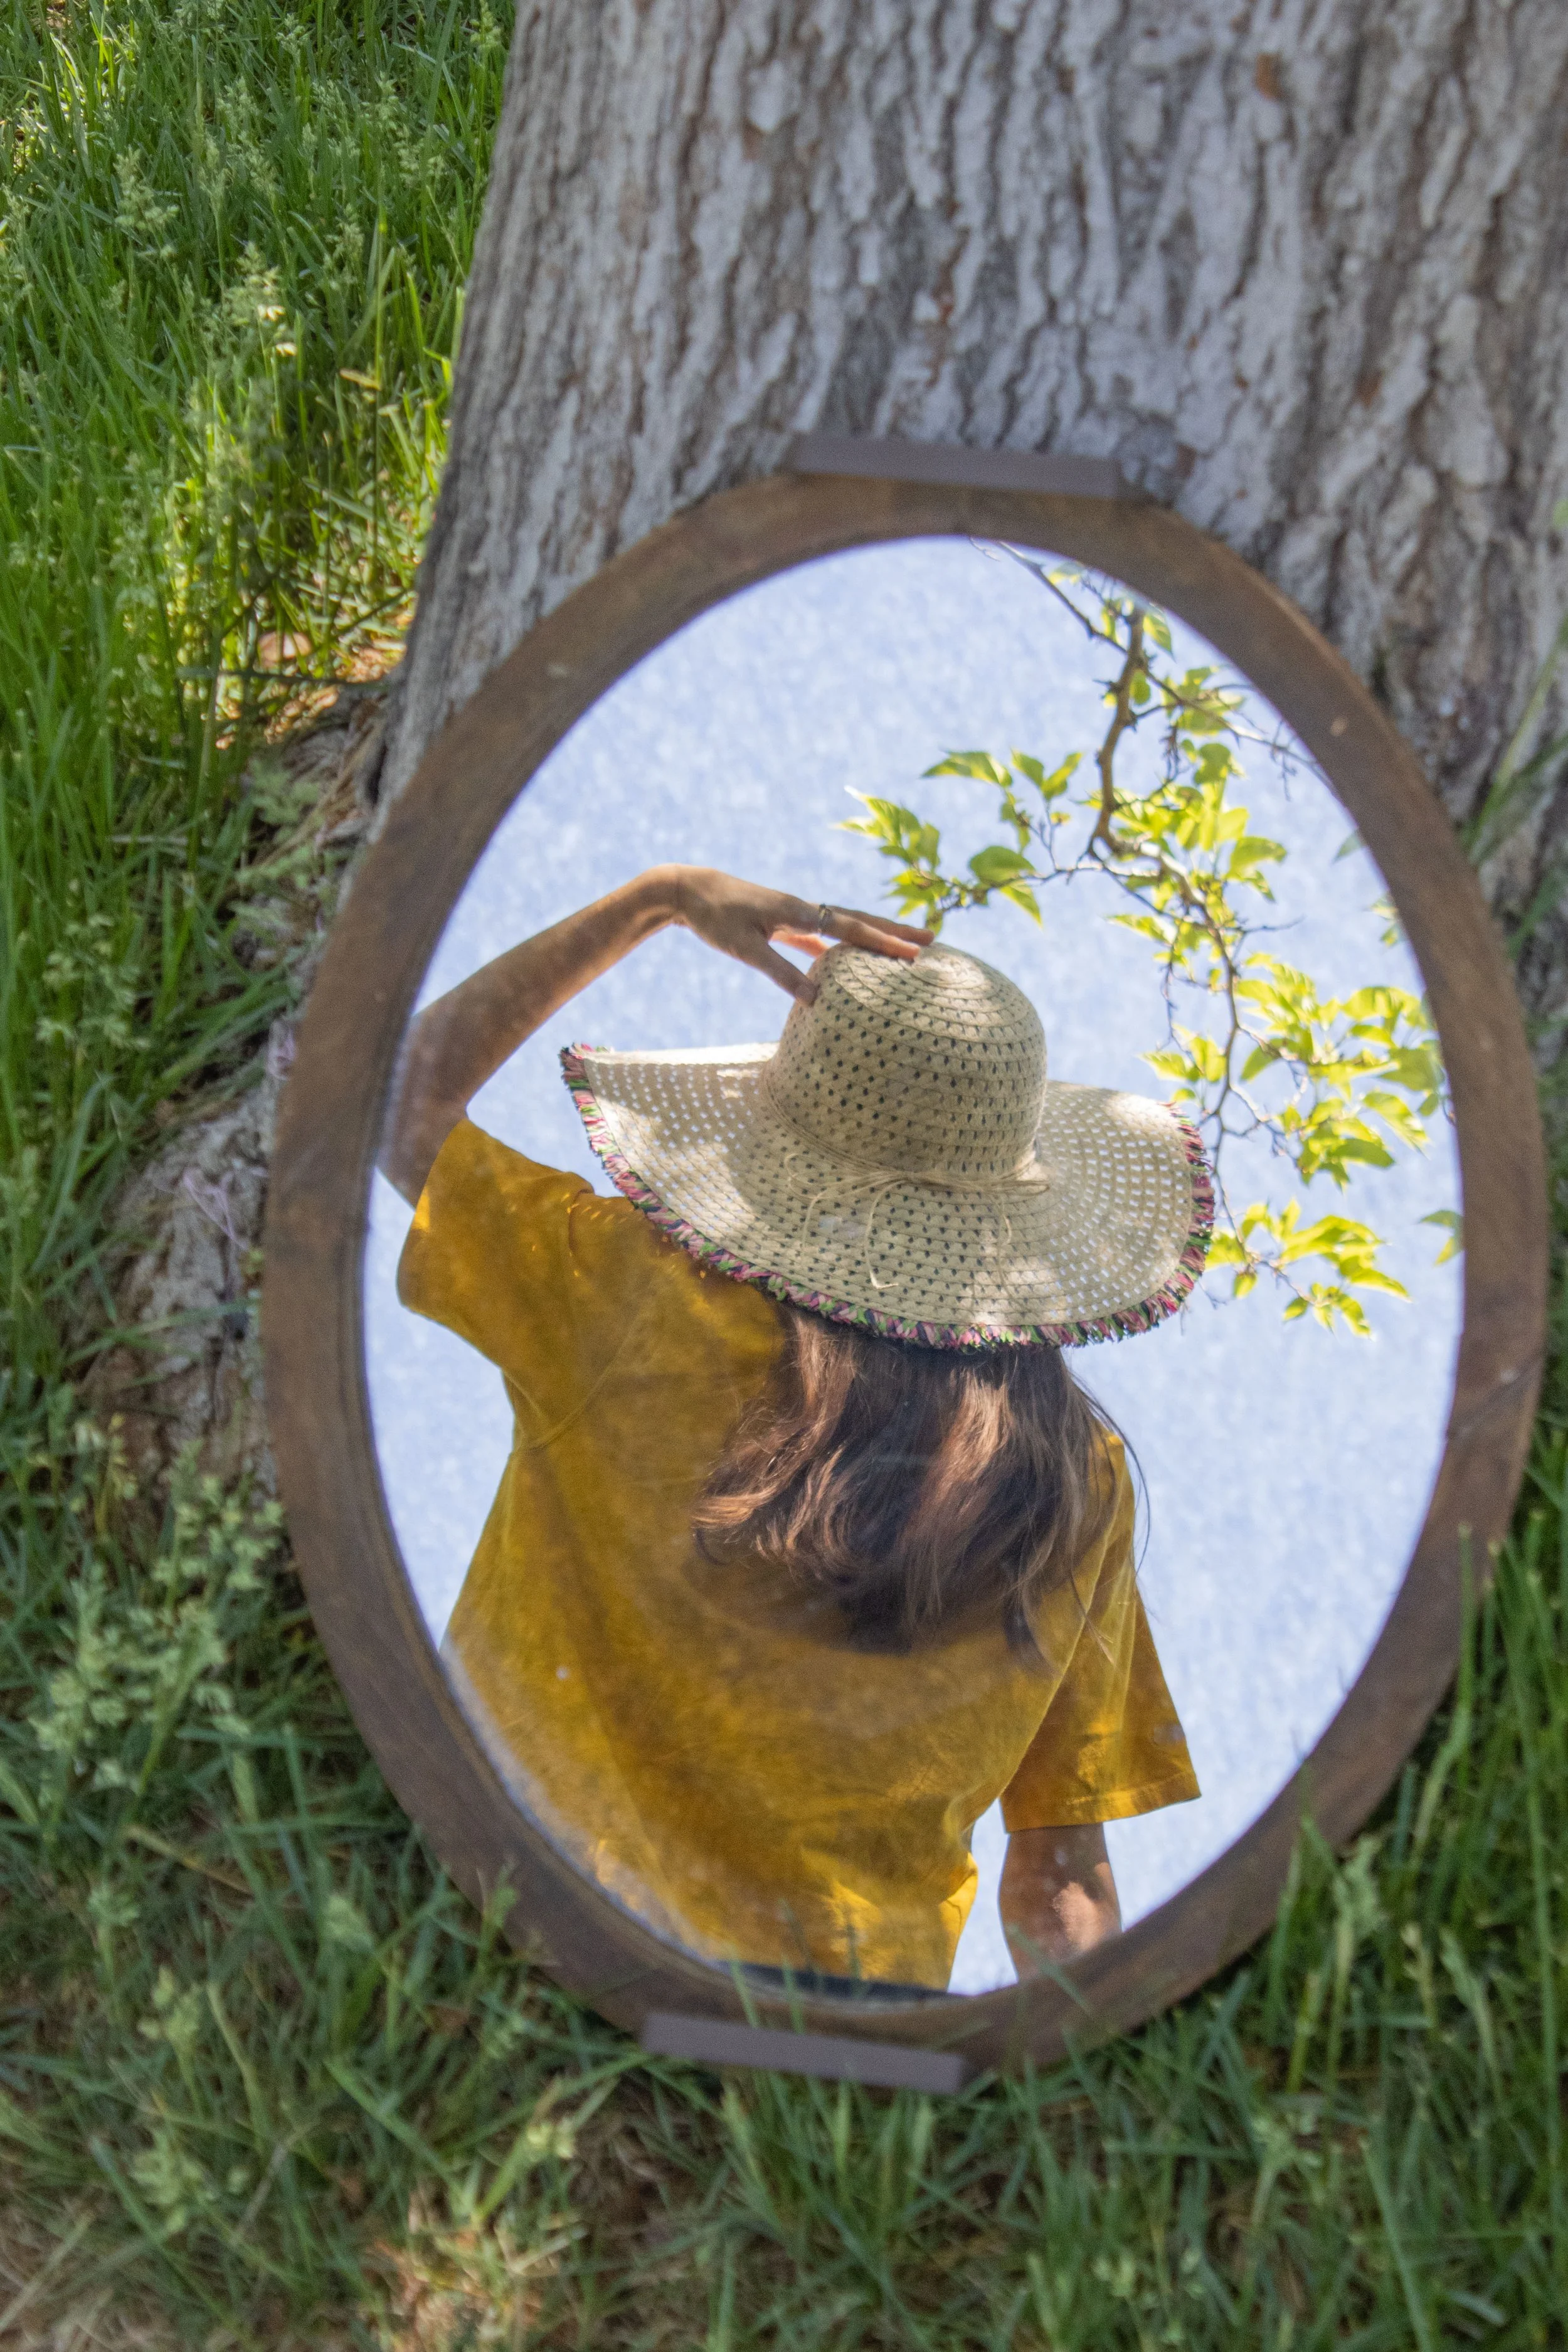
7. Experiment with Angles
Don’t be afraid to try unusual angles! Photography from above while your baby plays on a mat, get those chubby cheeks from a side profile, or lie down and take a photo on their level!
Different angles tell different stories, and it adds creativity to your photos.
Head to the Farmers Market or local craft fair to find unique baby accessories for your photos.
8. Create a Story
Before you tap the photo button, think about the story you want to tell with your photos.
A series of images showing your baby playing with their favorite stuffed toy using different angles or a fun candid moment of them interacting with family can make a bigger impact than a single image.


9. Keep Your Background Simple
This can be challenging with little ones at home!
But a cluttered background can distract from the main subject of your photo.
Before picture time, take a quick look around with a laundry basket in hand and remove any unnecessary items. A clean, simple background will make your toddler the star of the photo.
10. Using Live Photo
Live Photos capture 1.5 seconds before and after you take a photo. This feature can be a lifesaver when trying to capture the perfect moment. You can choose the best frame from the sequence or even create a fun little video clip to share with friends and family.
Blinks are real. Live photos have saved me a few times. It turned an “oh shoot” photo into a “woohoo” photo.
11. Adjust Exposure Manually
This is simple, but it can be a game-changer that most people don’t know about.
When you tap on the screen to focus, you’ll see a small sun icon. Slide your finger up or down to adjust the exposure. Brighten or darken the image as needed to get the perfect lighting for your shot. This is super useful in bad lighting.
12. Using the Grid Feature
Turn on the grid in your camera settings to help with composition. This is a huge help if you’re using the rule of thirds (as mentioned above). The grid lines help keep your photos level and ensure your subject is perfectly placed and in the frame.
13. Try HDR Mode
High Dynamic Range (HDR) mode can help you capture more detail in both the bright and dark areas of your photo. This is really helpful for high-contrast images. Turn on HDR mode and let your phone balance out the lighting for you. Easy-peasy!
14. Portrait Mode for Depth
Portrait mode isn’t just for people—it can add a professional look to objects and scenes, too. Try using portrait mode to capture your little one coloring, an afternoon of reading, or close-ups of tiny curls. The depth effect makes your subject stand out with a blurred background.

15. The Timer Function Gets YOU in the Photos
It’s shocking how many people don’t know about this – the timer function on your phone is perfect for group shots or selfies with your little one.
Set the timer, then get into position. You can choose how many seconds of time you need.
This avoids that sad stretched-arm look and ensures everyone is in the frame and ready! Including you, mom!
Conclusion
A photographer's mantra: the best camera is the one you have with you! Your pocket camera, aka your phone, is more than capable of capturing those beautiful moments between professional sessions! Use it.
If you’d like a Cheat Sheet of these 15 Tips, click here!
Ready to learn more about my Family Sessions in the High Desert? Click Here
Want More Great Info Like This? Click here for “Momming is Loud- Here’s how to Find Peace.”
Thanks for reading this post and hanging out. Now, go take some fun, creative photos.
Toodles,
Annette
