How I Turned a Backyard Shed into an Enchanting Portrait Studio: Panels and Power.
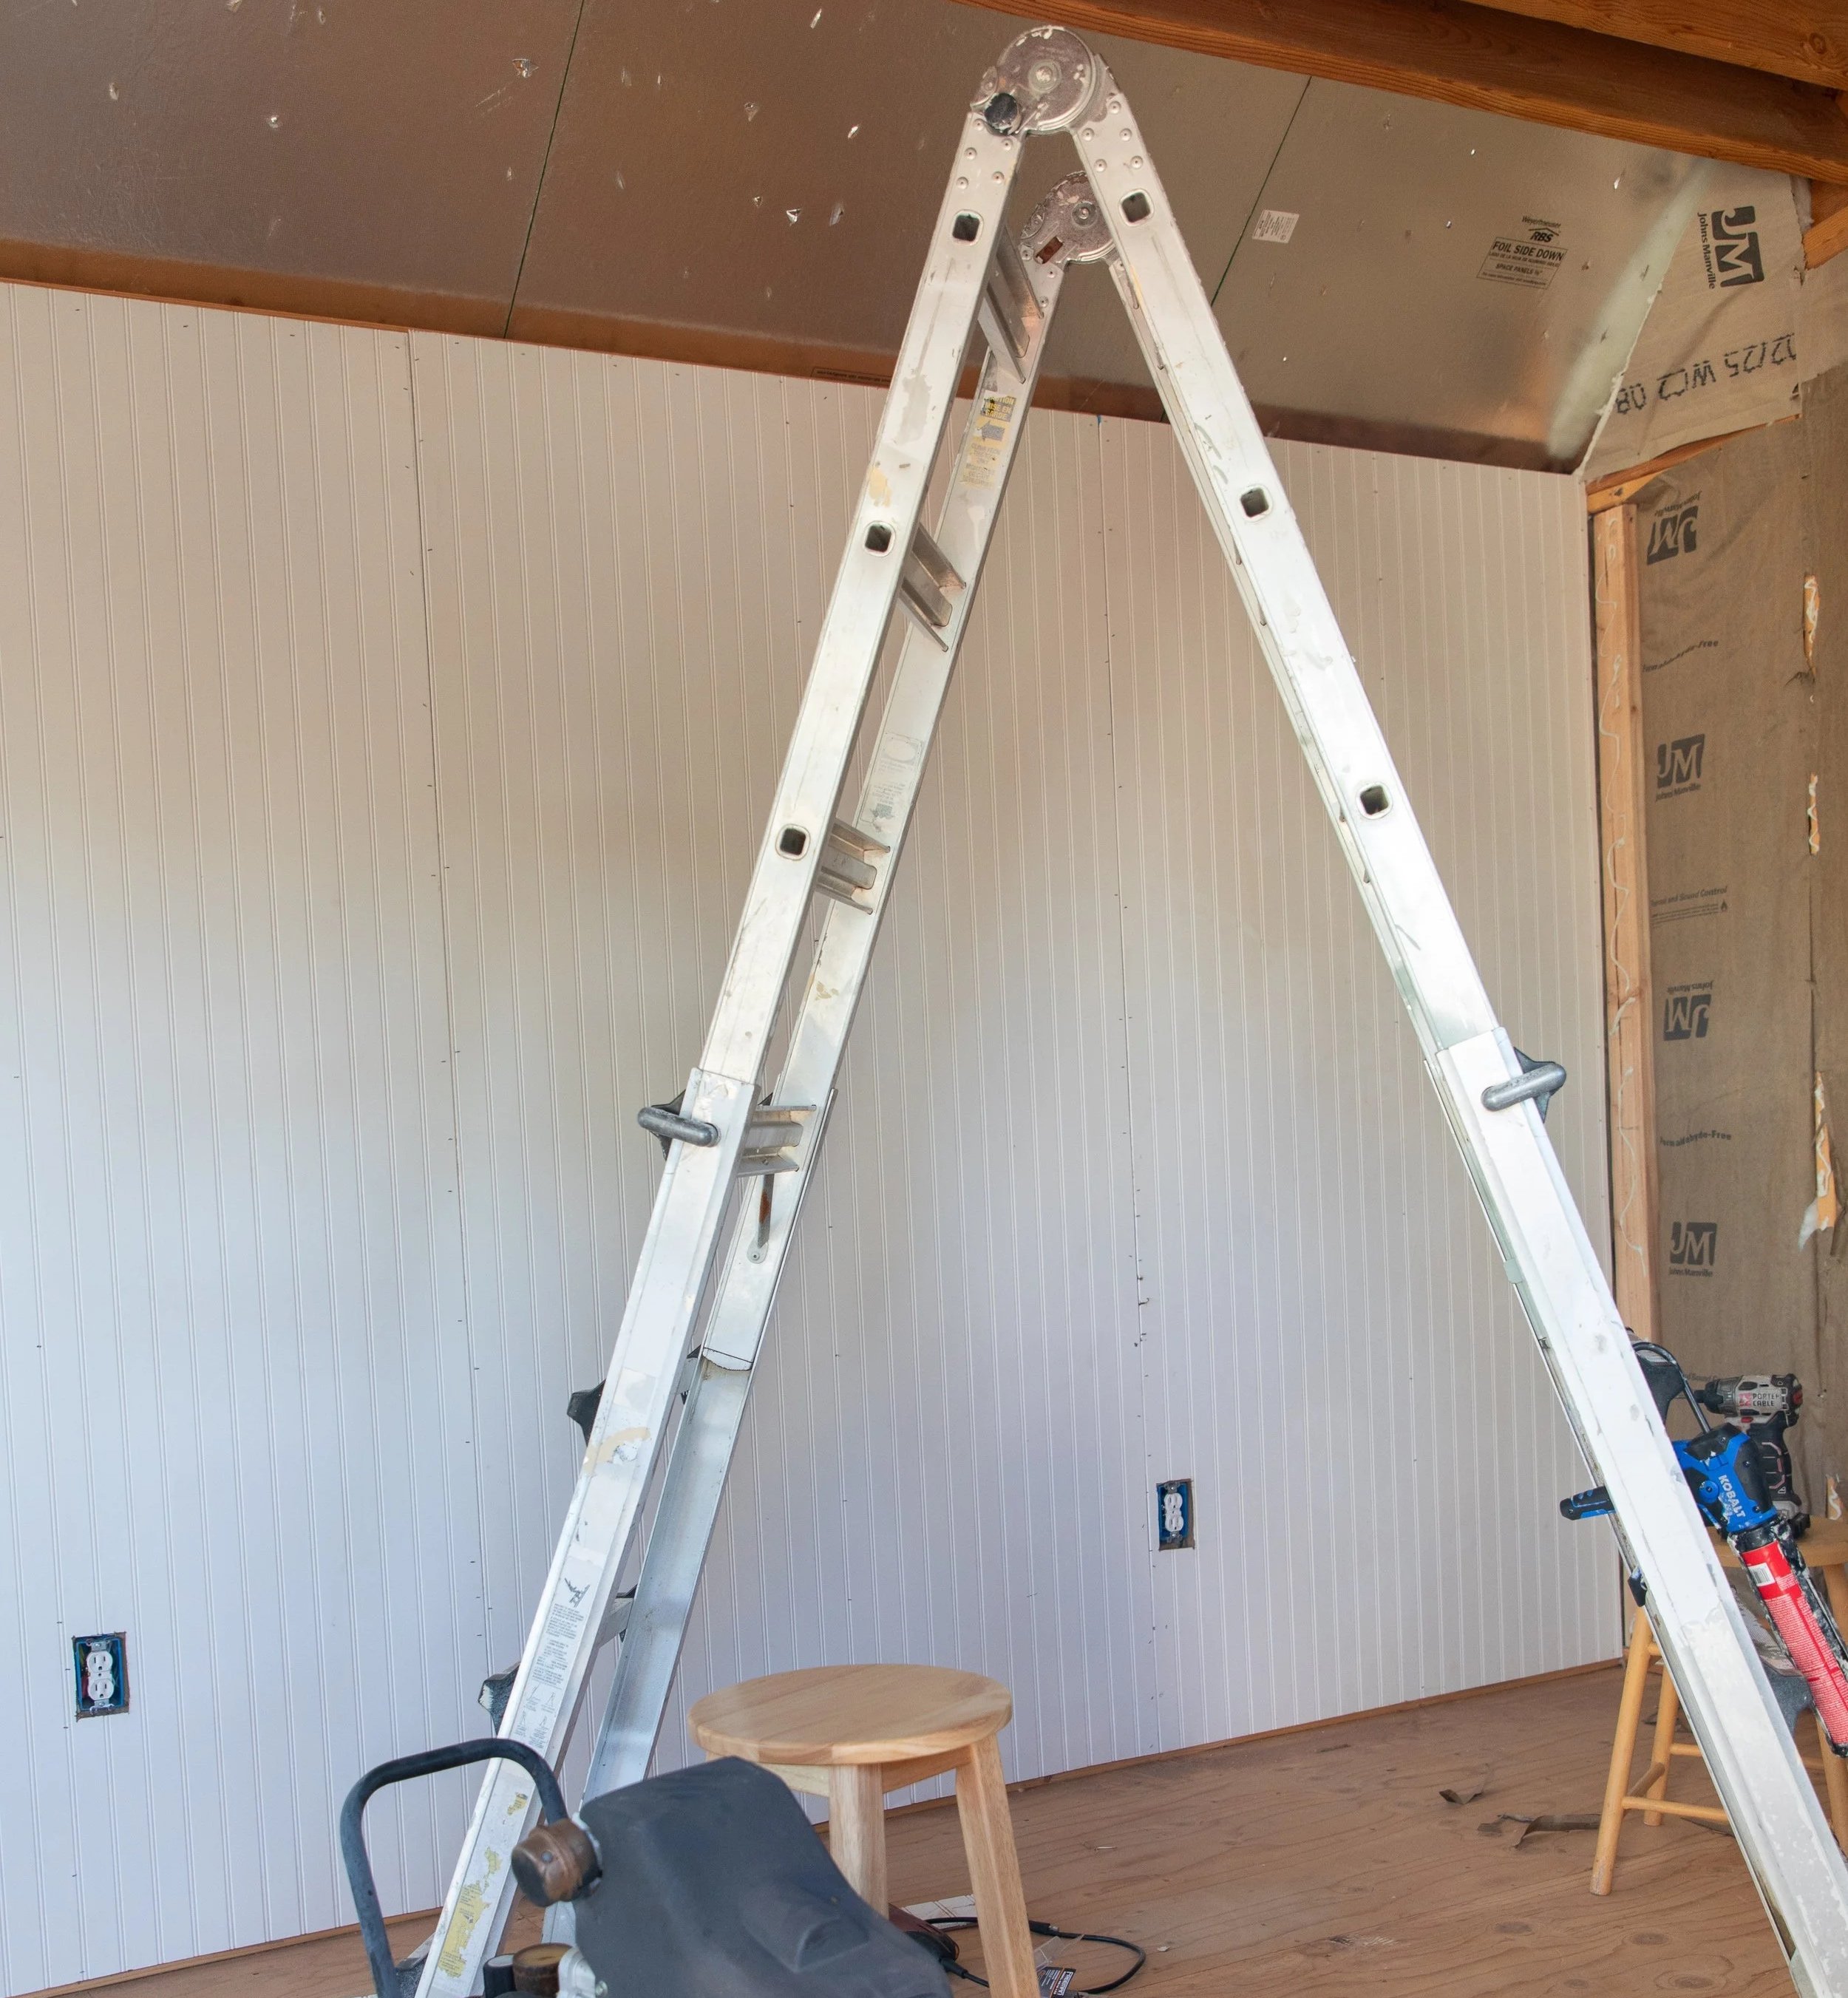
Well, it's been a cool minute since we last spoke about my portrait studio. Turns out puppies will do that to a schedule!
We inherited 6 puppies and their mom, who all showed up one evening. They kept us busy for the rest of spring. Everyone's gone to new homes now, except one- we ended up adopting our own baby out of the bunch. Her name is Gypsy, and she's been a wonderful addition to our family. Part dog, part shark, and fully convinced she's a human who needs to sit on the couch. #IYKYK
Okay, now for the fun news: the shed's transformation is finally moving along! Hooray!
Originally, I wanted drywall. But as the months kept flying by, I decided to go with wood paneling instead. It turns out I had no idea how time-consuming drywall really is. The taping, mudding, and sanding, times three, just to get it smooth. Ugh, no thanks. Not for this DIY gal.
So after pricing everything out, materials and my own hours, paneling actually costs more. But the payoff? It all went up in a single weekend (more or less). And according to the Google machine, paneling is actually better for a shed than drywall anyway because it doesn't absorb moisture as much. Win-win.
If you're just joining me, this is Part 3 of my studio transformation series. Catch up on Part 2 to see the electrical, wiring, and insulation work that made this stage possible.
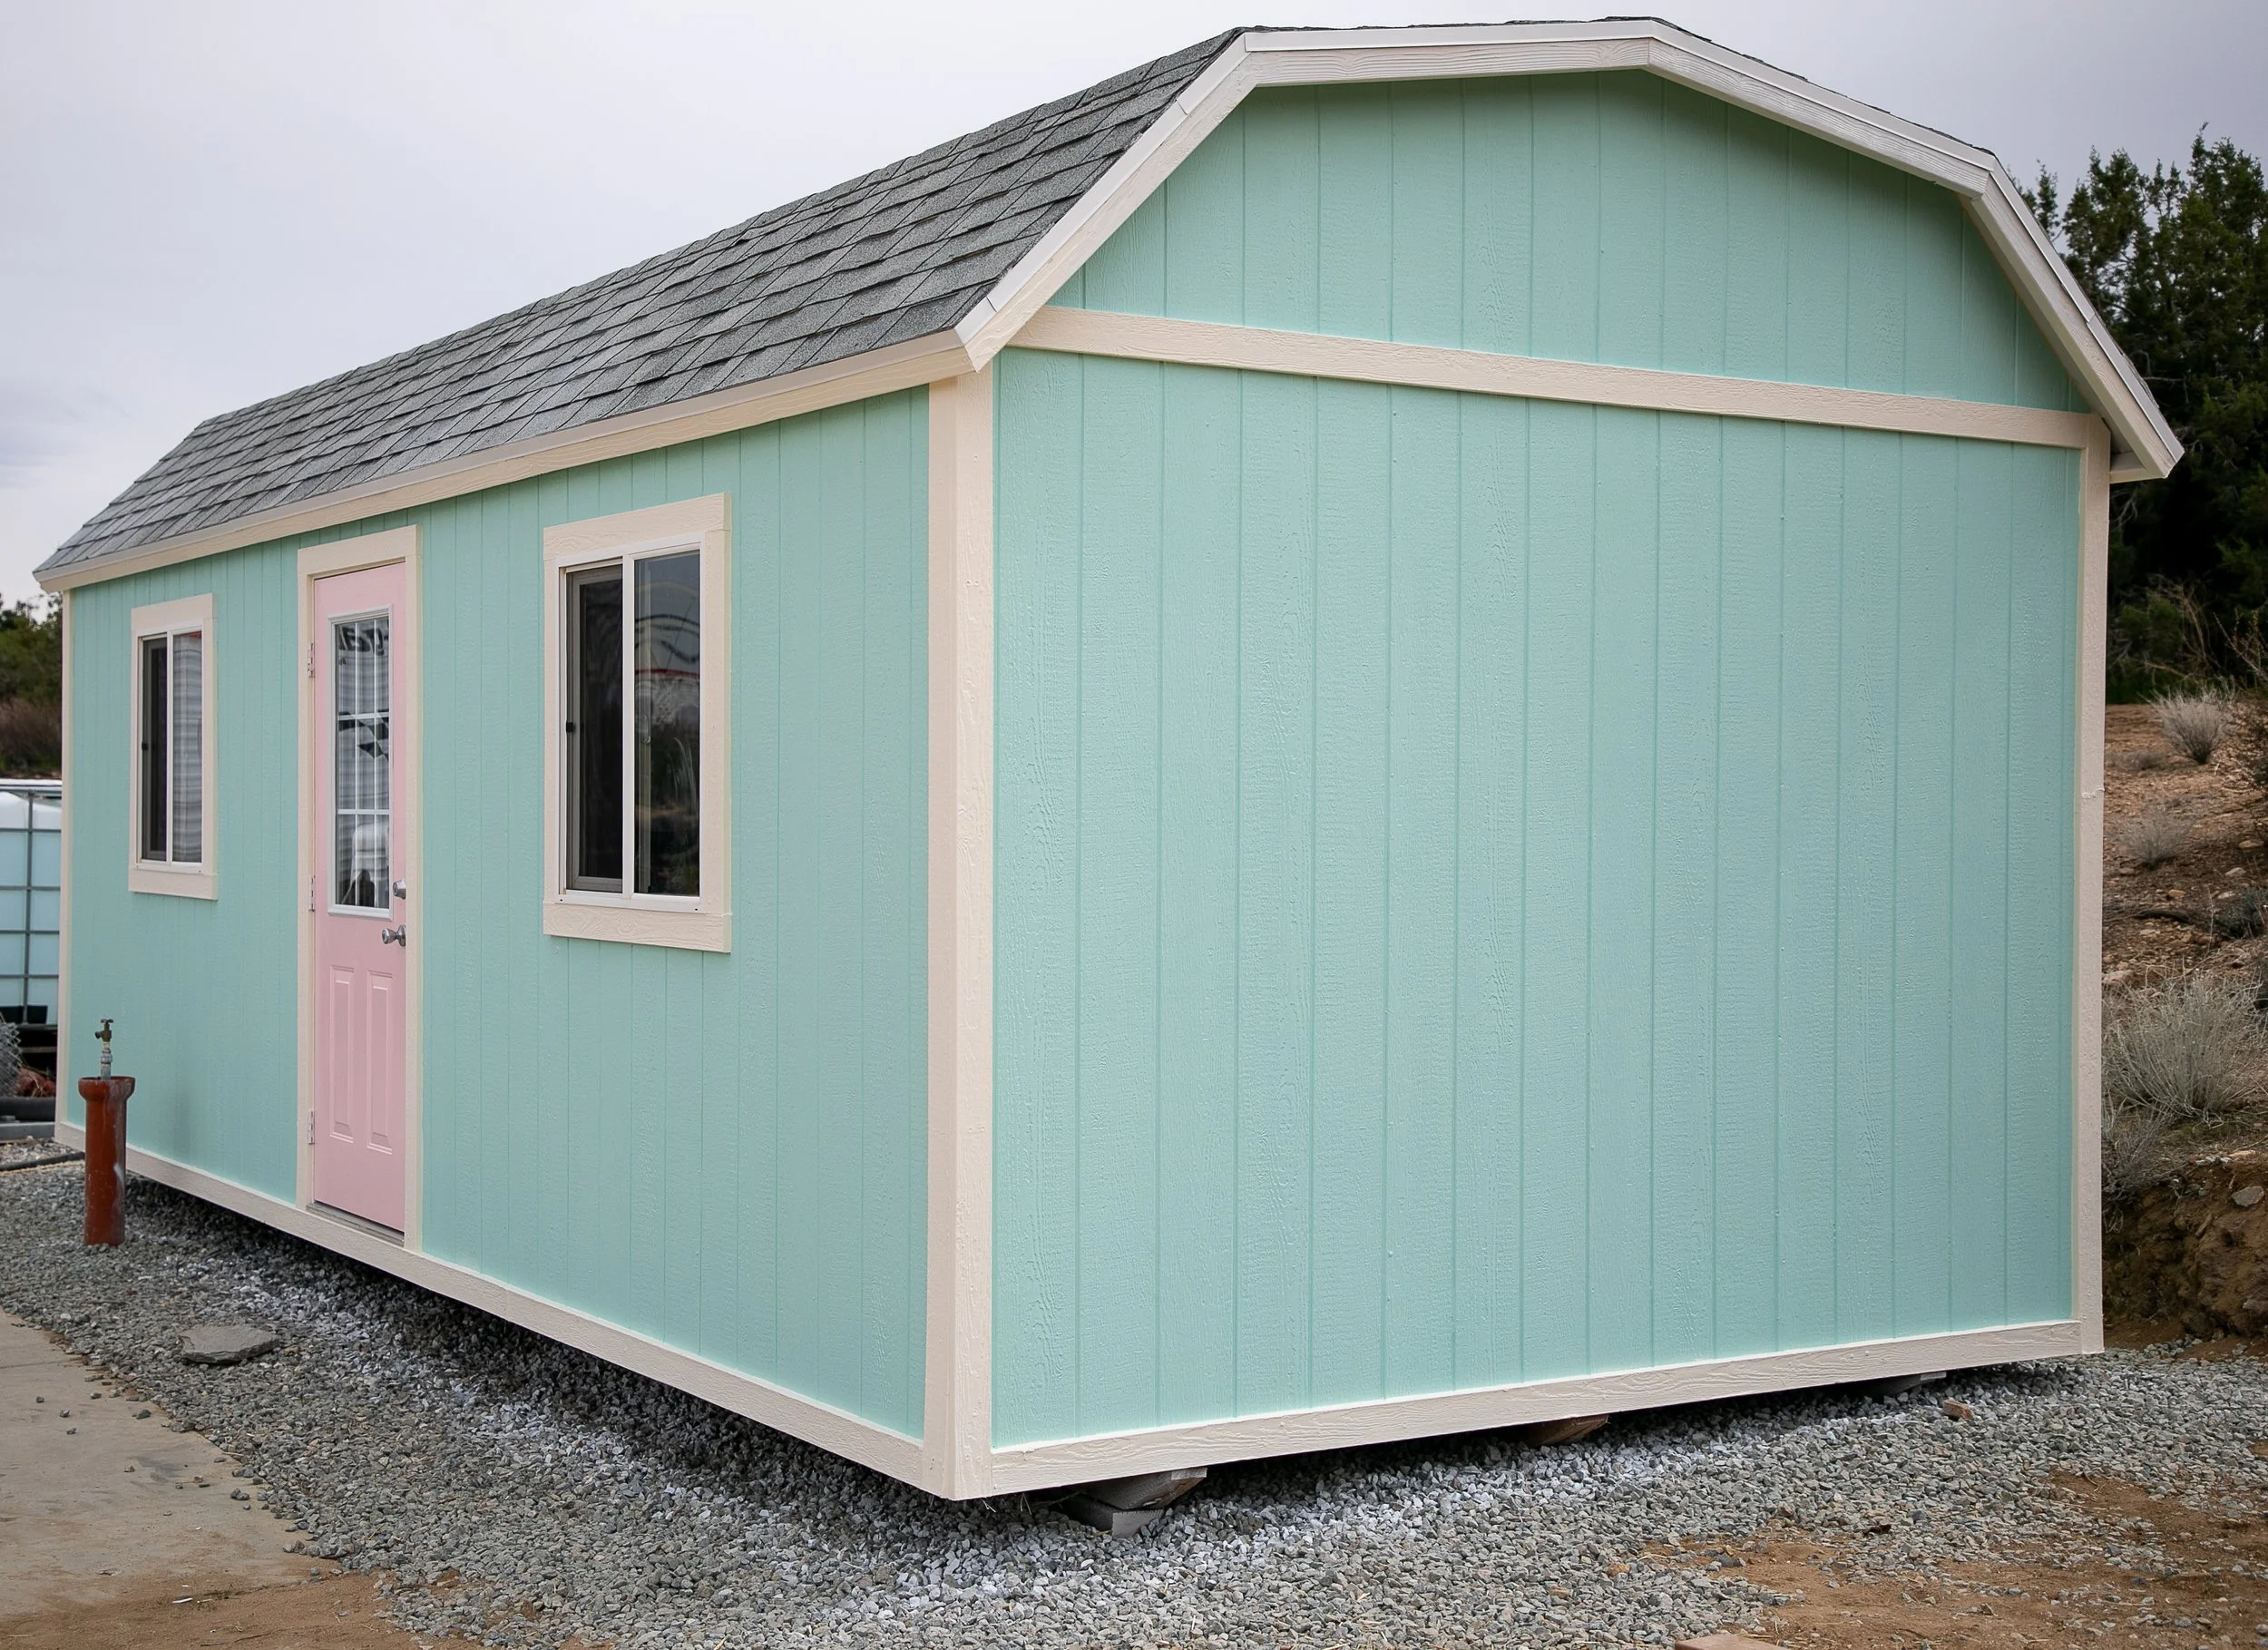
Cutesy outside, still a hot mess express inside.
The Interior Panels (Walls)
I grabbed 16 panels of pre-finished white beadboard at ye olde Home Depot, plus 3 panels of the grey faux wood look. I love the idea of having one different wall for content creation- it'll sit right behind my desk area. I'm already envisioning big ornate gold frames with interchangeable prints hanging there.
Everyone who dislikes AI can feel the way they feel, no judgment here. But my brain absolutely cannot math, so when I plugged in my shed's dimensions and asked how many panels I'd need, AI came to the rescue. I'm all for letting it help me plan stuff like that. So if you're looking to DIY a shed, ask your preferred AI helper.
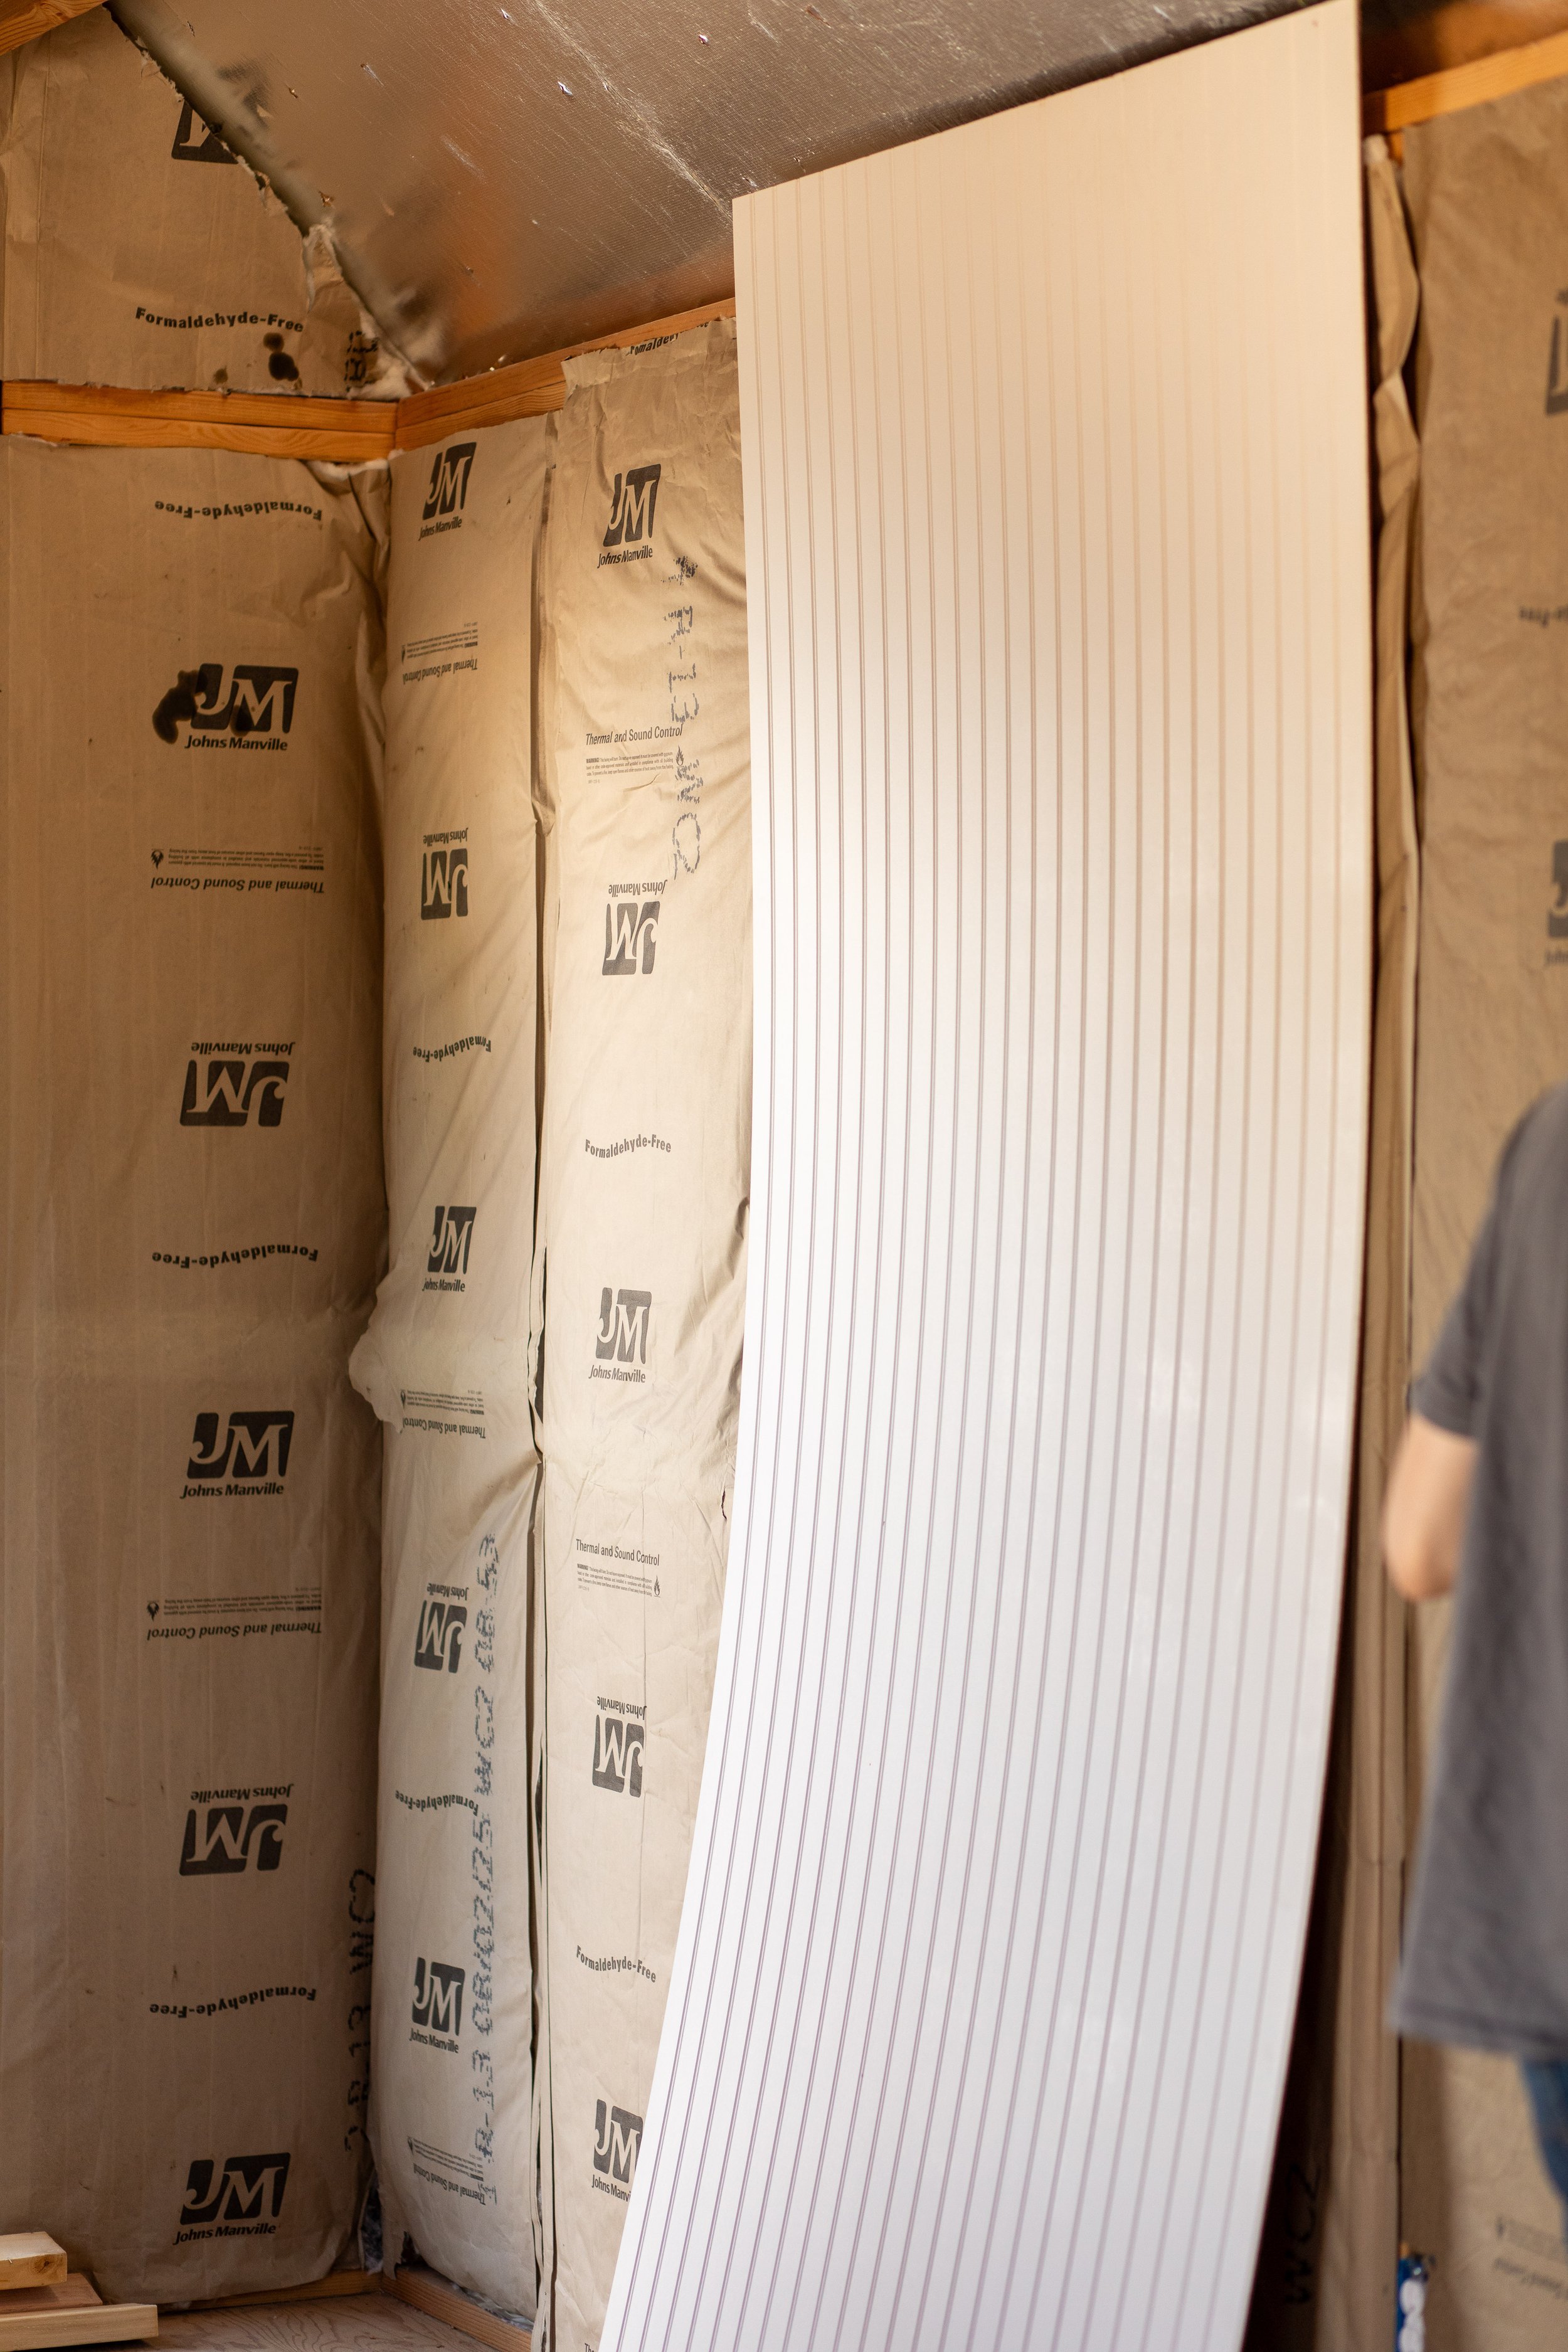
Panels were put up vertically. We had to cut 4” off the tops.
We already had an air gun and staples on hand, which was such a relief. That never happens! It seems like every home project, even the small ones, always needs something, even if it's just a box of nails or screws.
So we got to work right away. My husband tried a few different cutting tools and quickly landed on the one he preferred.
We didn't want the panels sitting directly on the floor, in case of a water leak; if water reaches them, they'll swell up. So we used a piece of plywood to prop them up a bit. One person held the board in place while he used the air gun to staple them in. Staples work better for panels because they're long, like, really long.
Another piece of advice: pay close attention to your outlets! There was one wall where we had to go back and cut out the outlet area after the panel was already up. Haha! Yeah….
A few spots look a little rough where the staples went in wonky, but honestly, I'm not too bothered, we're going to putty the holes and paint anyway.
One more tip: panels need a 2x4 to nail into. Since we didn't have drywall behind them, we had to add some extra 2x4s in several spots first. Surprisingly easy, all things considered.
Oh, and don't forget the paneling glue, it comes in a caulking-style tube.
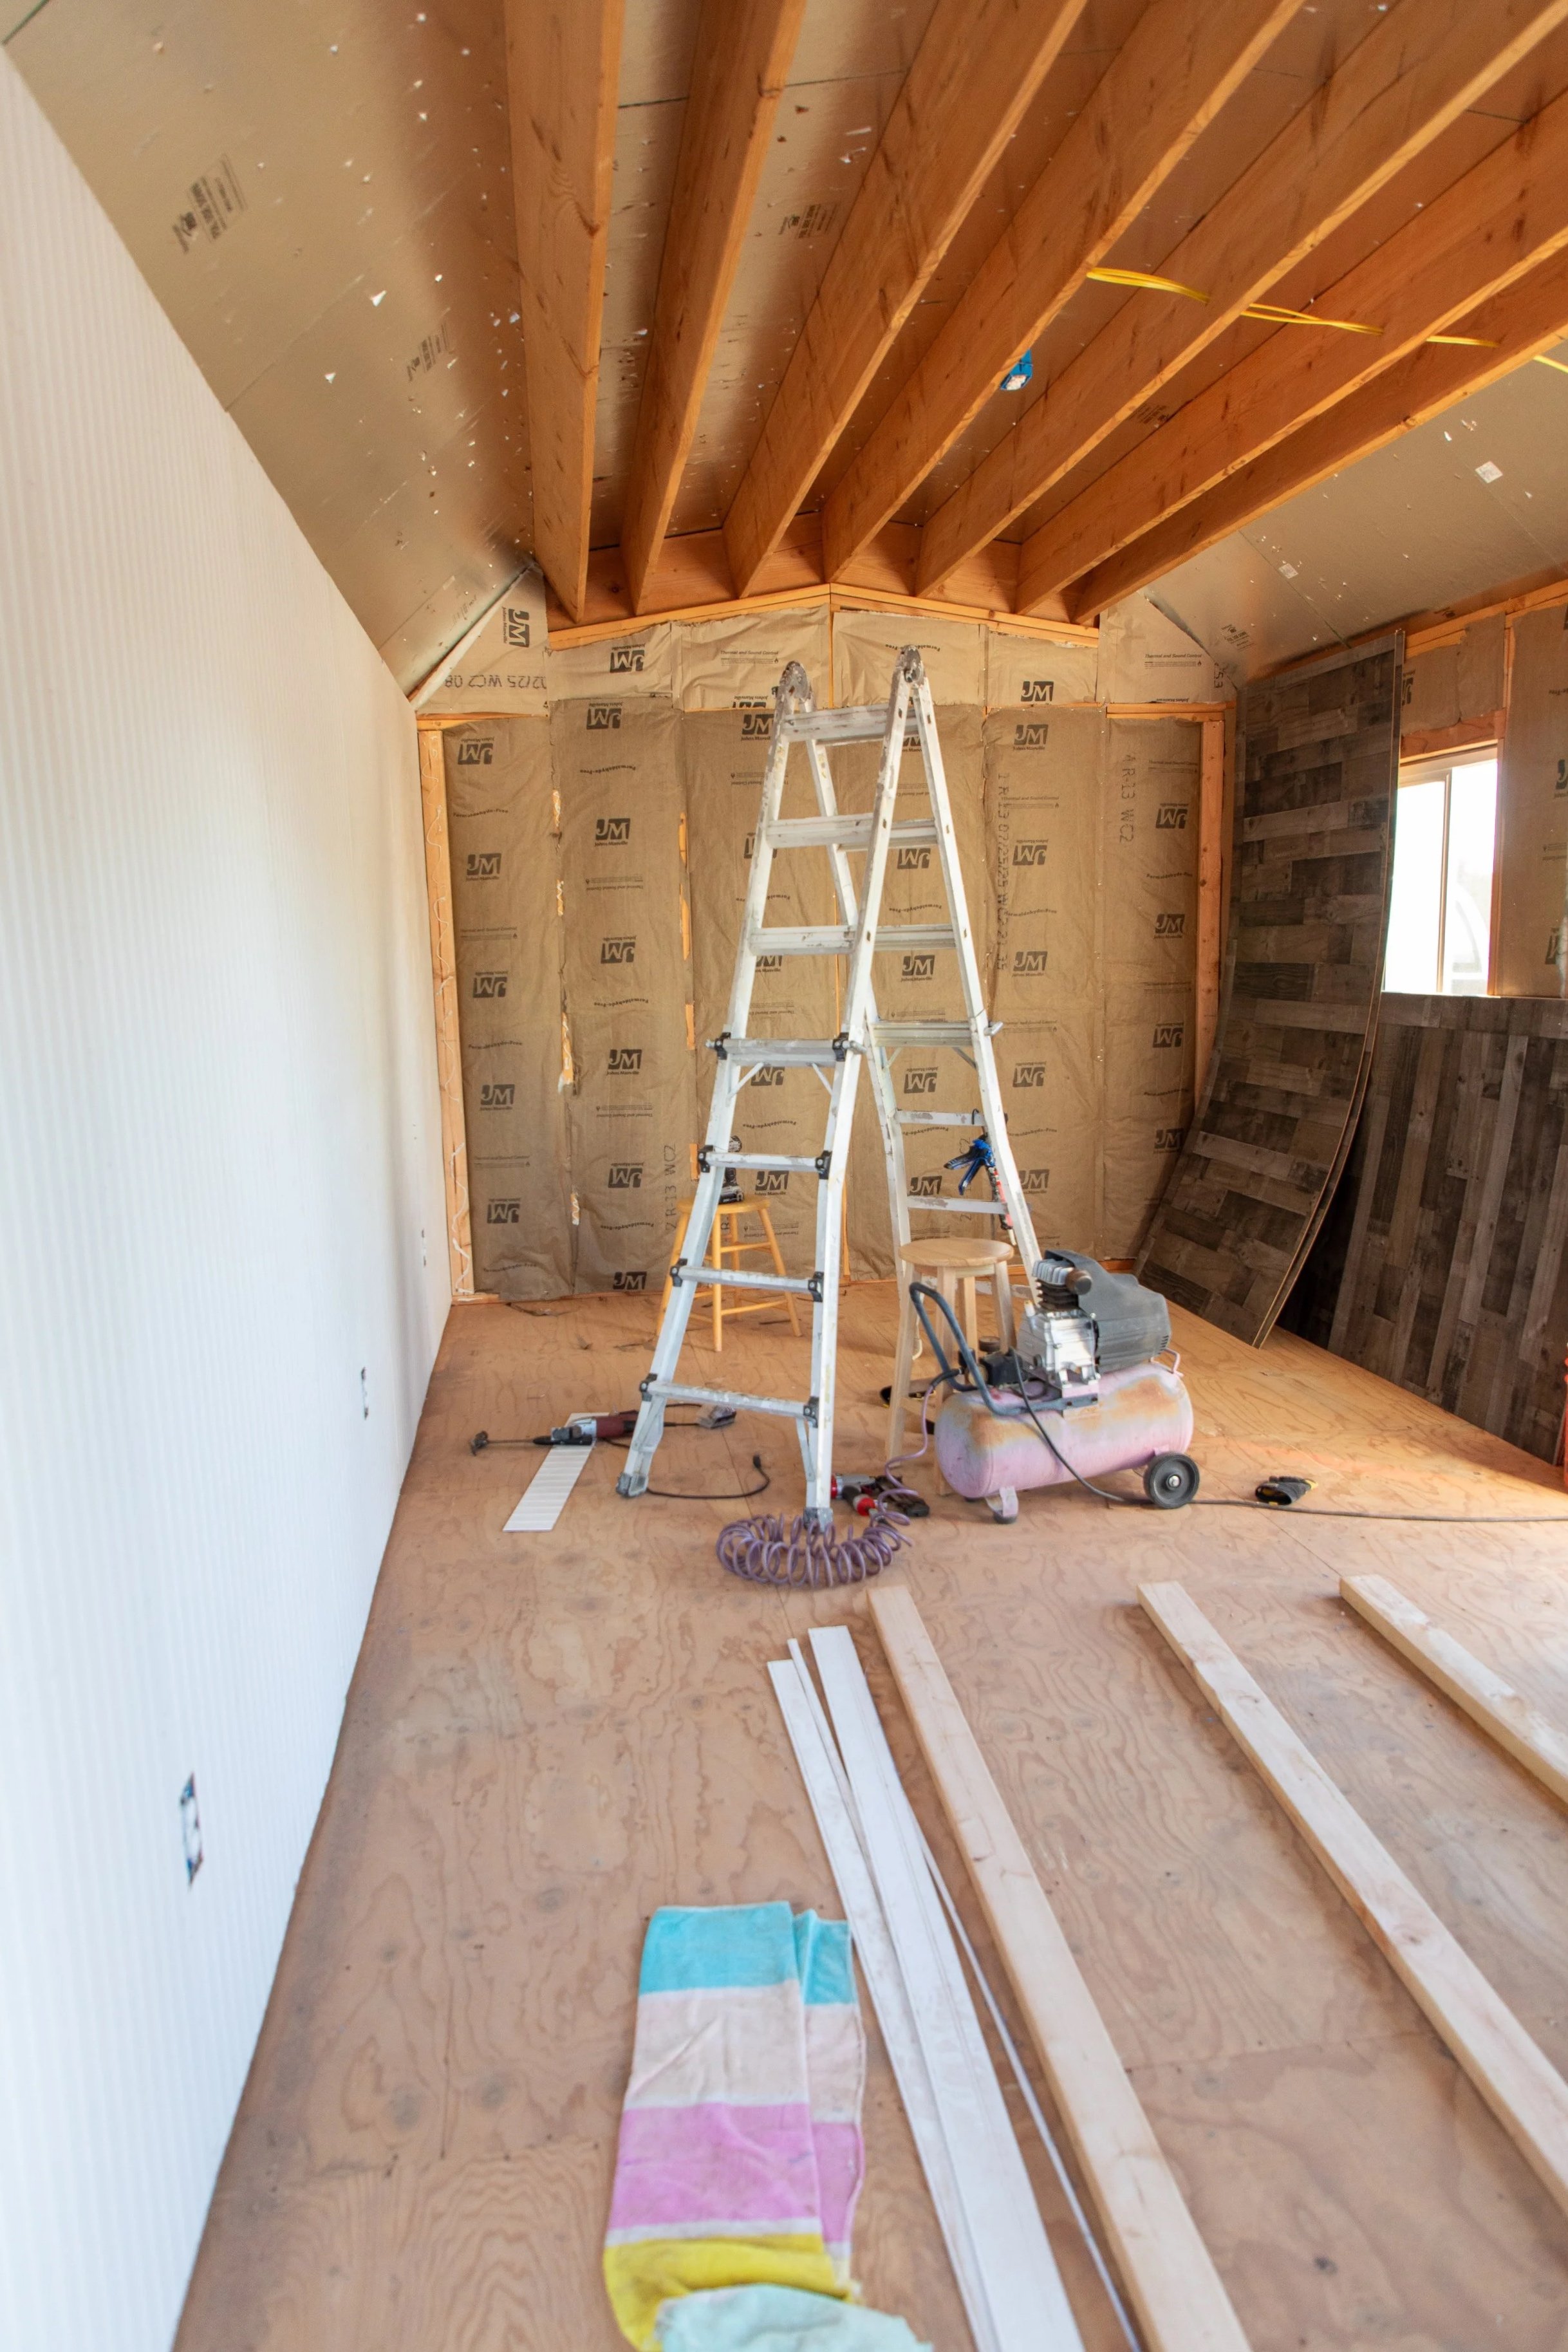
First wall is up. Huzzah!
The edges might look a little rough right now, but remember, we're adding baseboards once the flooring goes in, plus trim around the top, windows, and door frame.
It's all coming along nicely, and I'm so excited.
It's finally starting to look like an actual studio instead of a shed from Shedworld.
One thing I noticed almost immediately: the space looked way bigger once one wall was in. The white really makes a difference.
I'm all about color in my normal house and everyday life, but as a photographer, I like white walls. They act as a natural bounce for light.
We did add one darker wood wall at the end, where my desk will be. I like it for creating content for social media and YouTube.
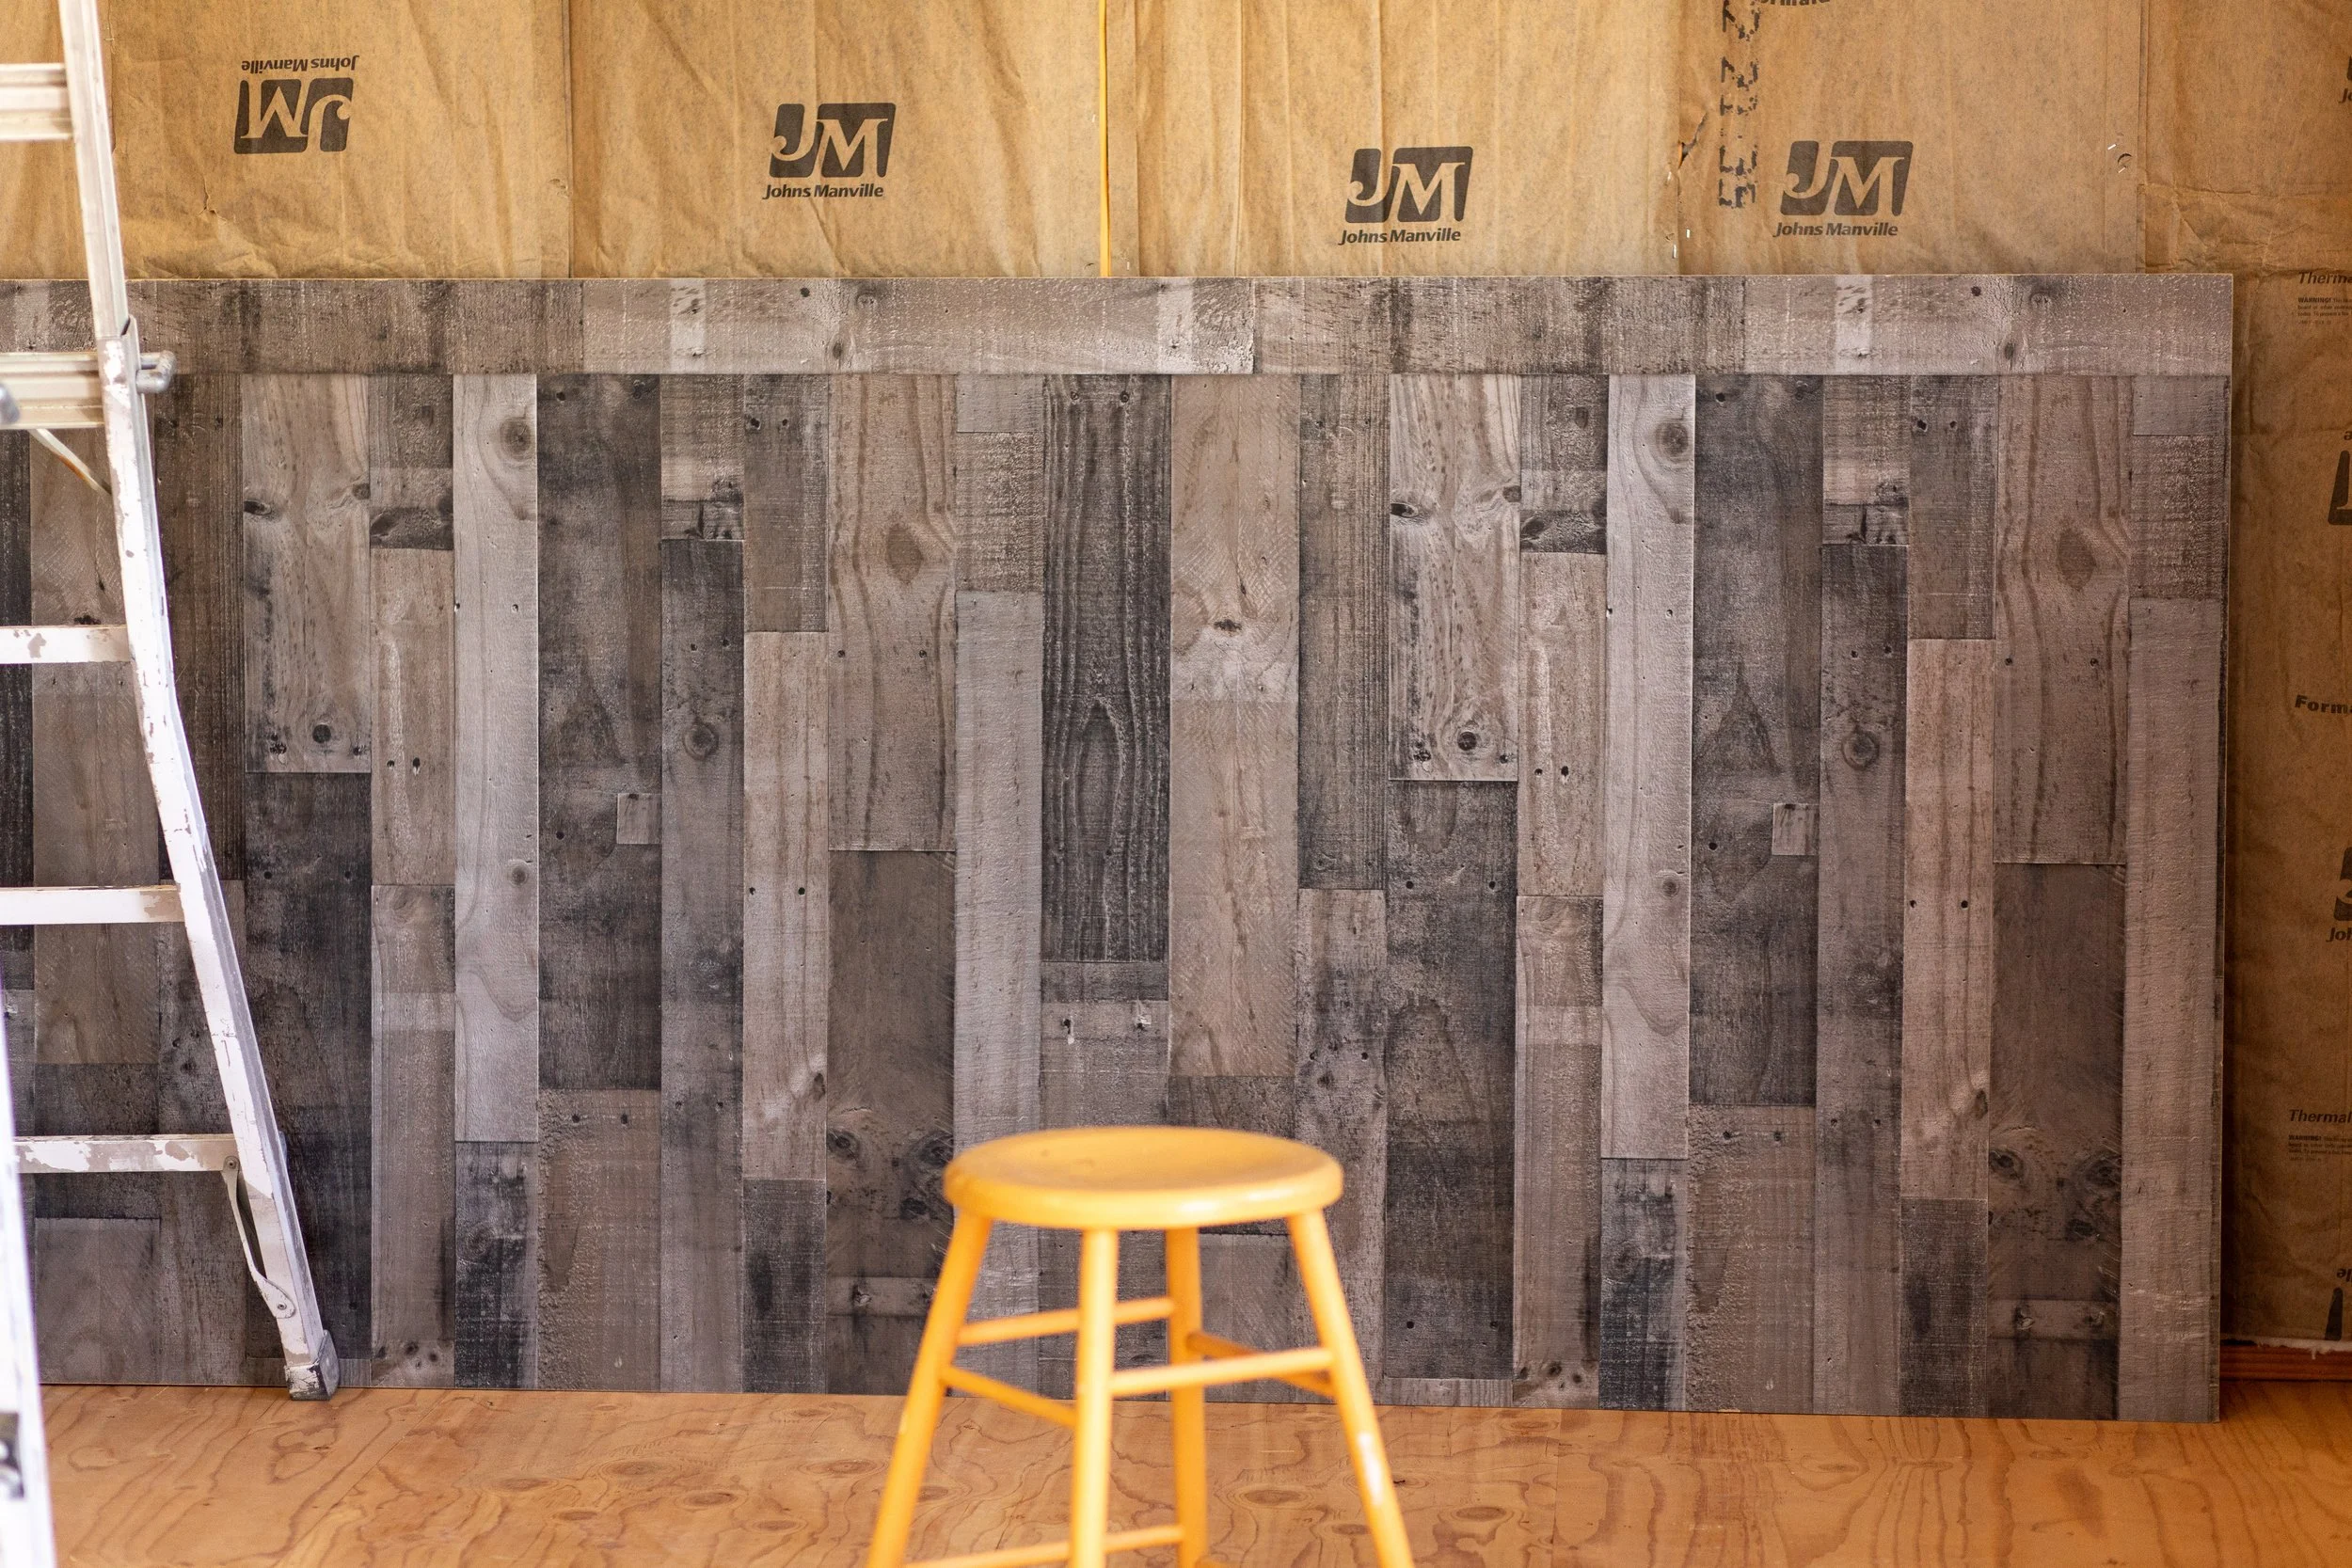
This grey wood paneling is for the back wall.
Electrical Panel: The Power Source
We called in professional help from a friend for this part. He does electrical work commercially, so it was a little different from what he's used to, but similar enough to be a huge help.
My husband already had a game plan, and our friend confirmed it was exactly right. Whew!
He came out, and the two of them installed the panel together and got all the wires connected. It took a few days to get everything in order, but I'm so thankful.
And we now have power, folks!
"It's alive!!" — Dr. Frankenstein
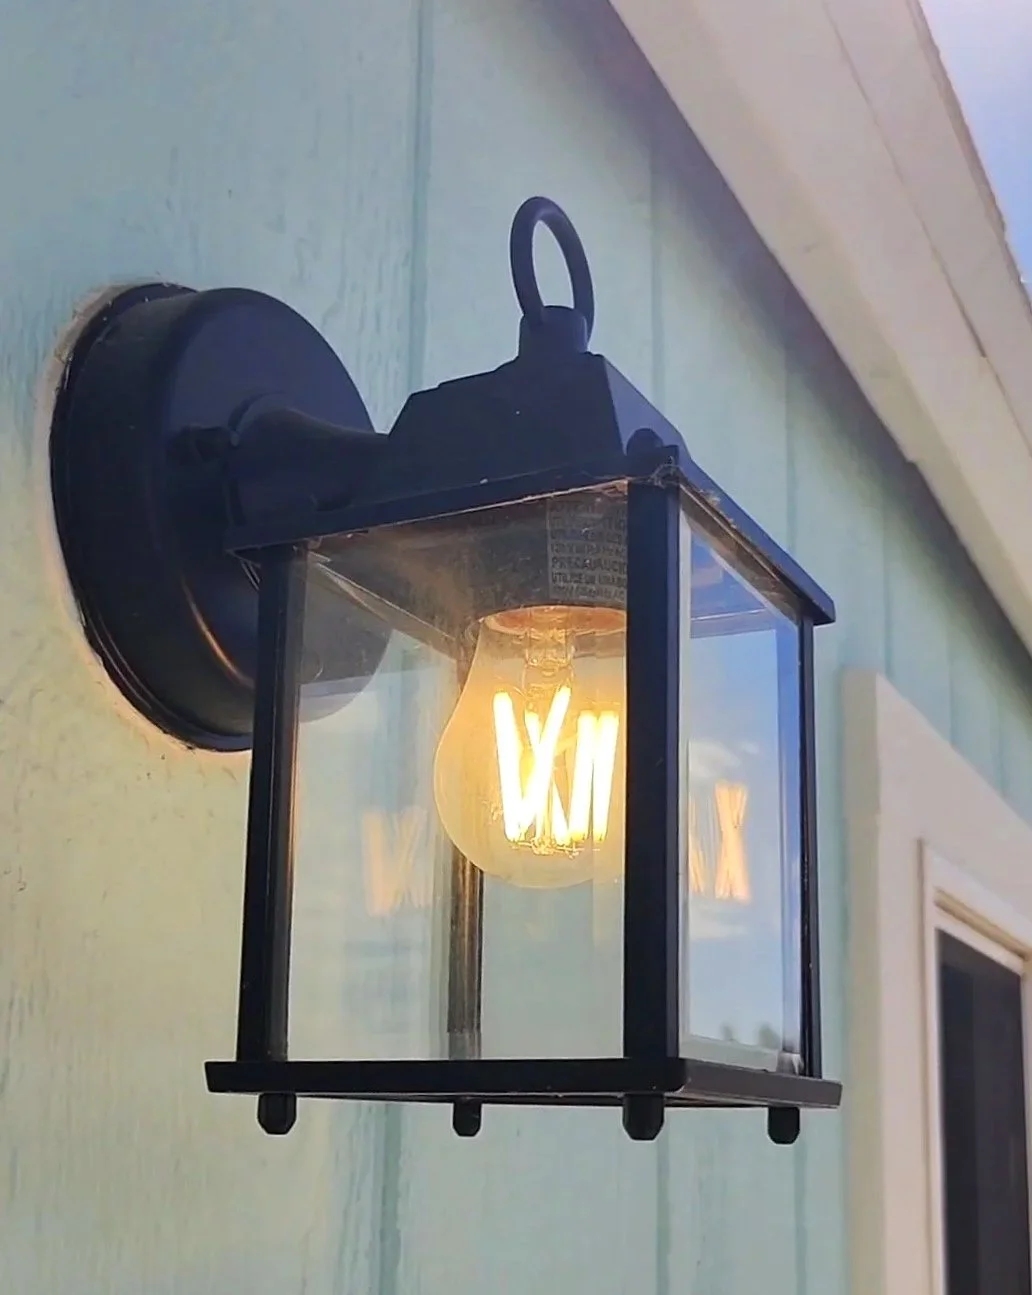
We have light!!
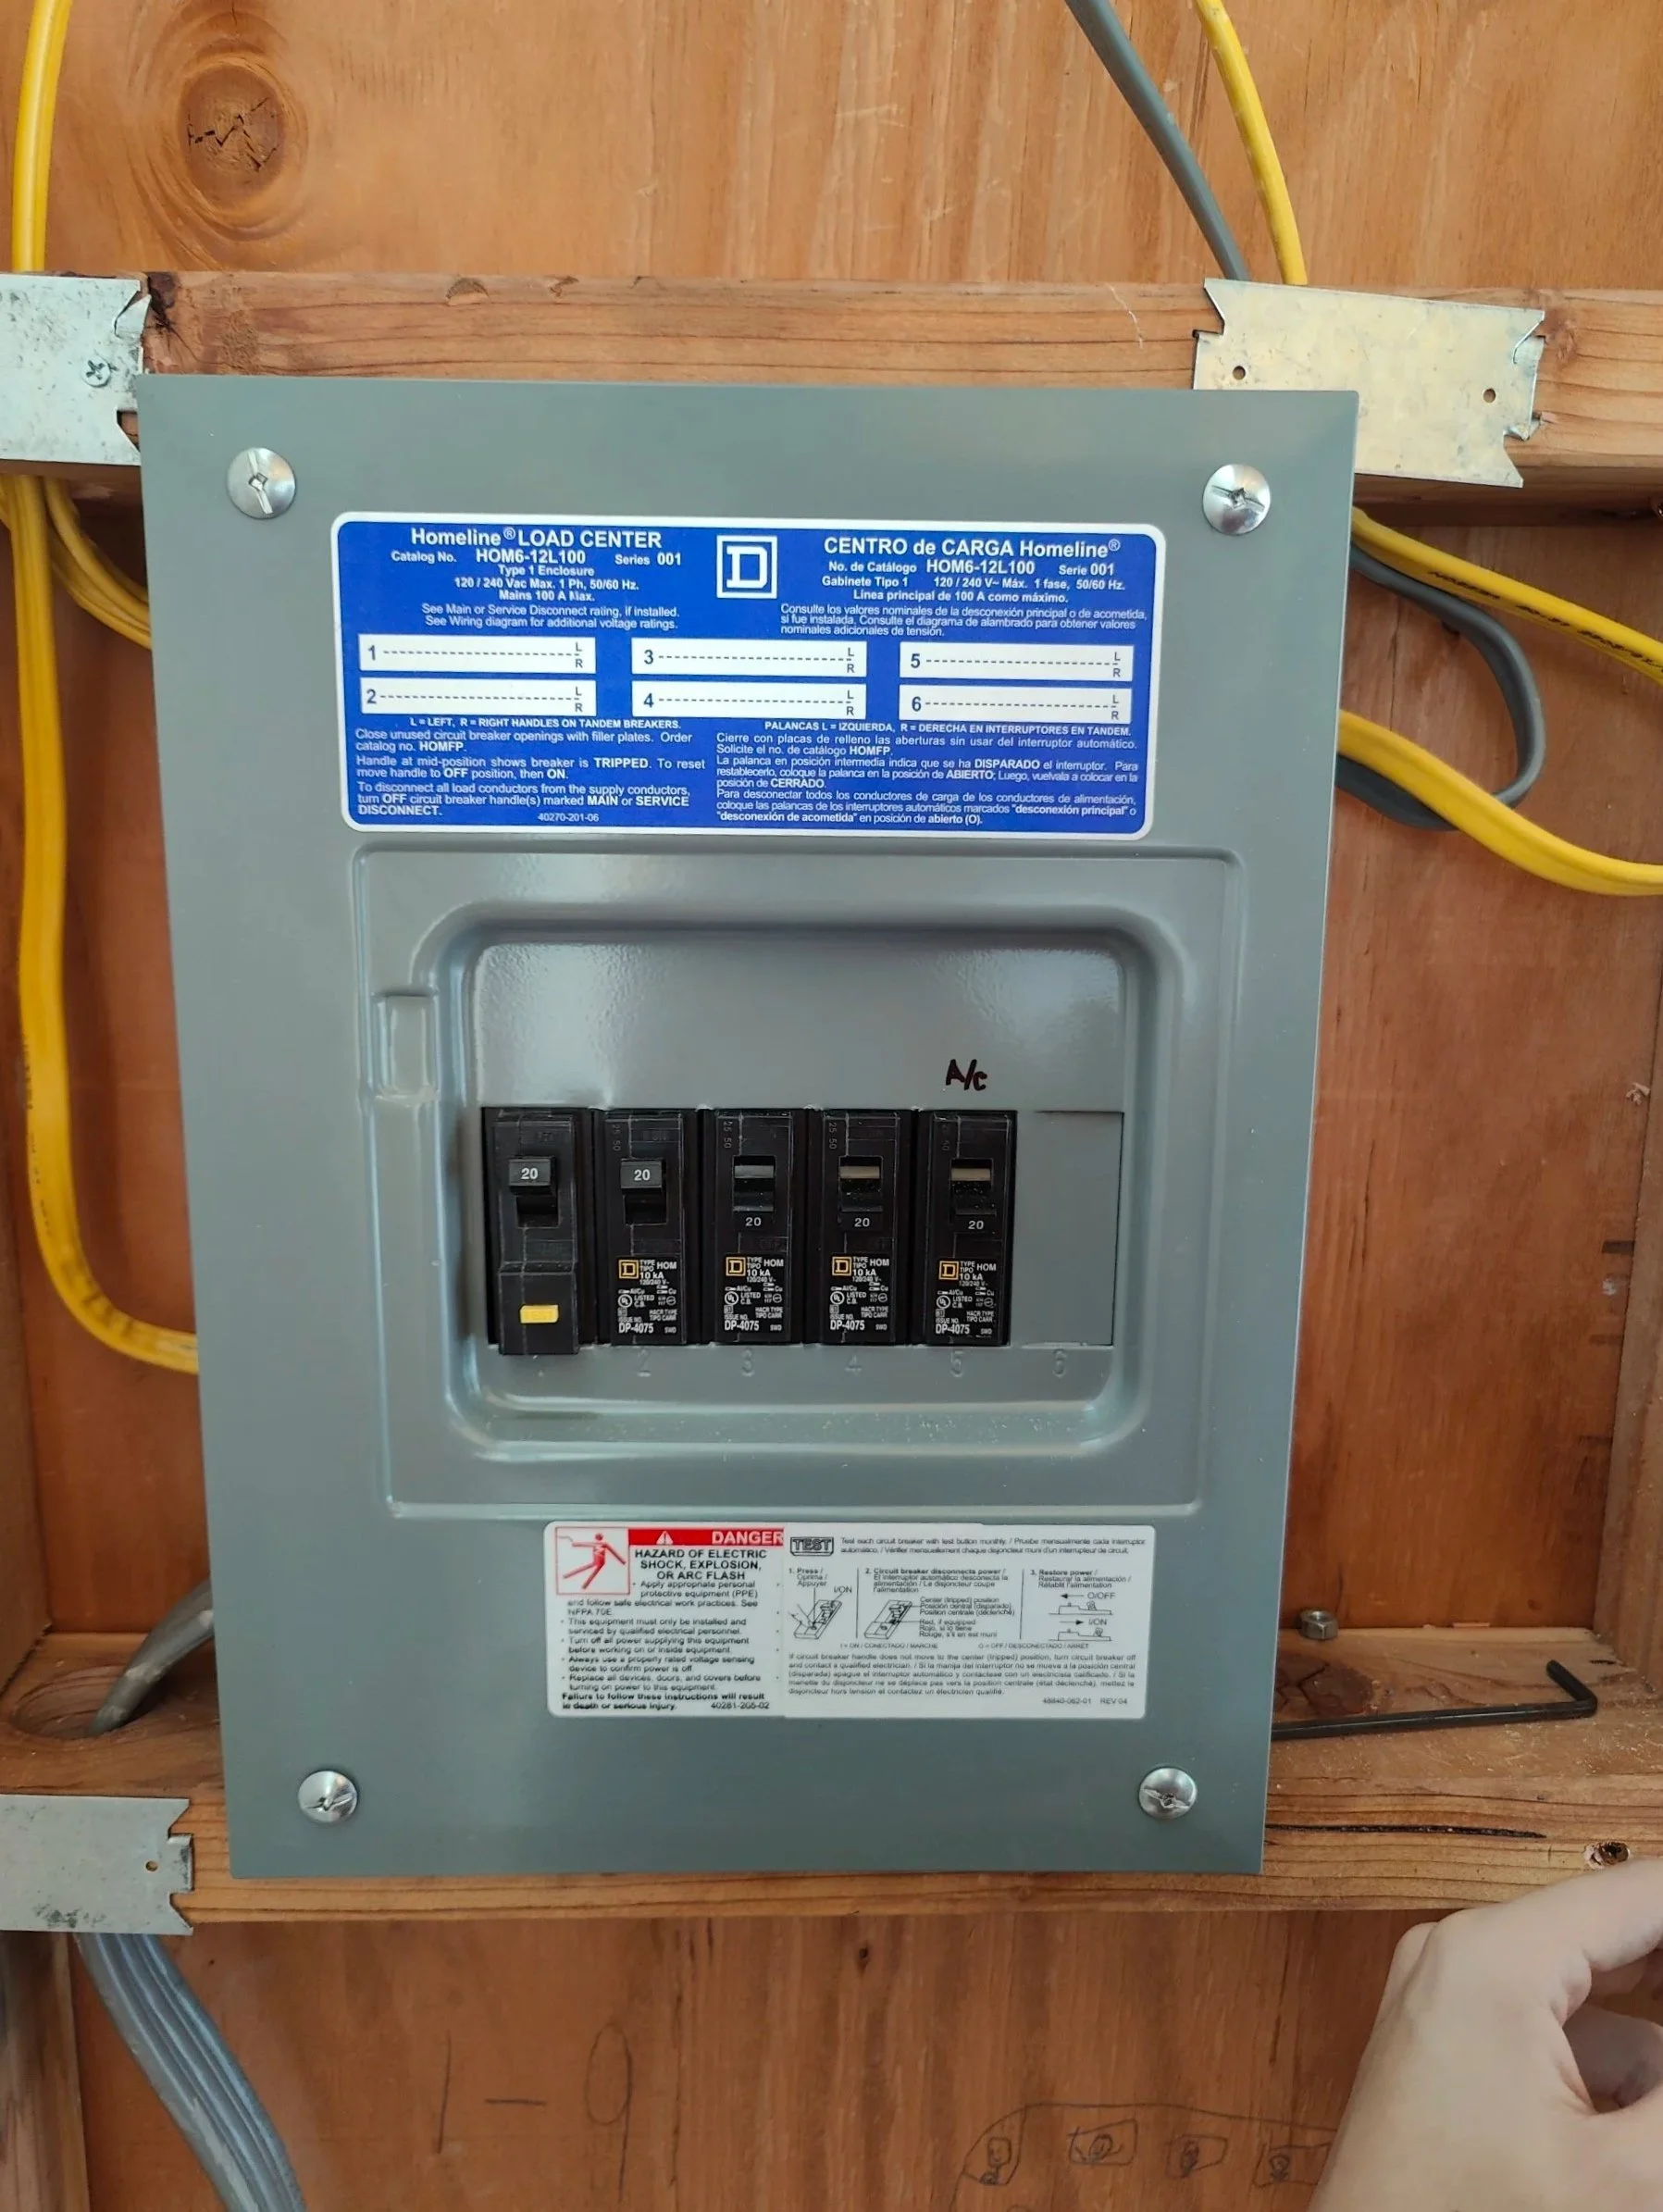
This is where the magic happens… sorta.
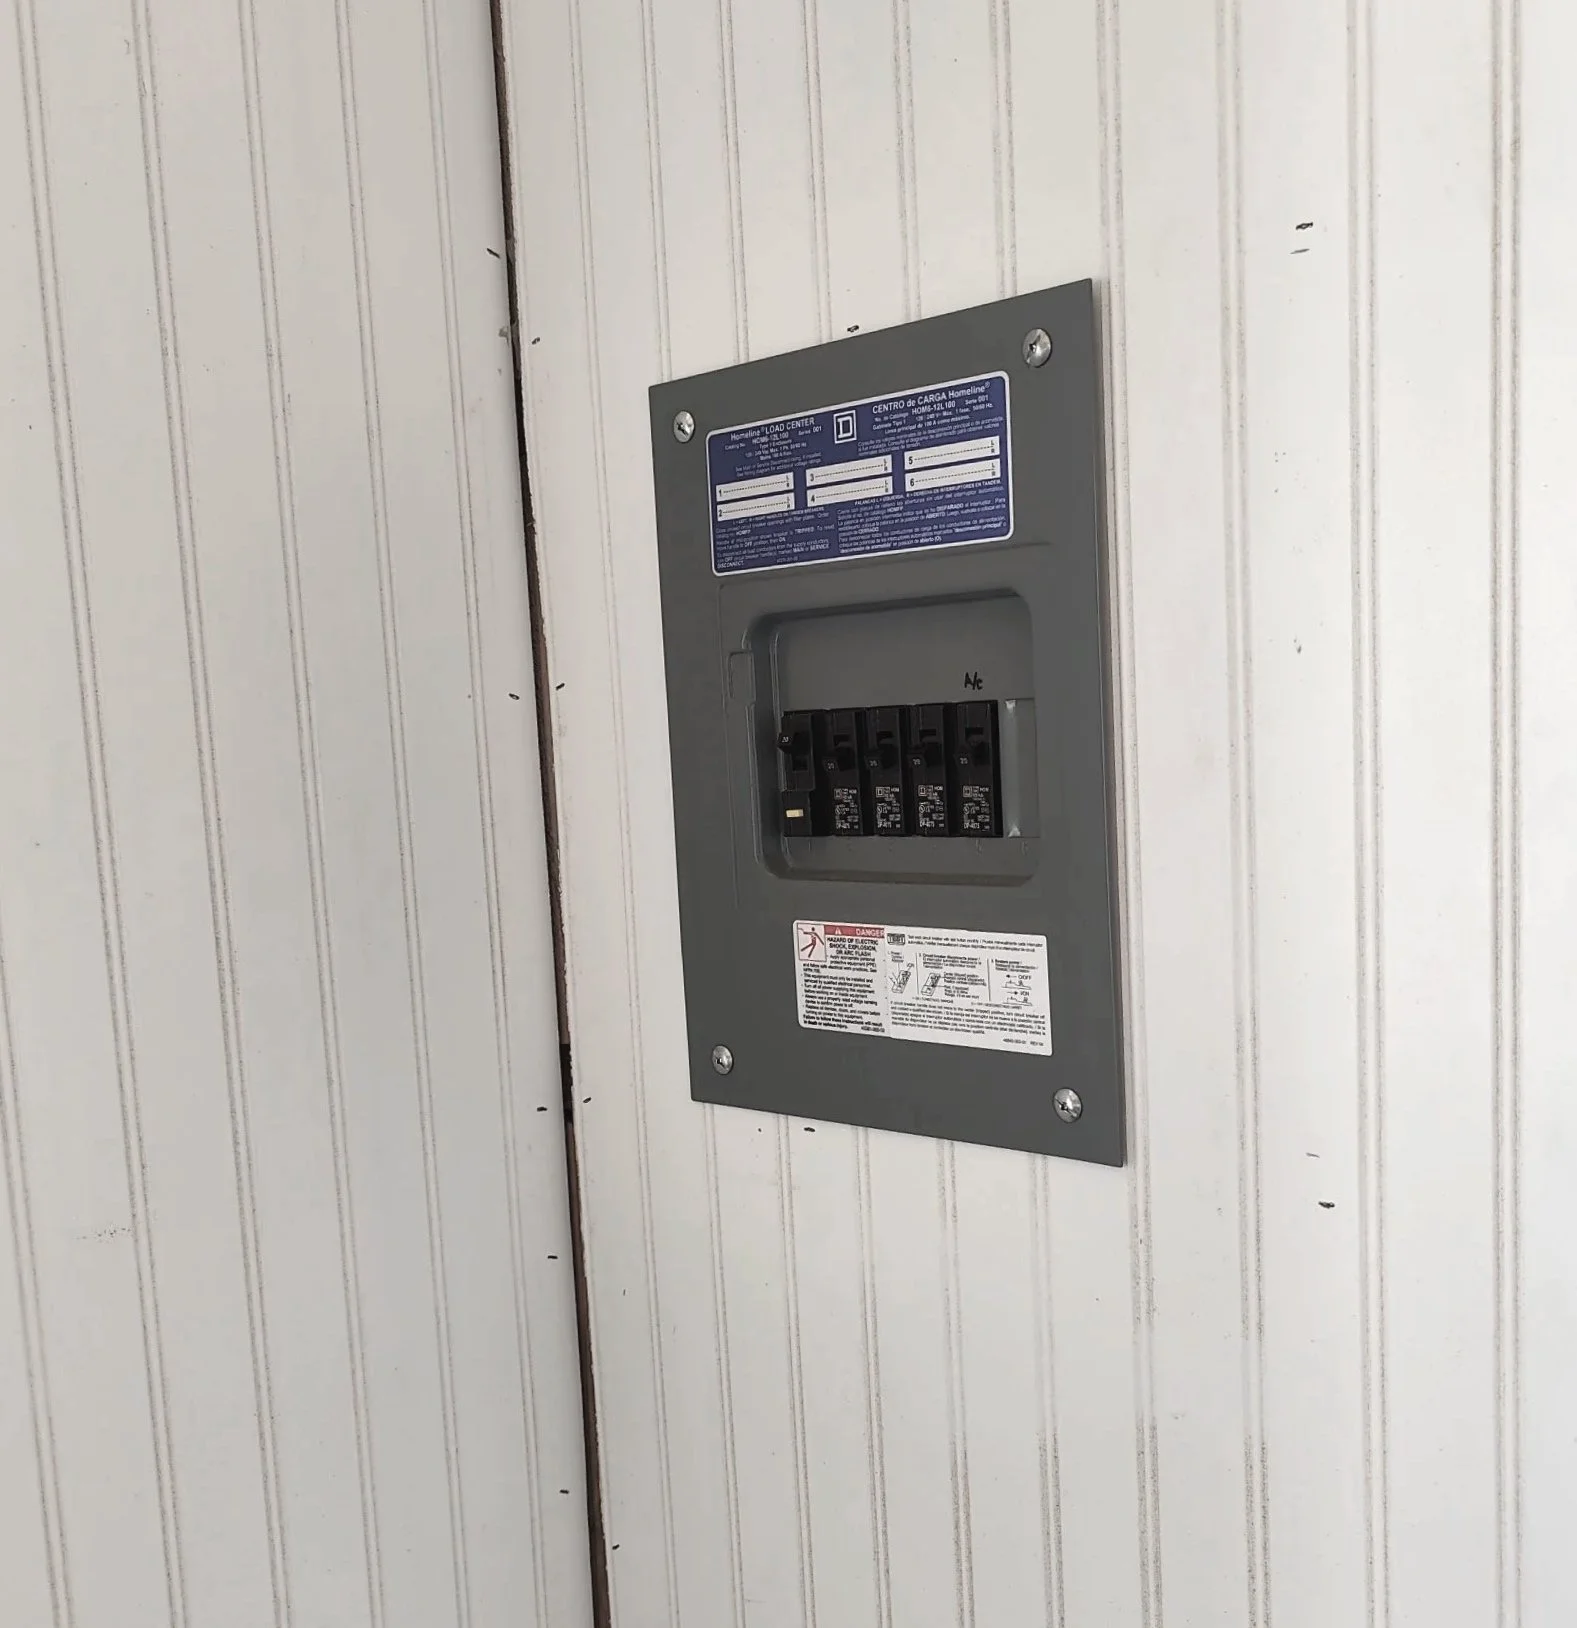
Paneling Looking Nice
The corner looks great! We need to add trim. And, I need to decide what to put over the breaker panel to hide it. Something more clever than a Photo, LOL.
The breaker panel is inside, where all the wiring runs. Each section is hooked up to its own breaker switch; the minisplit has its own.
Outside, there's an outlet where the ginormous extension cord plugs in, running to a 220 RV outlet.
This setup lets the minisplit, studio lighting, my huge printer, computer, and everything else run without tripping a breaker. Also, a coffee maker, because..why not?
I feel like I'm in Christmas Vacation, waiting for the electric company to flip the big switch. Ha!
It's all coming along nicely, and I couldn't be more thankful and excited.
The electrical part was the biggest headache of this whole project. My husband is the handyman of the year; he can do everything, but he always pauses at electrical work. So this was a standstill for a few months. Glad it all came together … eventually.
I wasn't out there with the guys during the panel work, so I don't have all the gory details. But my advice? If you have a friend who knows this stuff, hire them for this part. Save yourself the headache.
My husband is amazing at everything he does, but even he has his limits- electrical work is one of them. He's been shocked one too many times. Ack!
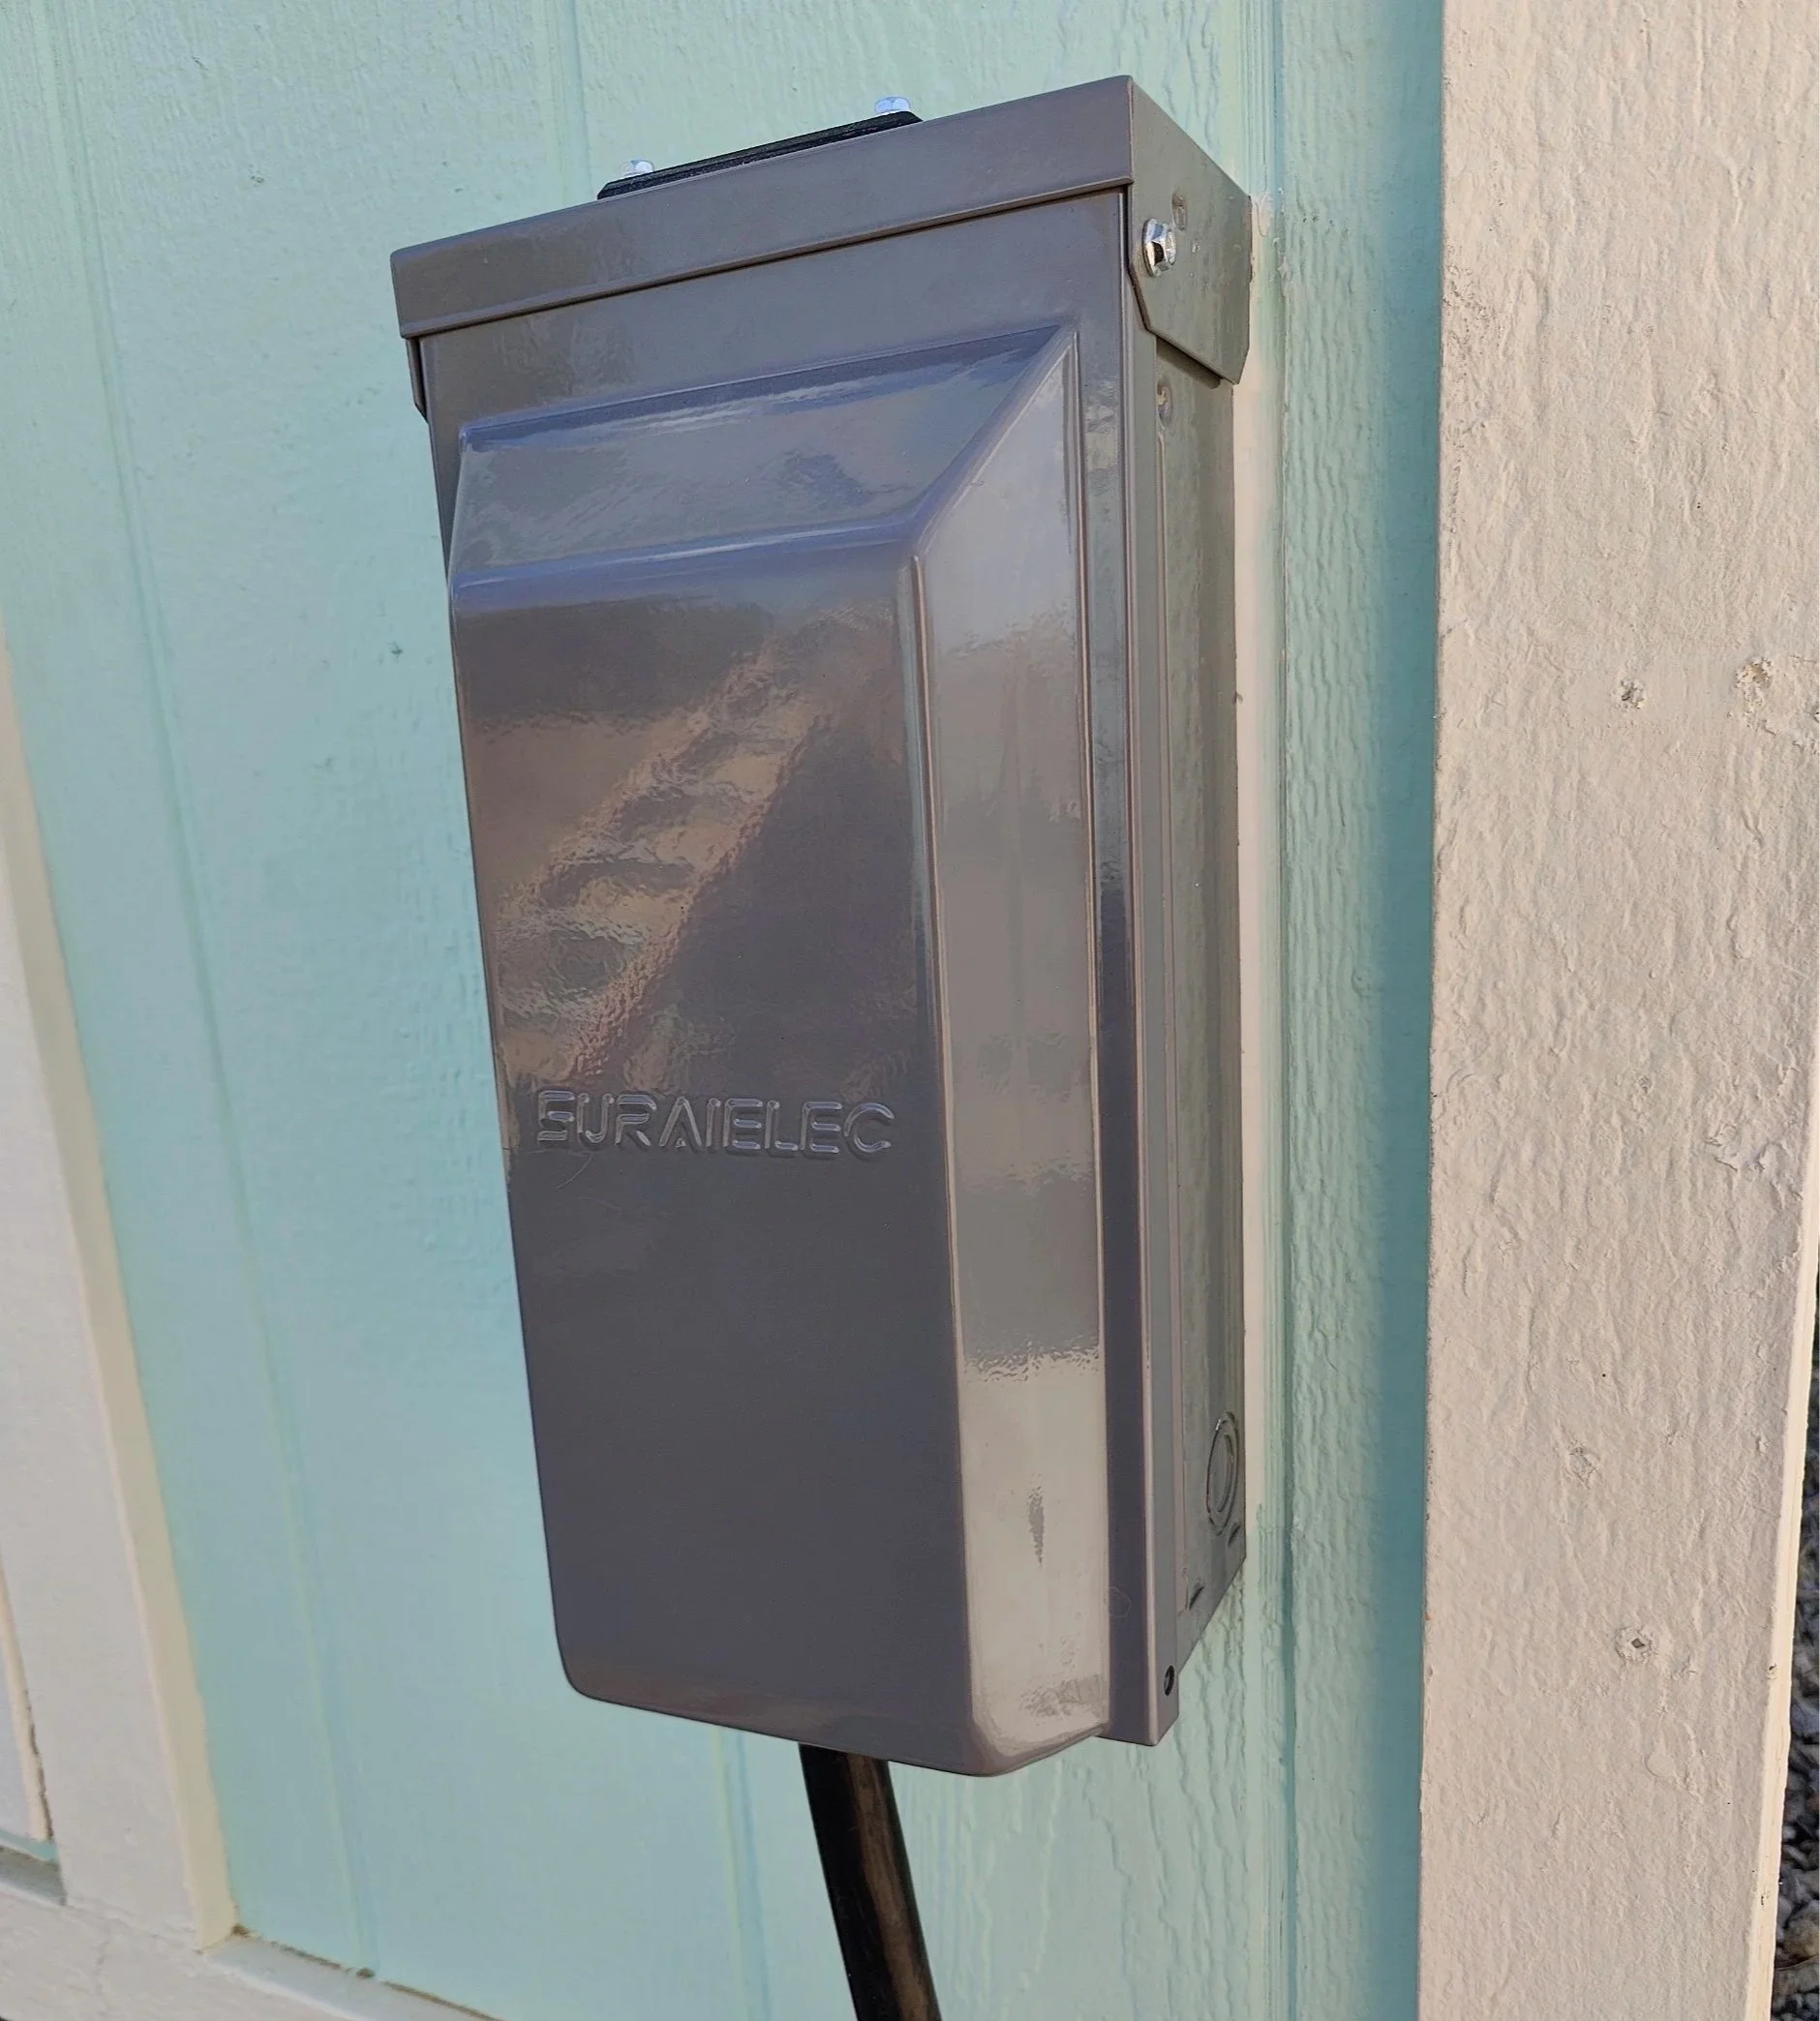
Outdoor plug, works like an RV.
That's it for this post!
Come back for Part 4, where we install a nice fat roll of fancy linoleum flooring and trim around everything else. (I could still fold that into this post instead — we'll see.) Oh, and the minisplit install. So many steps!
I'm also undecided on the ceiling: foam insulation or not? Either way, I want to cover up the wiring with something pretty. Since it's already in and up, I might sew a little cover out of satin.
A few of the outlet holes also ended up a bit larger than their covers, so I'll need to figure out a fix for that. Ha!
Ahh, home improvement projects, am I right?
Following along with the studio build? I'd love to hear from you — drop a comment below or send me a message on Instagram with your own shed, studio, or reno stories. And if you're local to the High Desert and dreaming of a fantasy portrait session, join the waitlist here to be the first to know when booking opens.
Cheers,
Annette
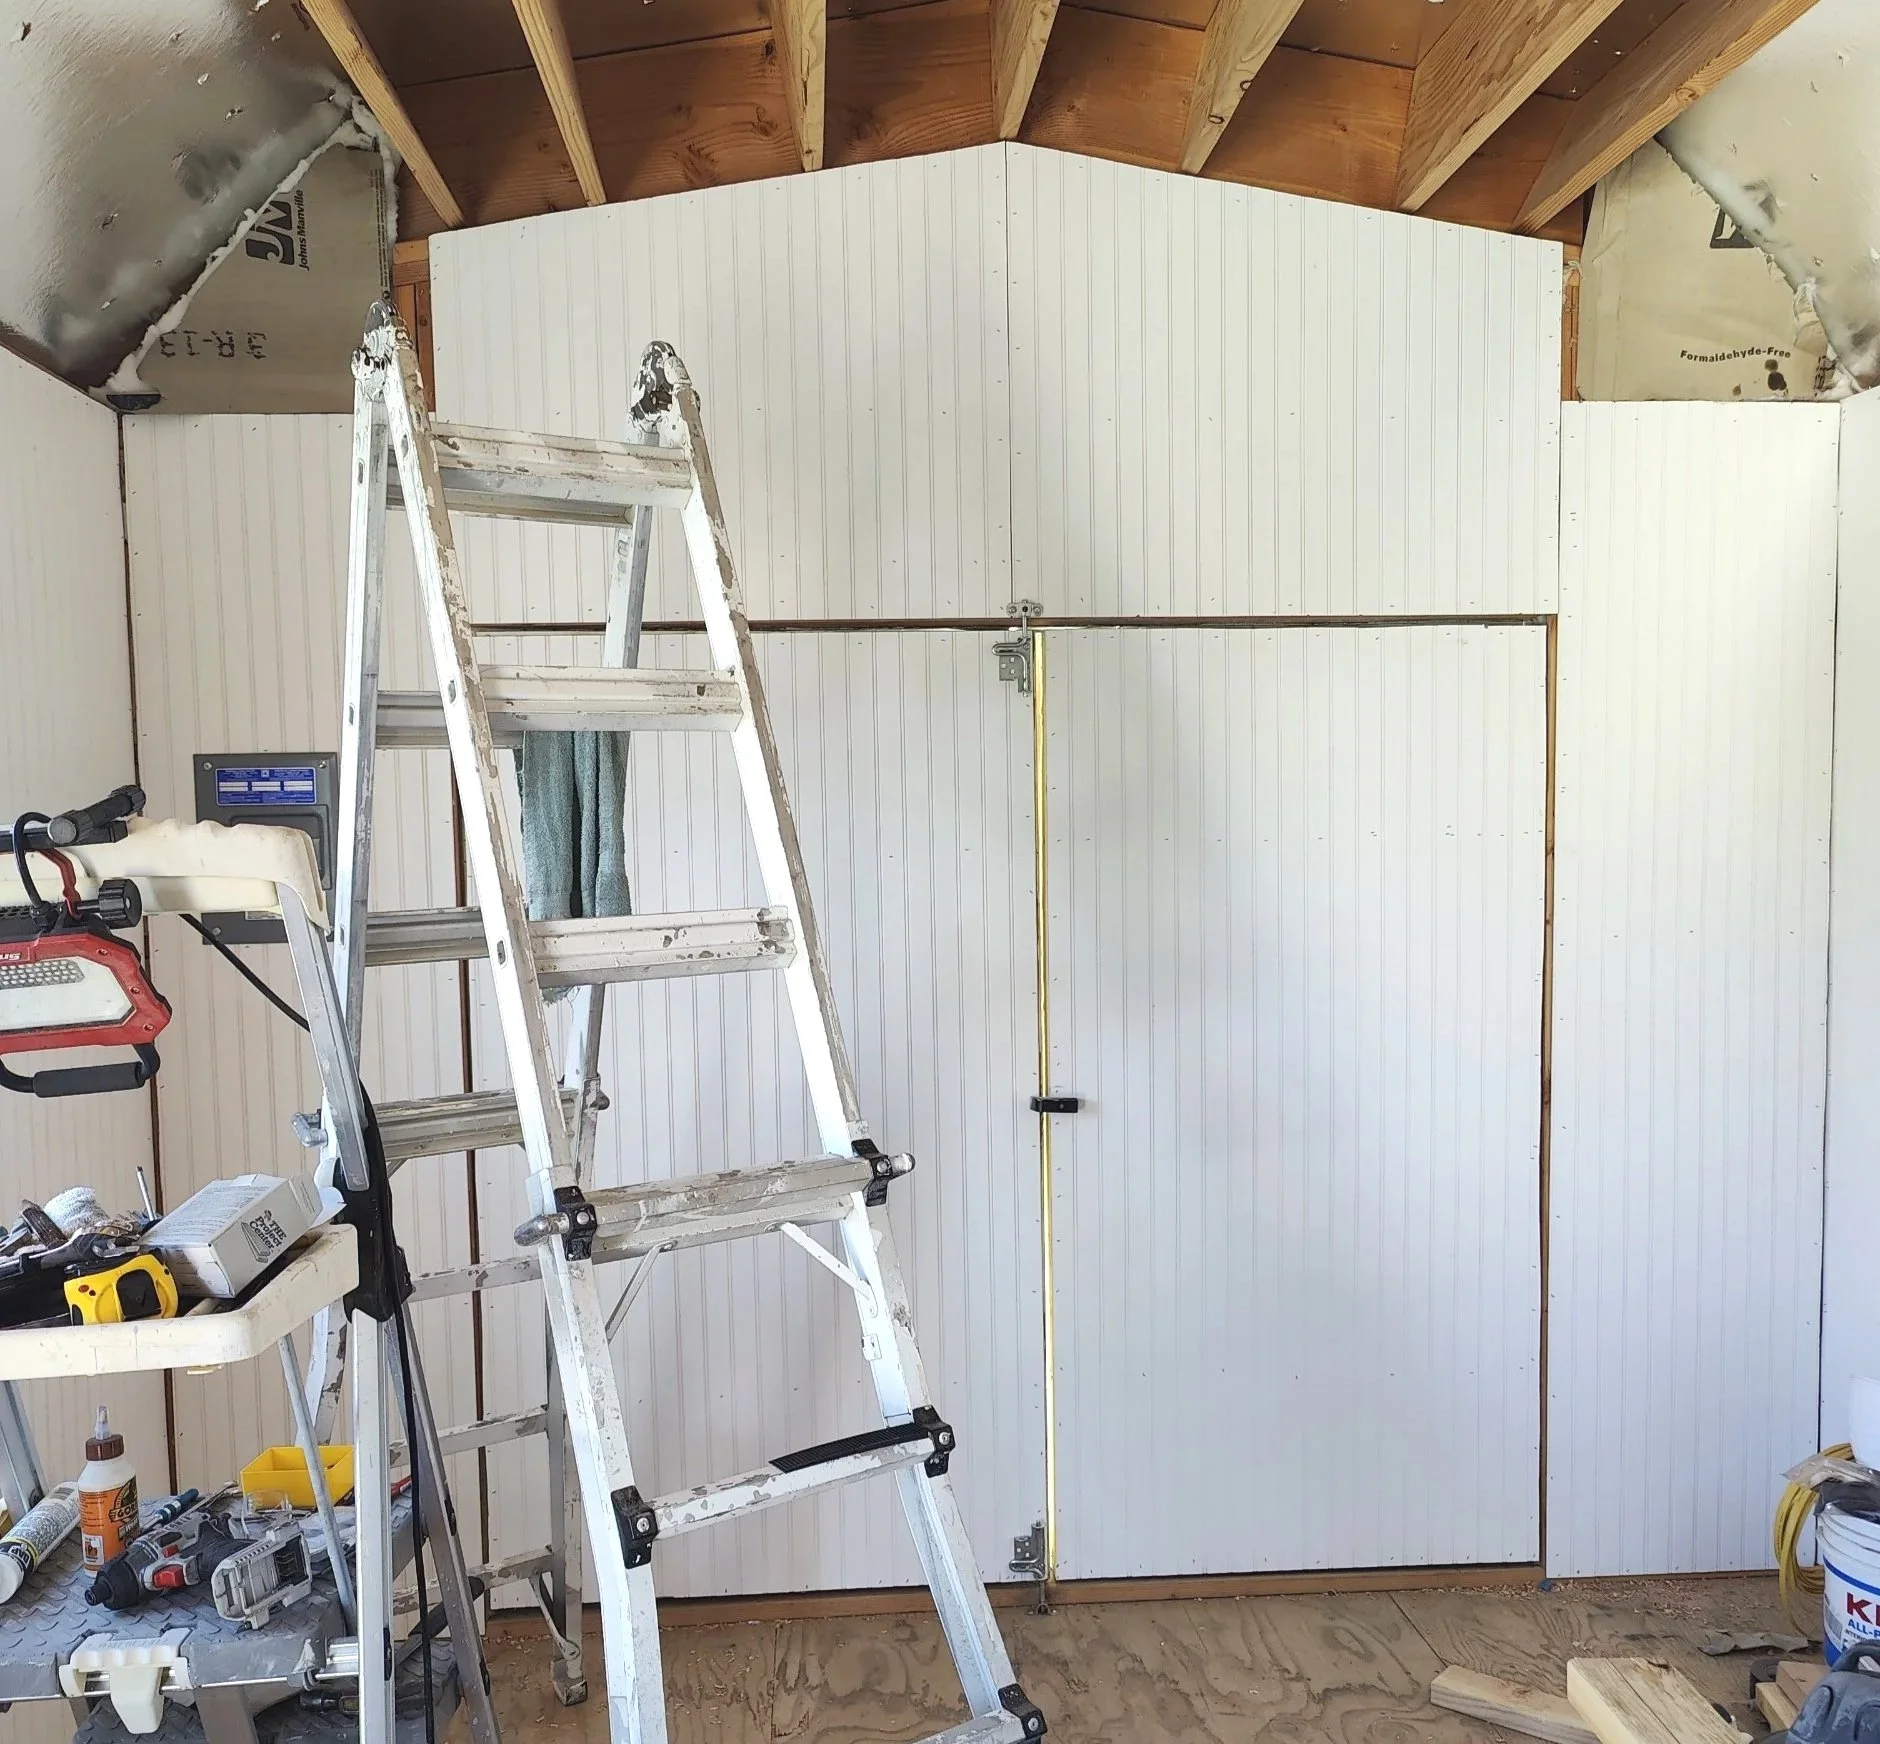
The barn doors were the last to get finished. They look really nice.
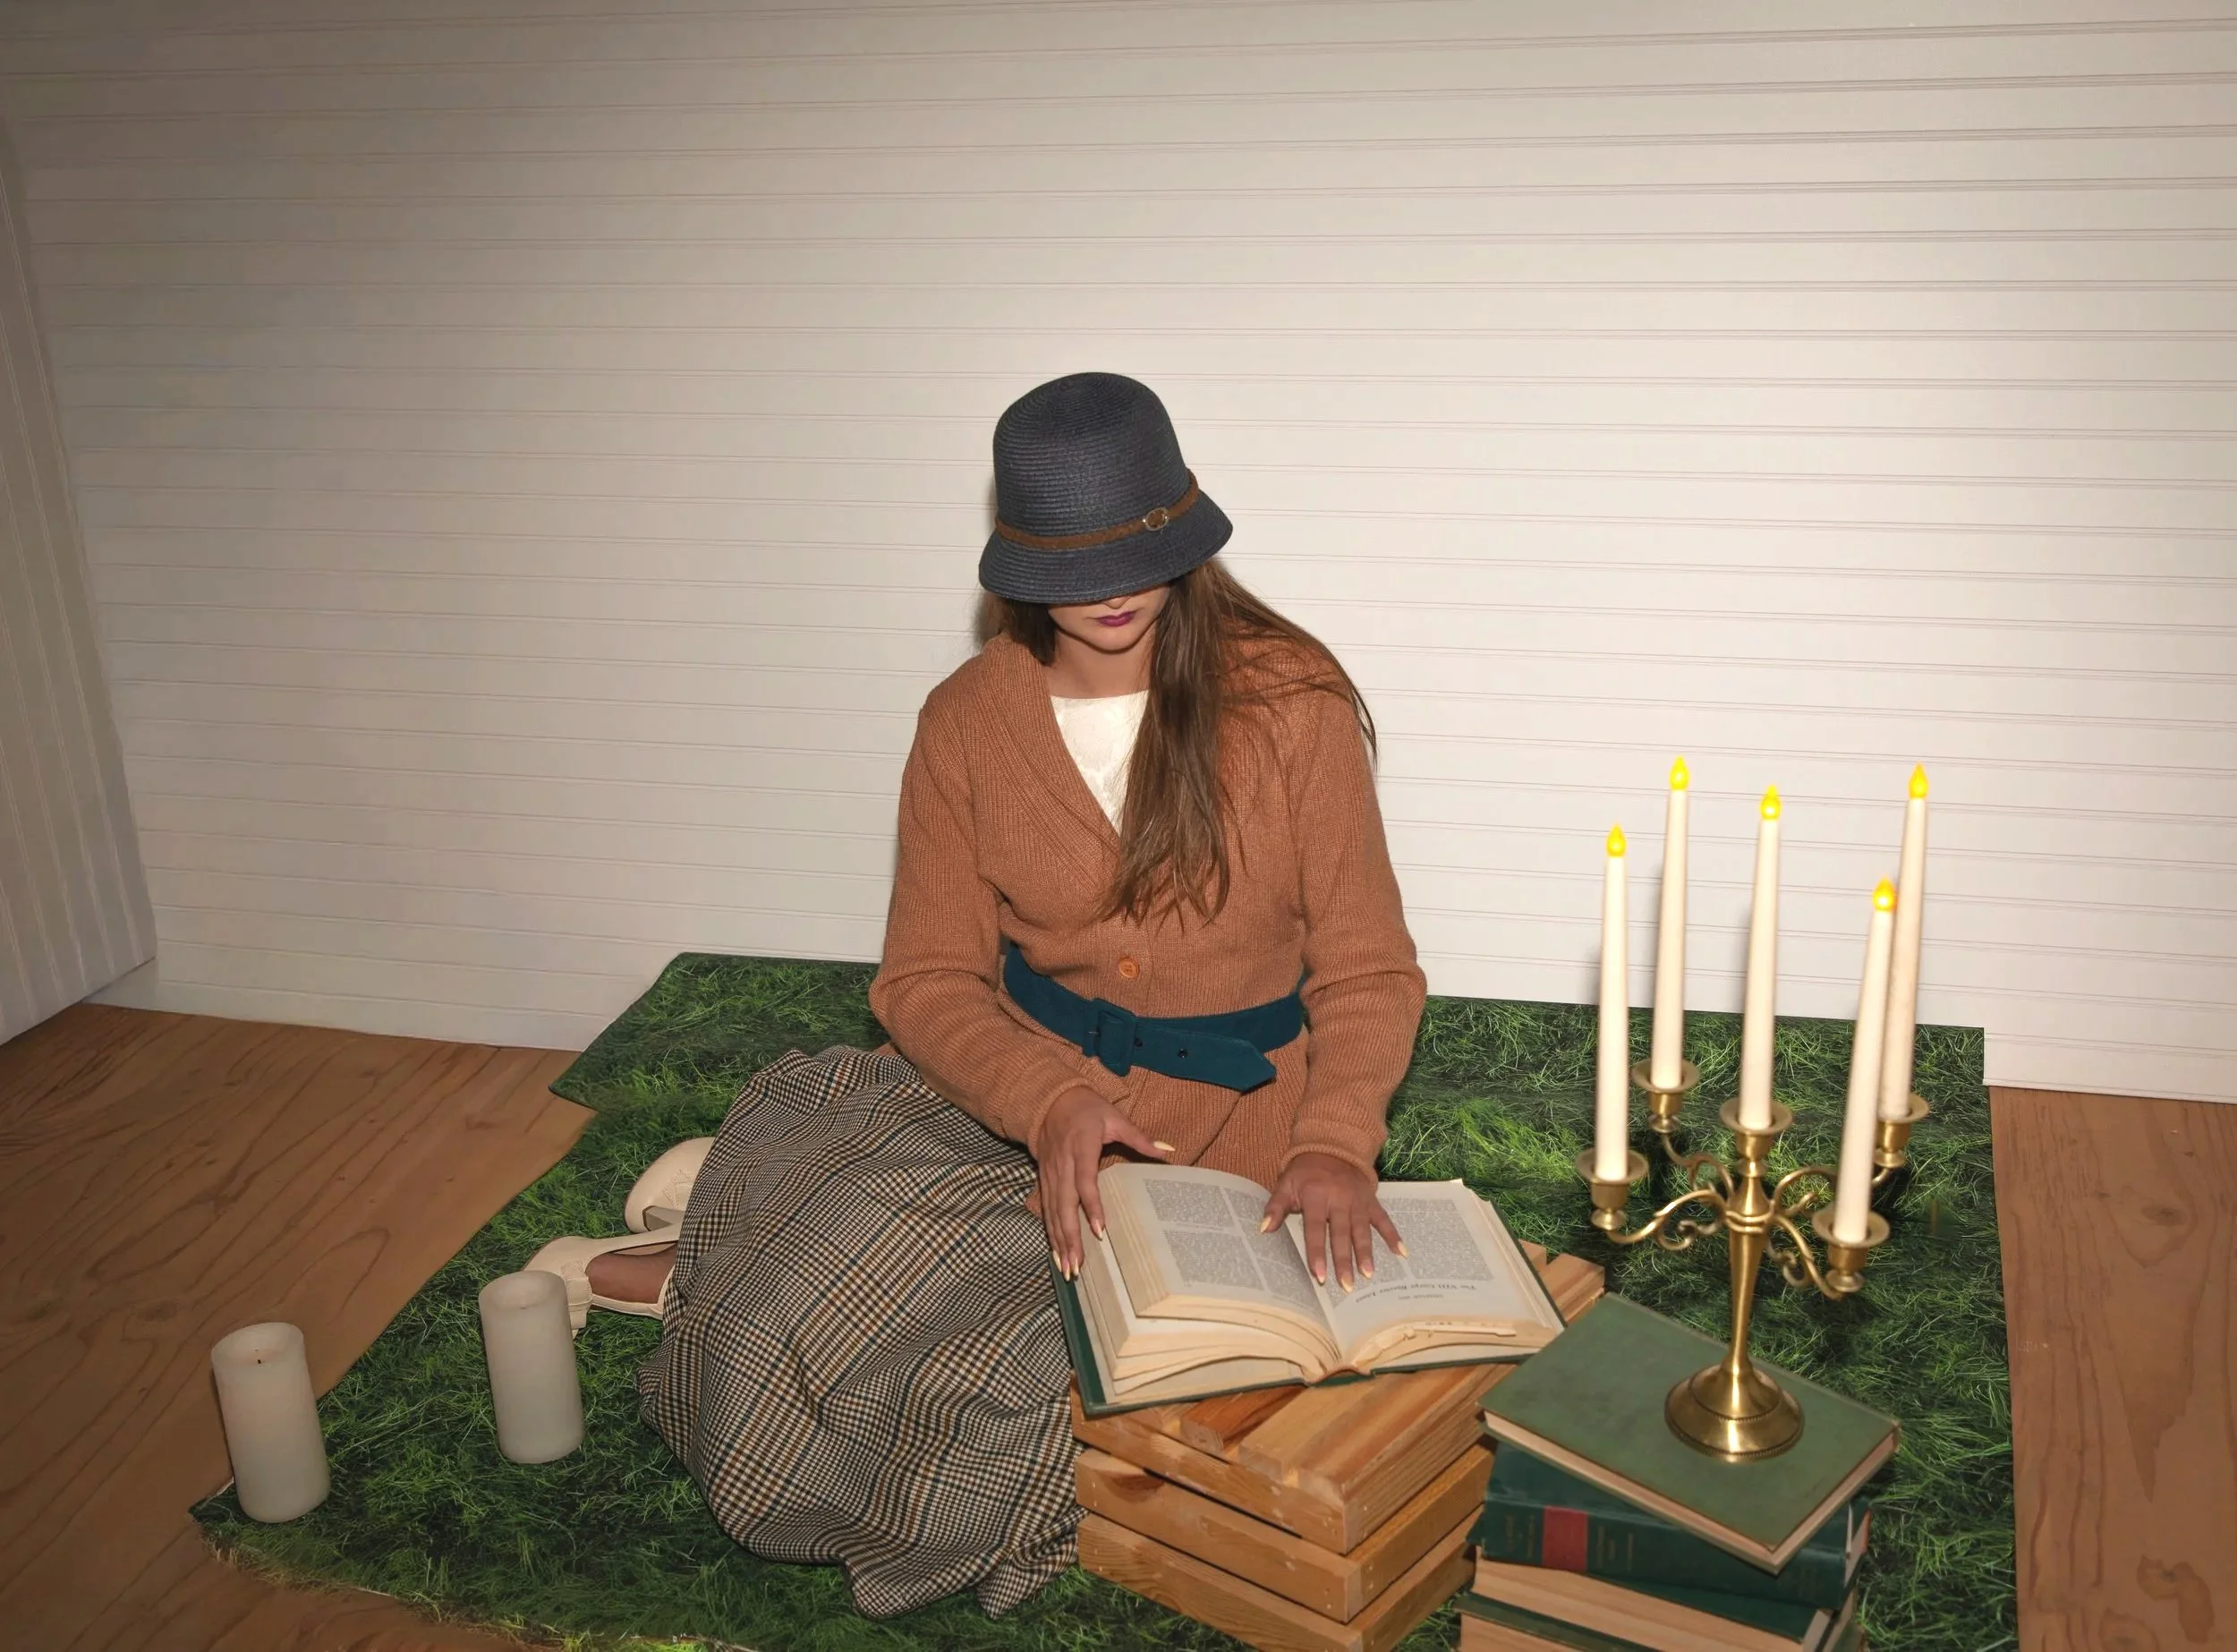
Test shot for a branding photo. Working on a set of photos with this theme. #booktok