

How I Turned a Backyard Shed into an Enchanting Portrait Studio
Part 2: Electrical Boxes, Wiring, and
Insulation
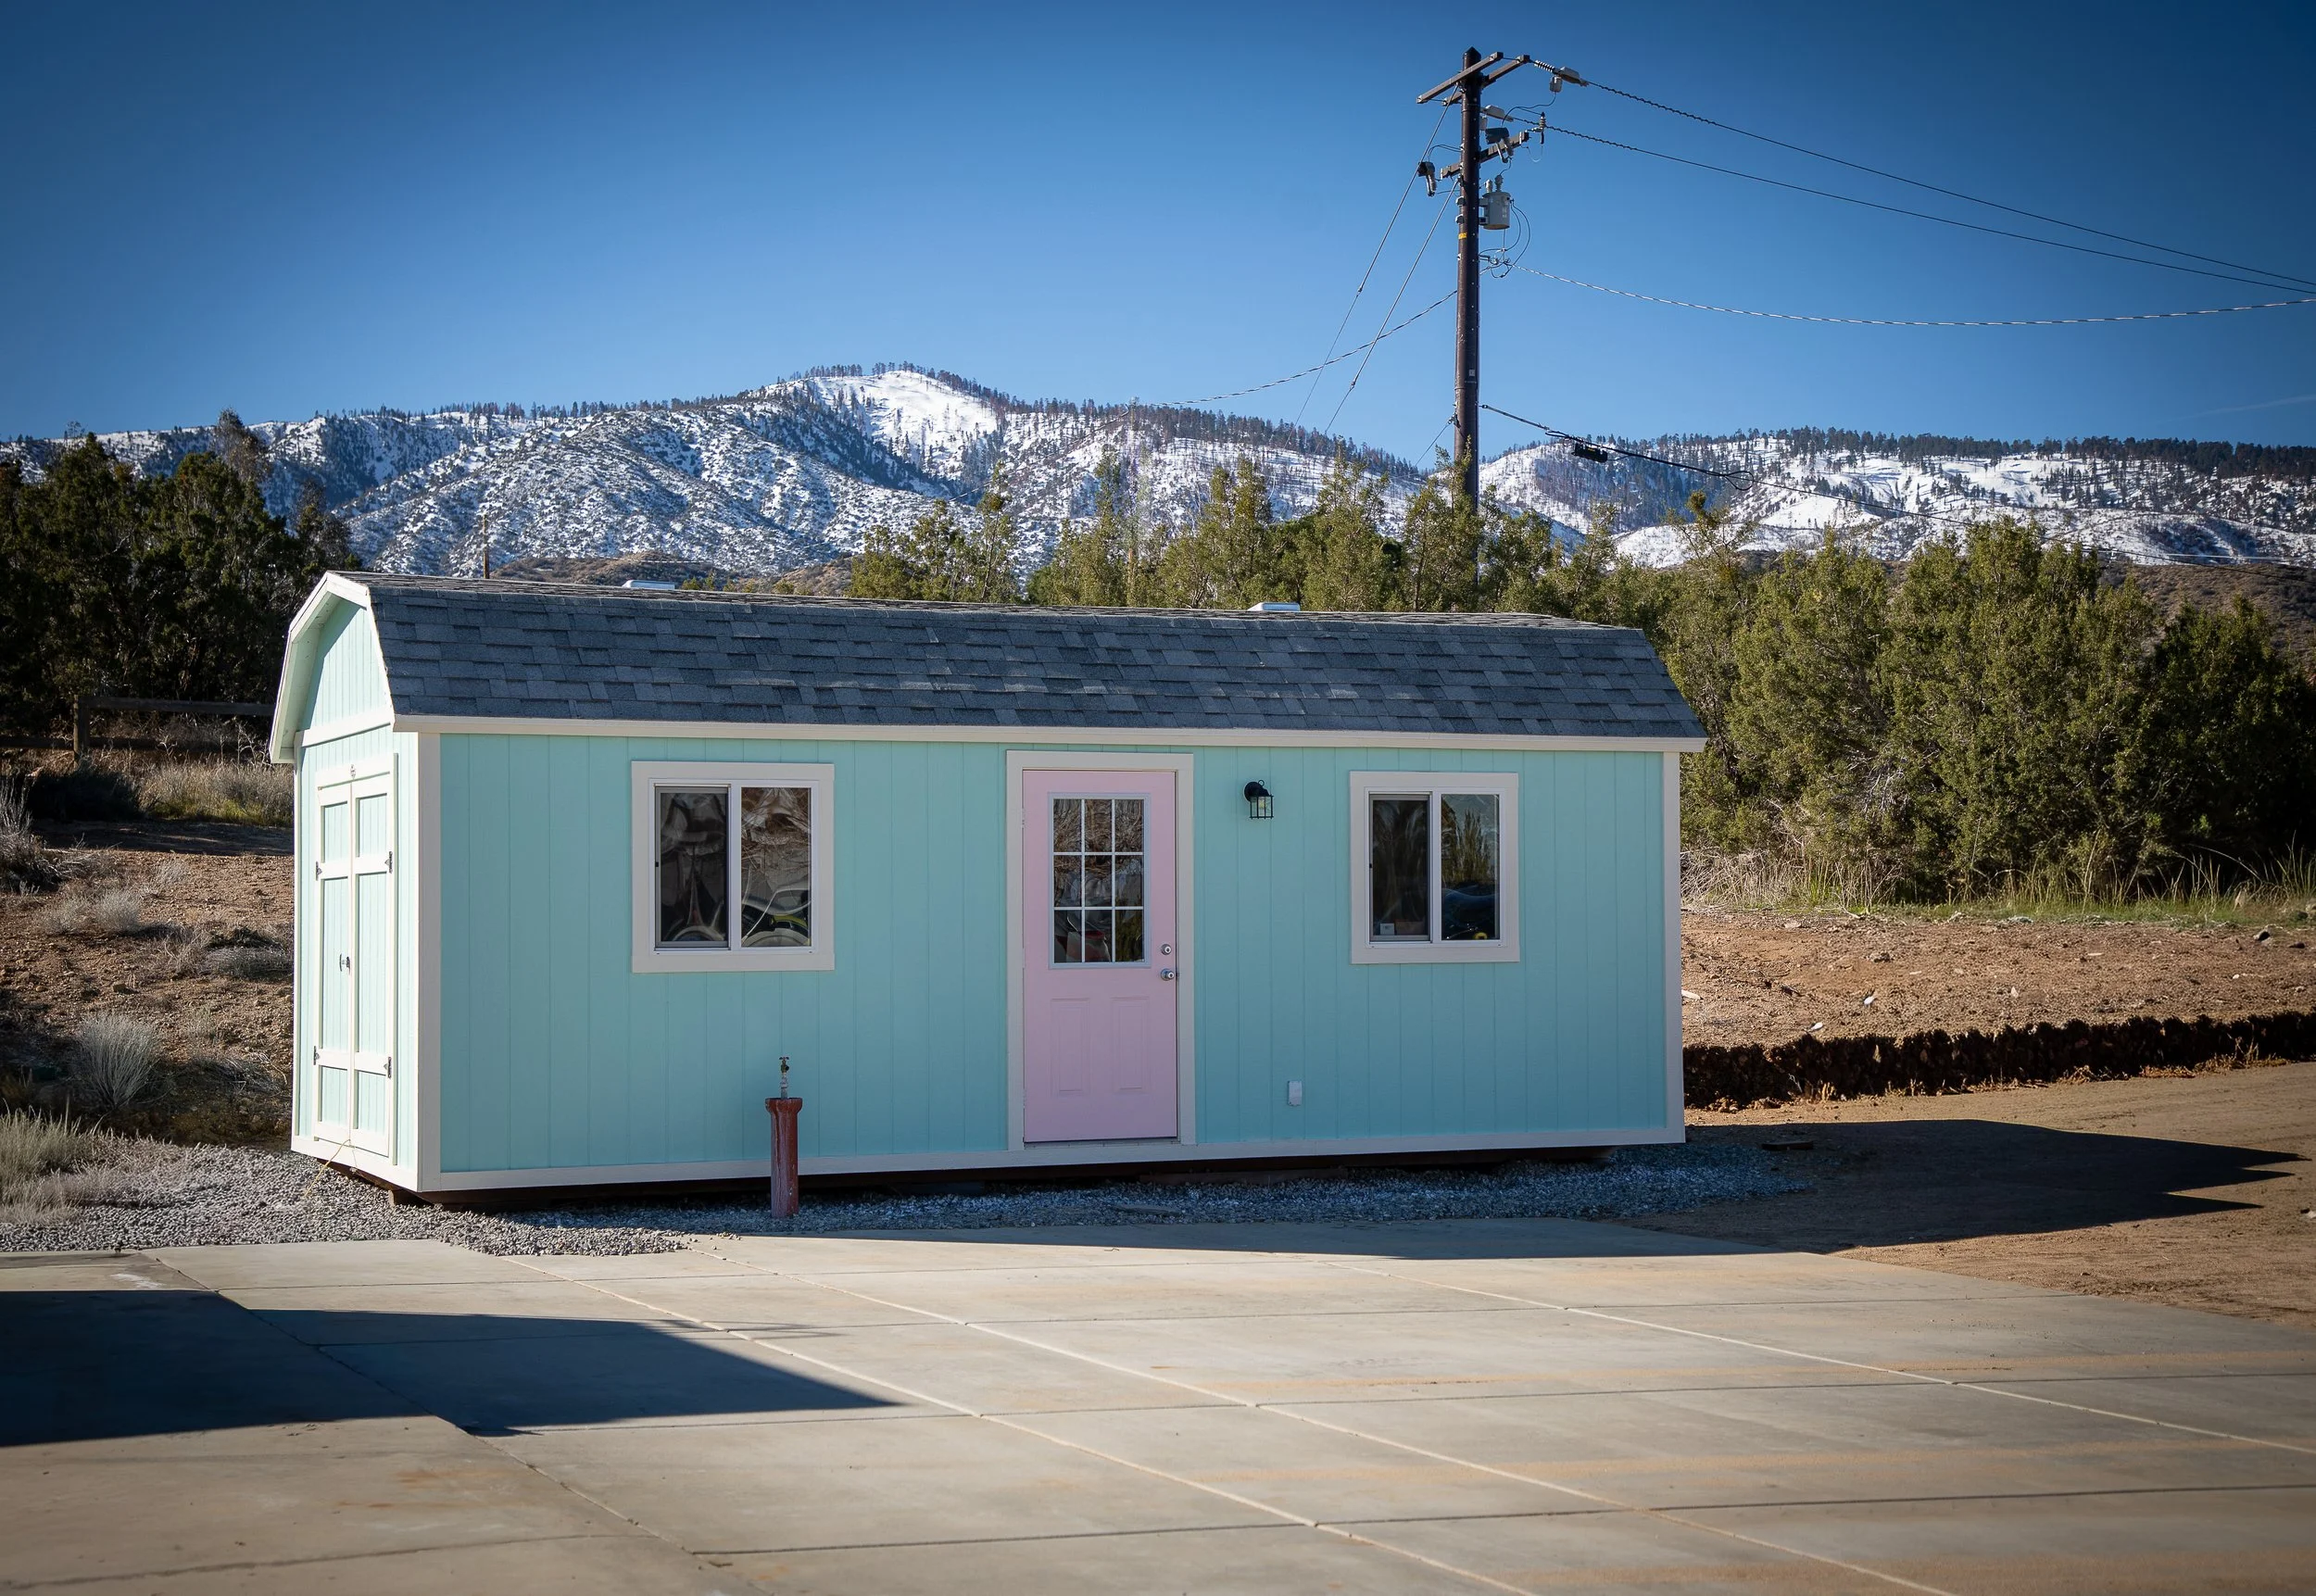
Cottagecore shed in the snow covered hills
We’re back!!
Back to what you ask? Back to the shed that is being transformed from a “Snore” to “Cottagecore”.
When you last visited, we finished all the exterior paintwork. I thought that was a doozy between the multiple layers of primer, paint, and caulk.
I was wrong. Wrong. Wrong. Wrong. I was so very wrong.
If you're just joining me, this is Part 2 of my studio transformation series. Start with part 1 here to see where this enchanted space began, as a plain, ordinary shed.
*Disclaimer: Please check your local codes, laws, permits, etc. before embarking on any big home project. We did everything according to where we live, but the next town over has different laws.
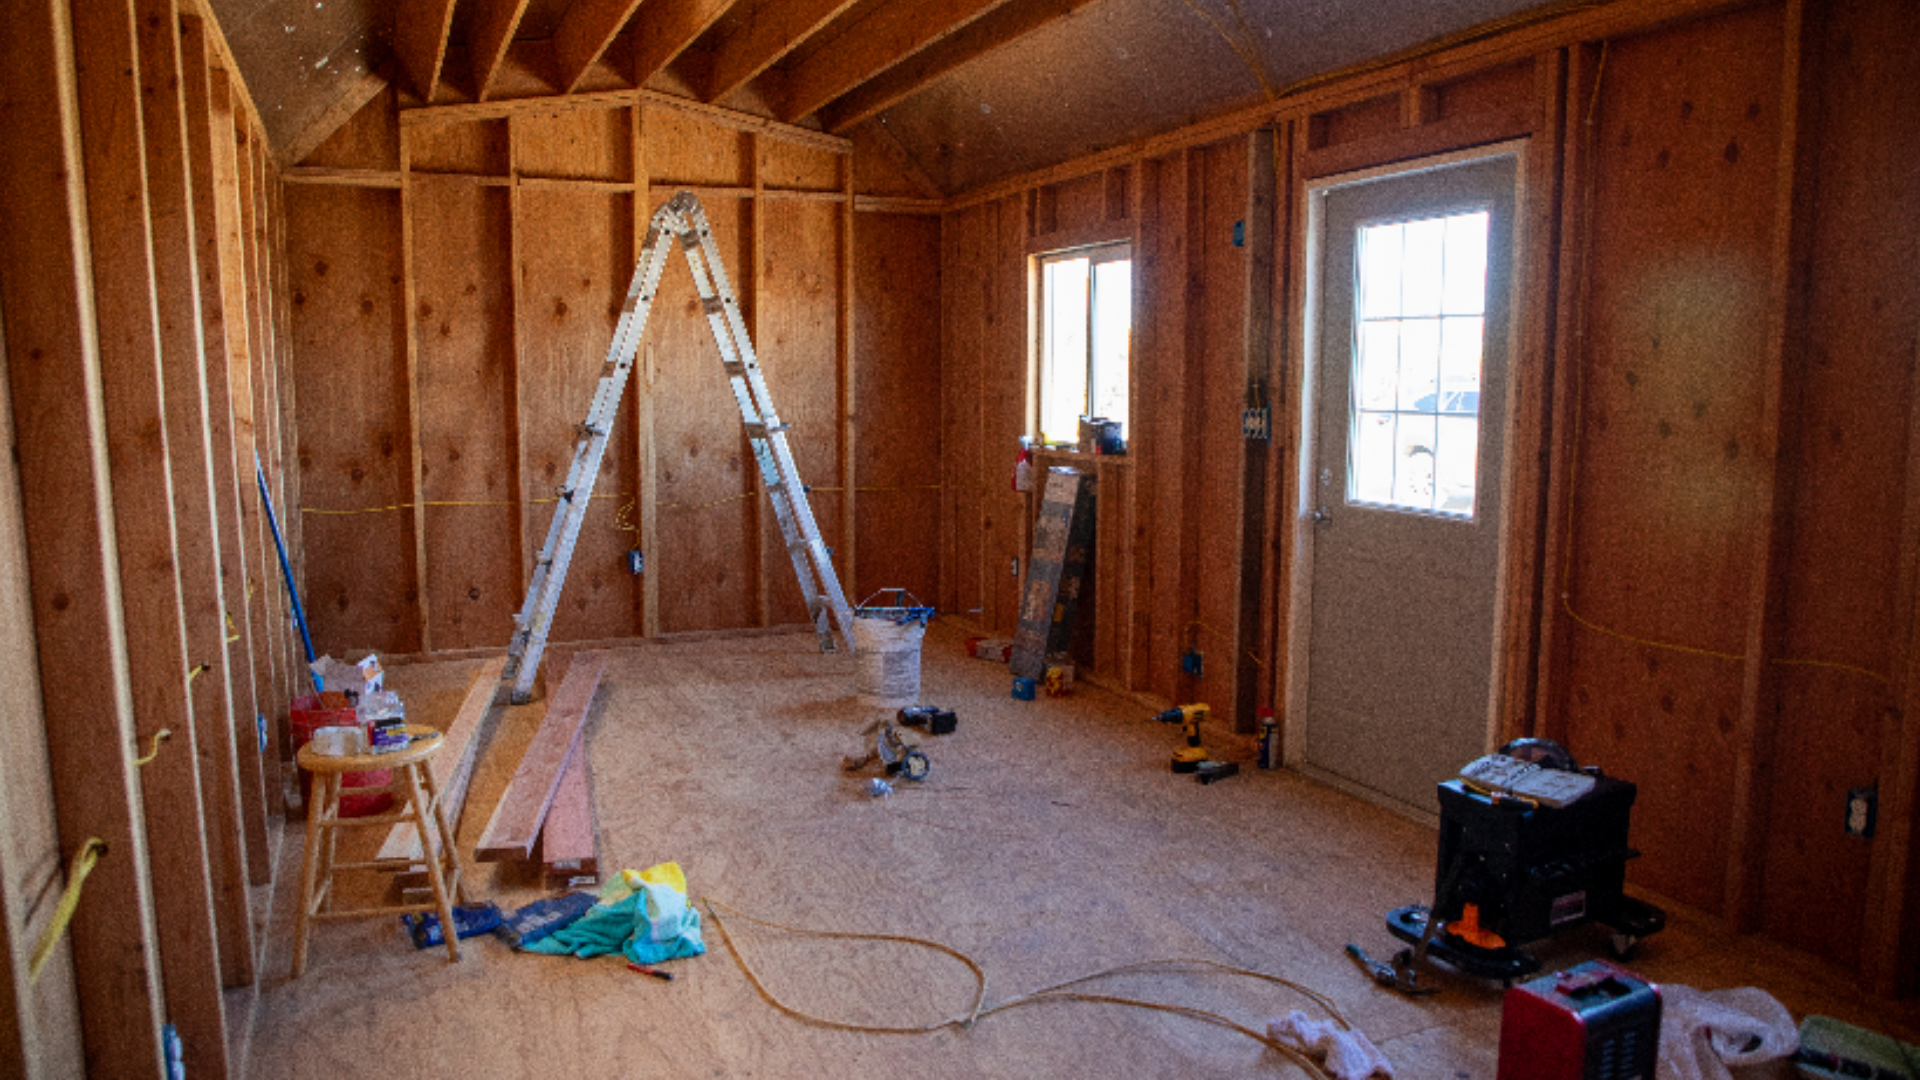
Okay, let’s take a look inside.
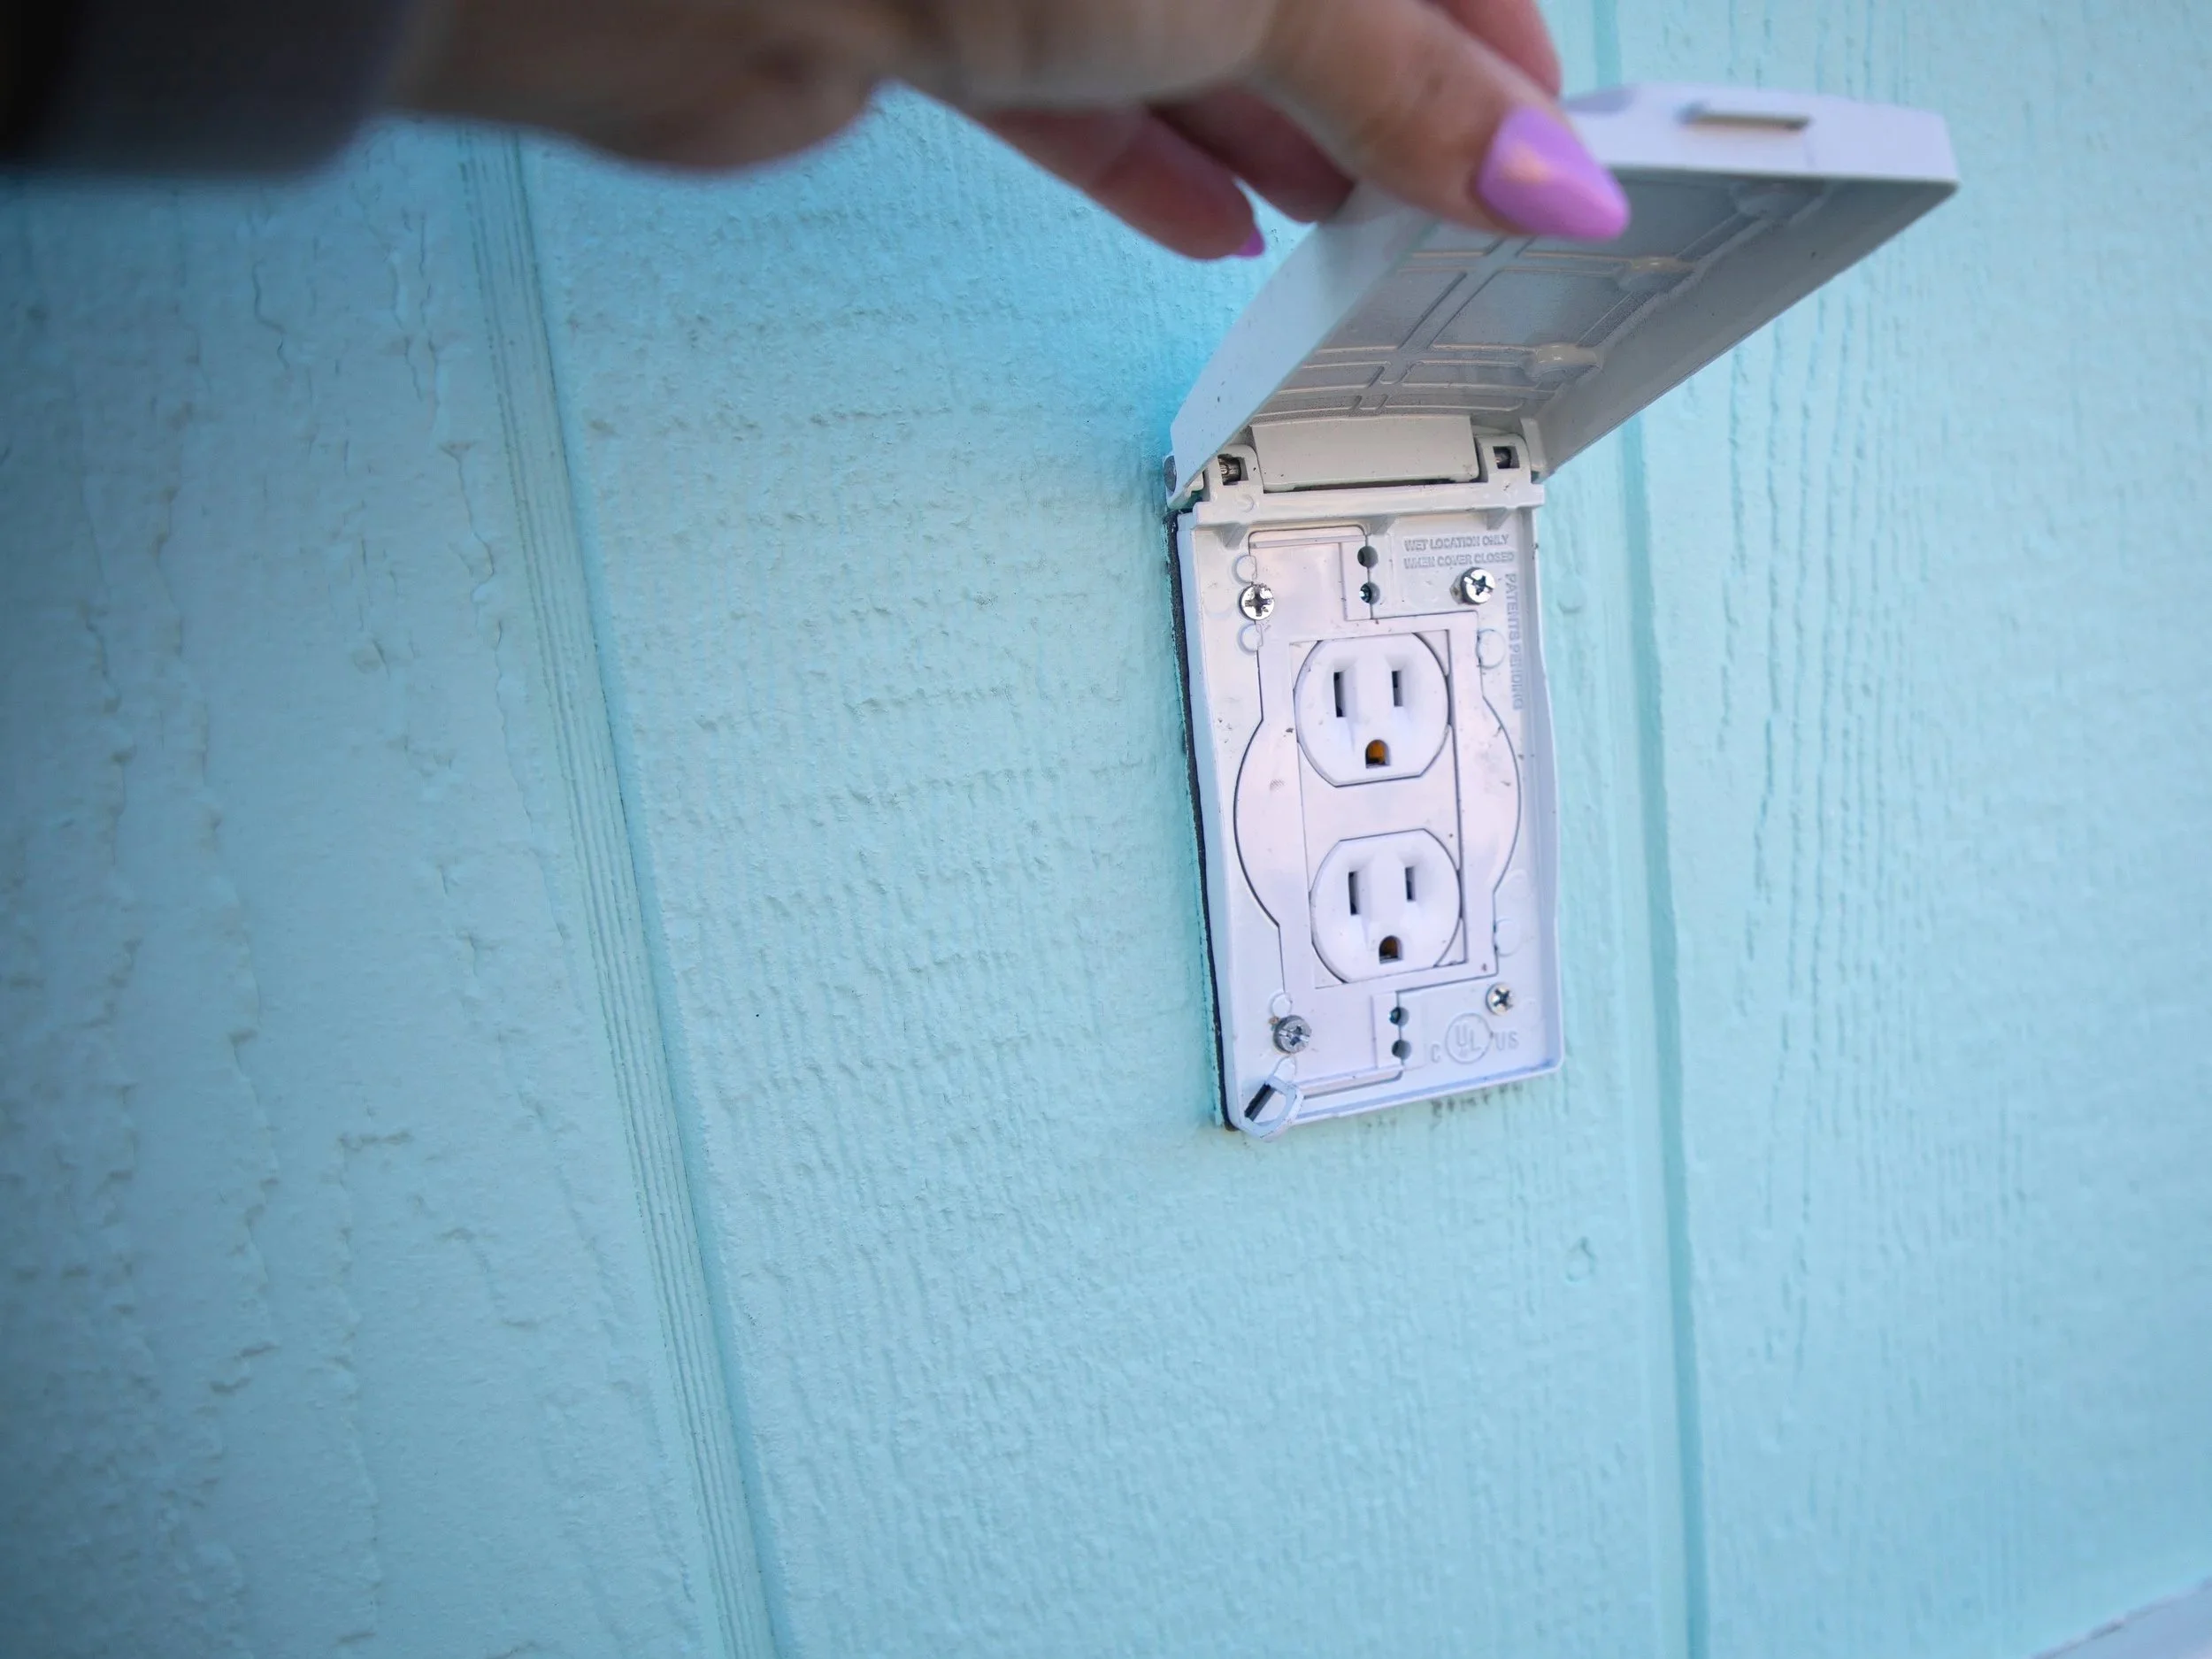
Exterior outlet for plugging in lights or whatever else.
First things first, buy more outlets than you think you’ll need. My husband, aka Mr. Amazing, had to go back for more outlets and electrical covers, but luckily, we had extra light switches in our garage.
Drilling Holes & Adding a Porch Light
Almost every 2x4 in the whole place needed at least one hole drilled. Some needed more than one.
We had to run all the wiring through the holes to each electrical box.
My youngest attached all the electrical boxes to the 2x4’s, and she did a great job! This has definitely been a family affair.
“All hands on deck!”
Cutting the wire and attaching it to each outlet took half a day. We added 2 ceiling outlets for lights as well. I’m thinking I need a little chandelier.
We have a weatherproof outlet for the front because… Christmas lights! Yes, my studio will be decorated for the holidays!
And, a cute front porch lamp was installed. I originally wanted white, but changed my mind to black. The contrast looks nice, don’t you think?
I need to return the white still. But, never fear, Home Depot knows us by first name now. Just Kidding. Not really. Well, sorta.
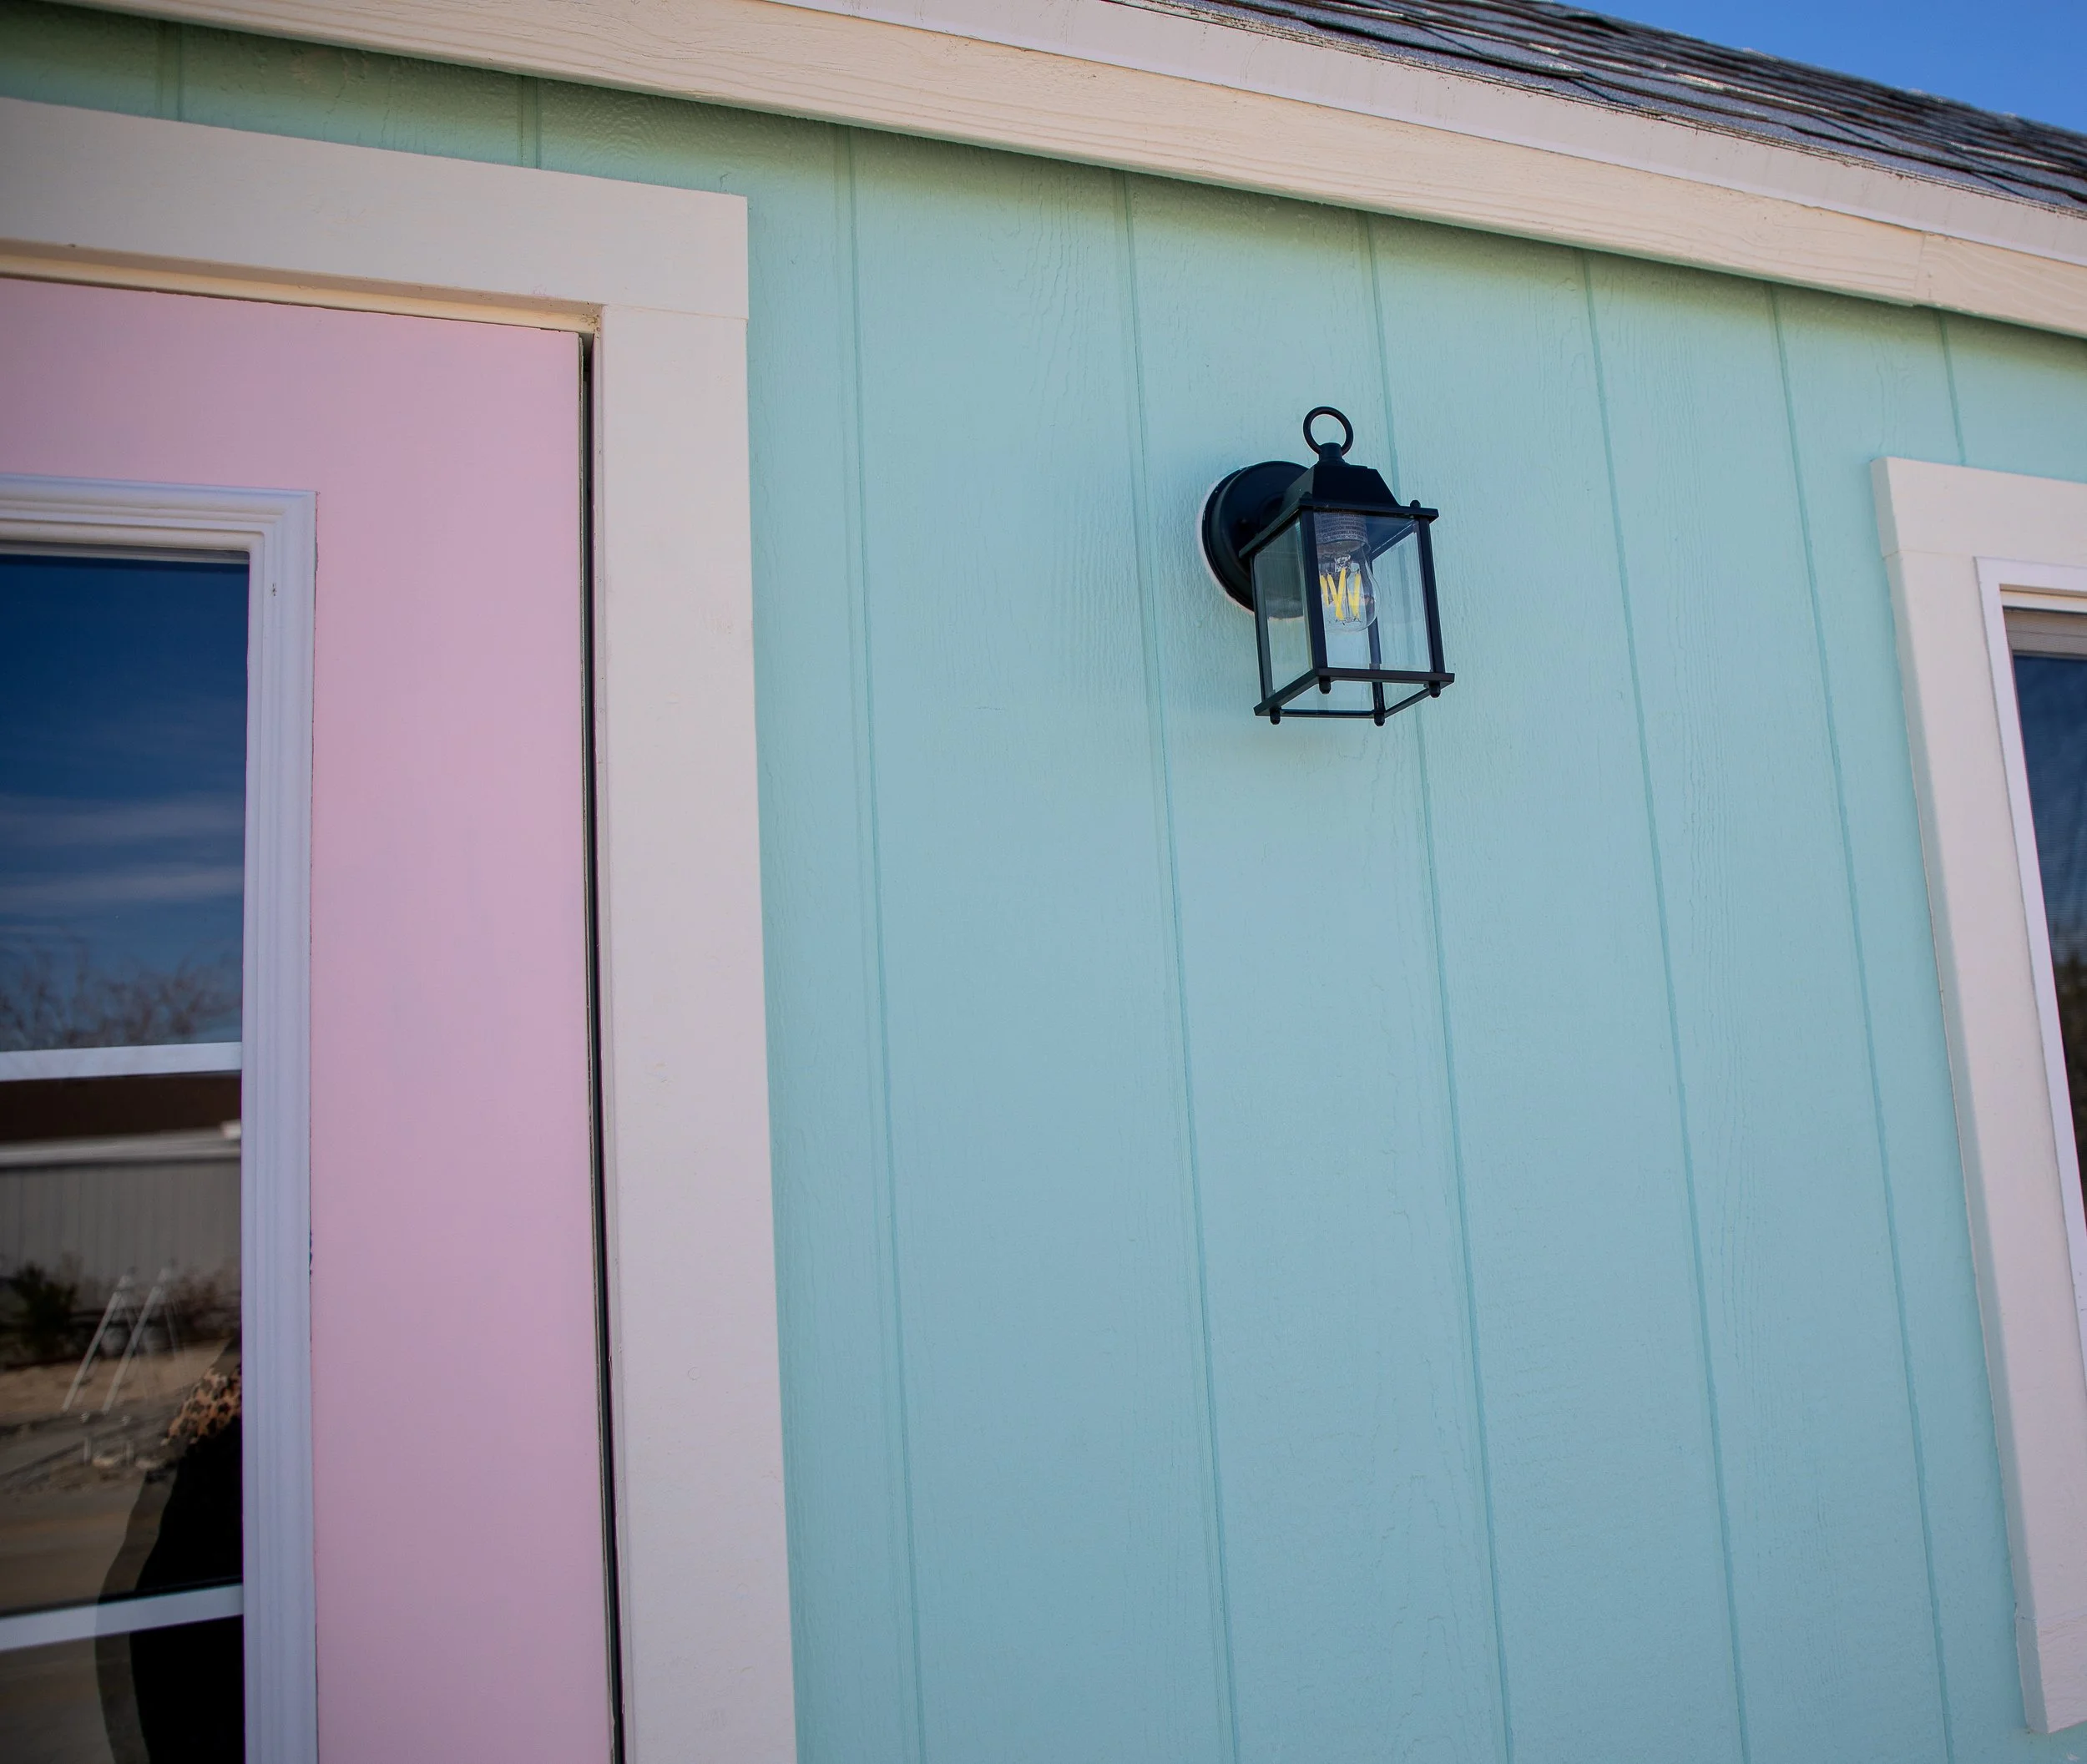
The black porch lamp looks good, right?
The triple light switch is for the outdoor light and to turn the ceiling lights on. I have one switch for each light.
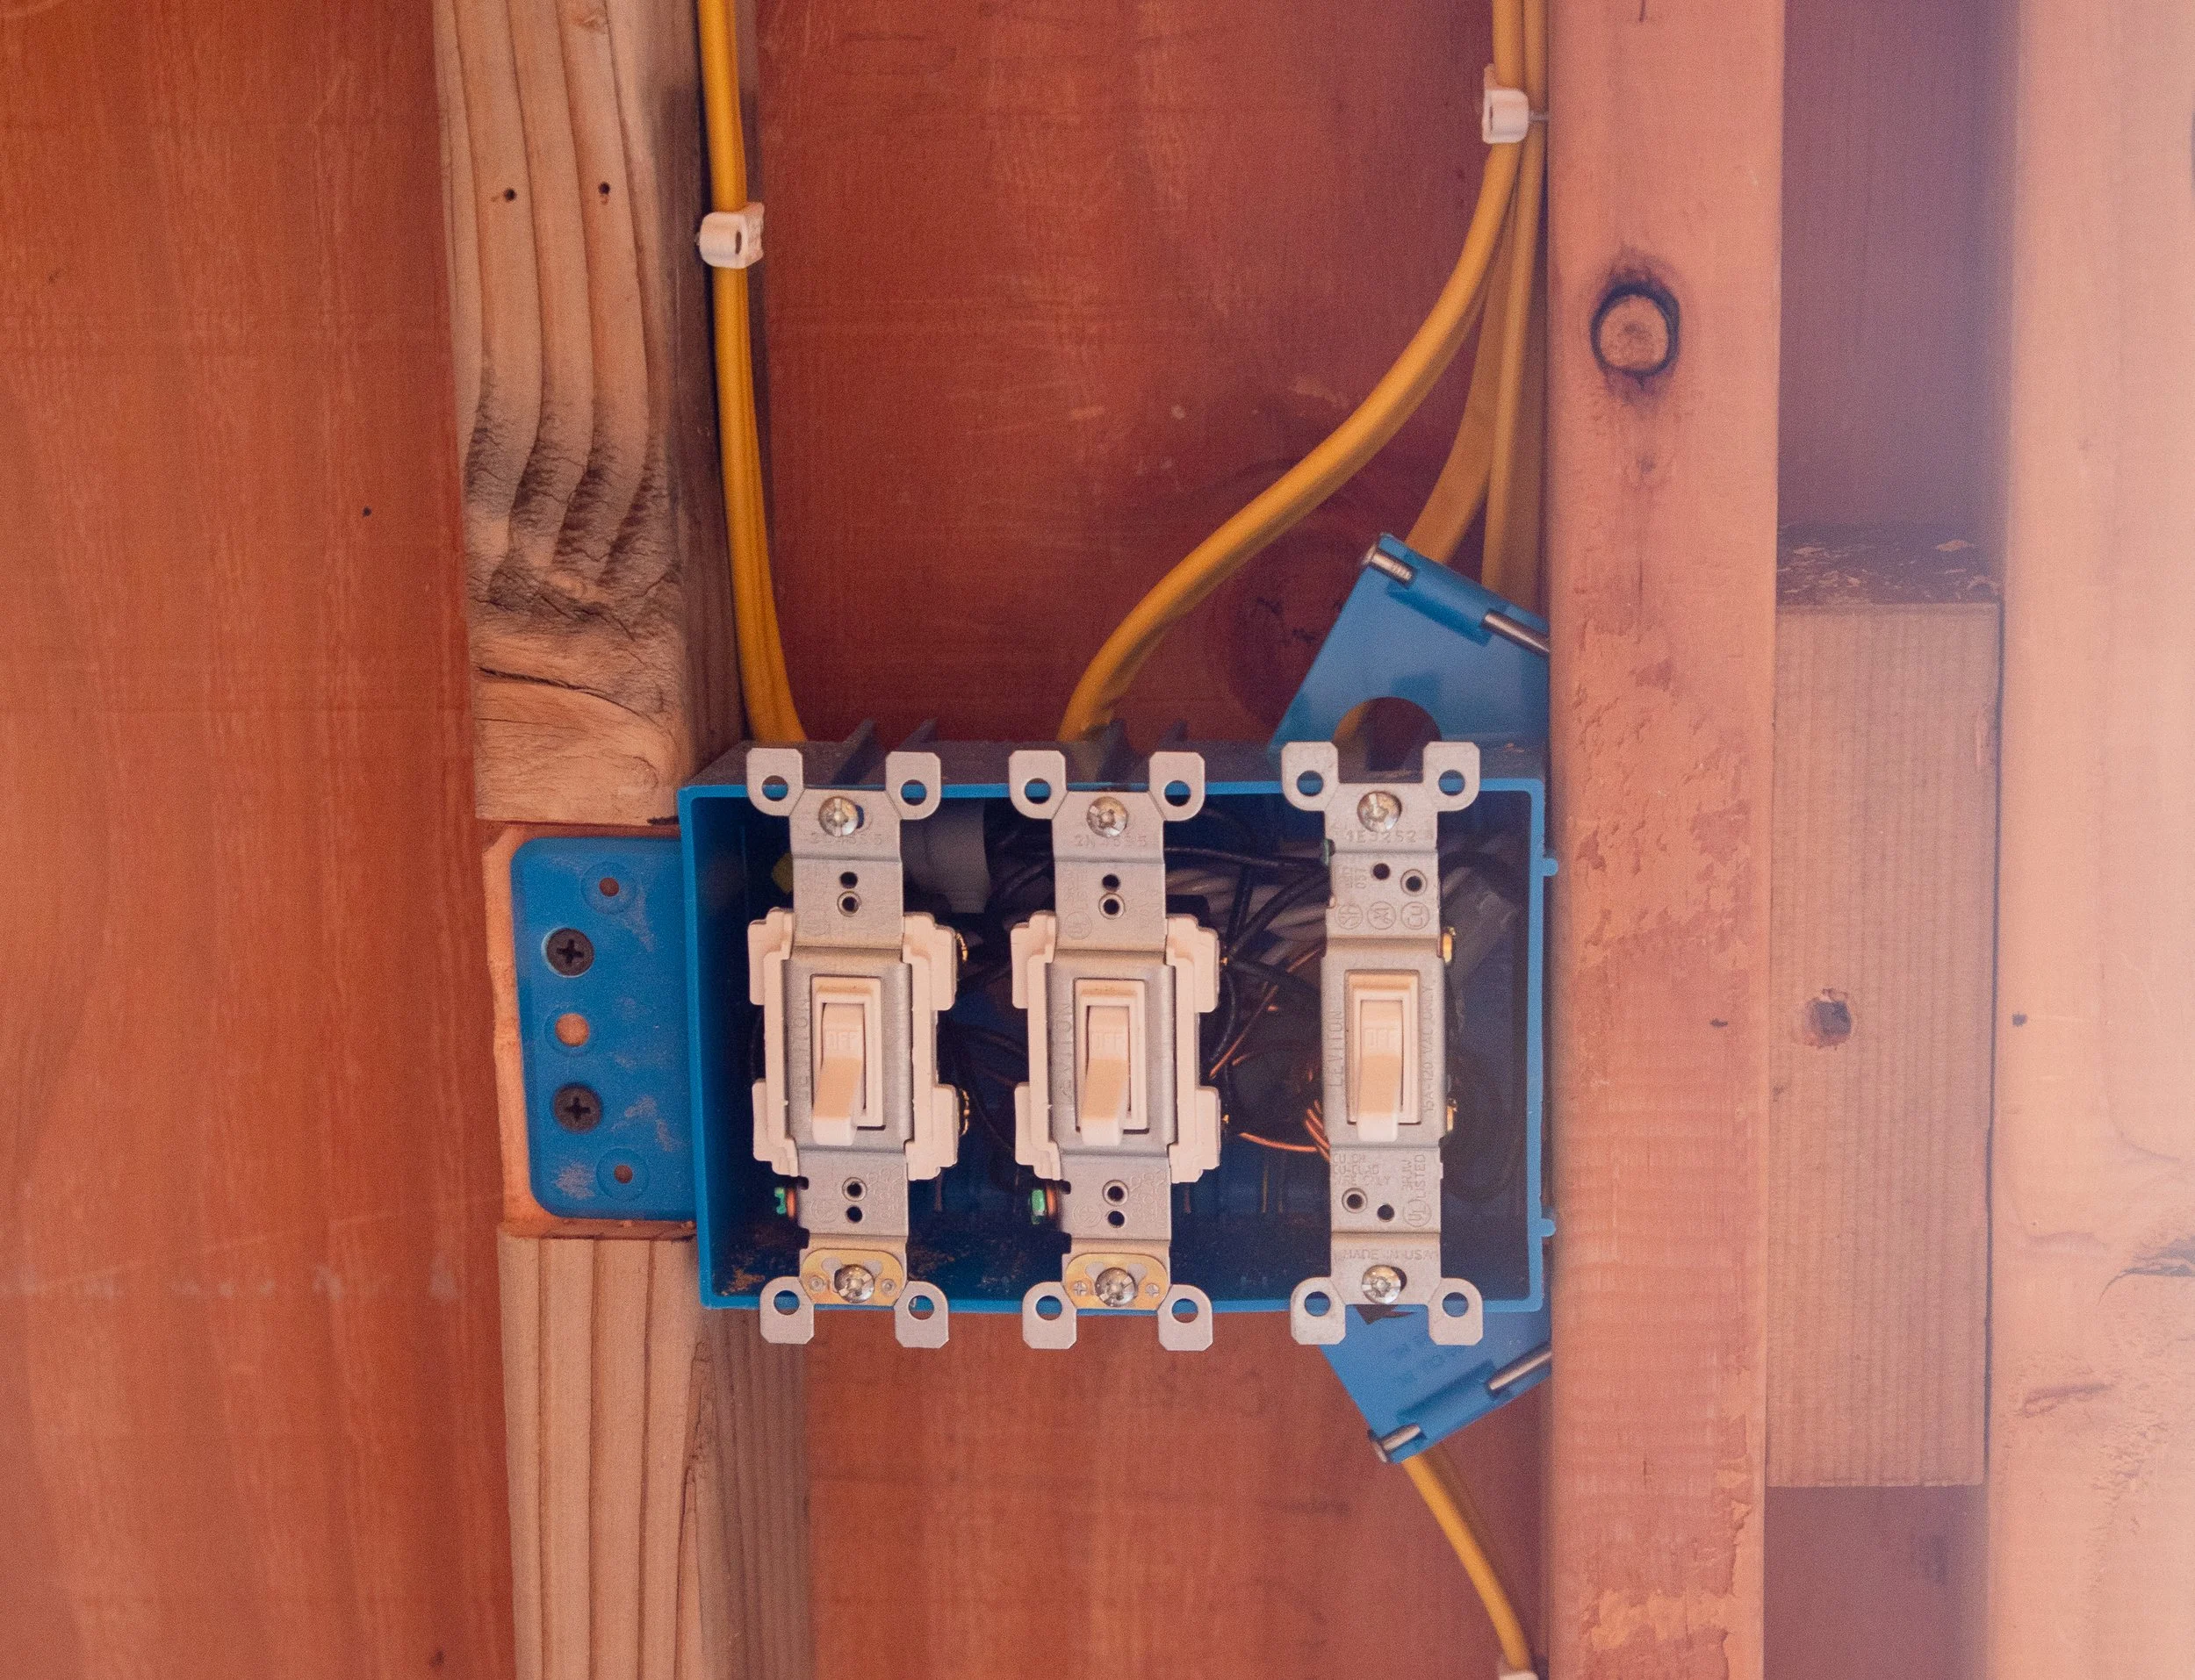
My husband is a freaking genius! He thought it’d be nice to have one light for one end if someone is getting makeup and hair done, while the other overhead light can be turned off. And the third is for the outside light, of course.
He knows that I use natural window light along with strobes (photography lights). See, ladies, they do pay attention.
We say NO to overhead fluorescent lights in photography. The overhead lighting will be turned off during photo sessions.
But, if I have a client meeting, photo reveal, ordering appointment, and so on, having lights will be very nice.
I need to see, apparently. So, lighting will be nice.
Interior with electircal wires and outlets
The shed will be running on a couple of different fuses. My lights are powerful, and he wanted to make sure I don’t blow a fuse. Again, he’s a genius. He thought of so many things I didn’t think about at all.
I might let him do the ribbon cutting when it’s all finished. Ha!
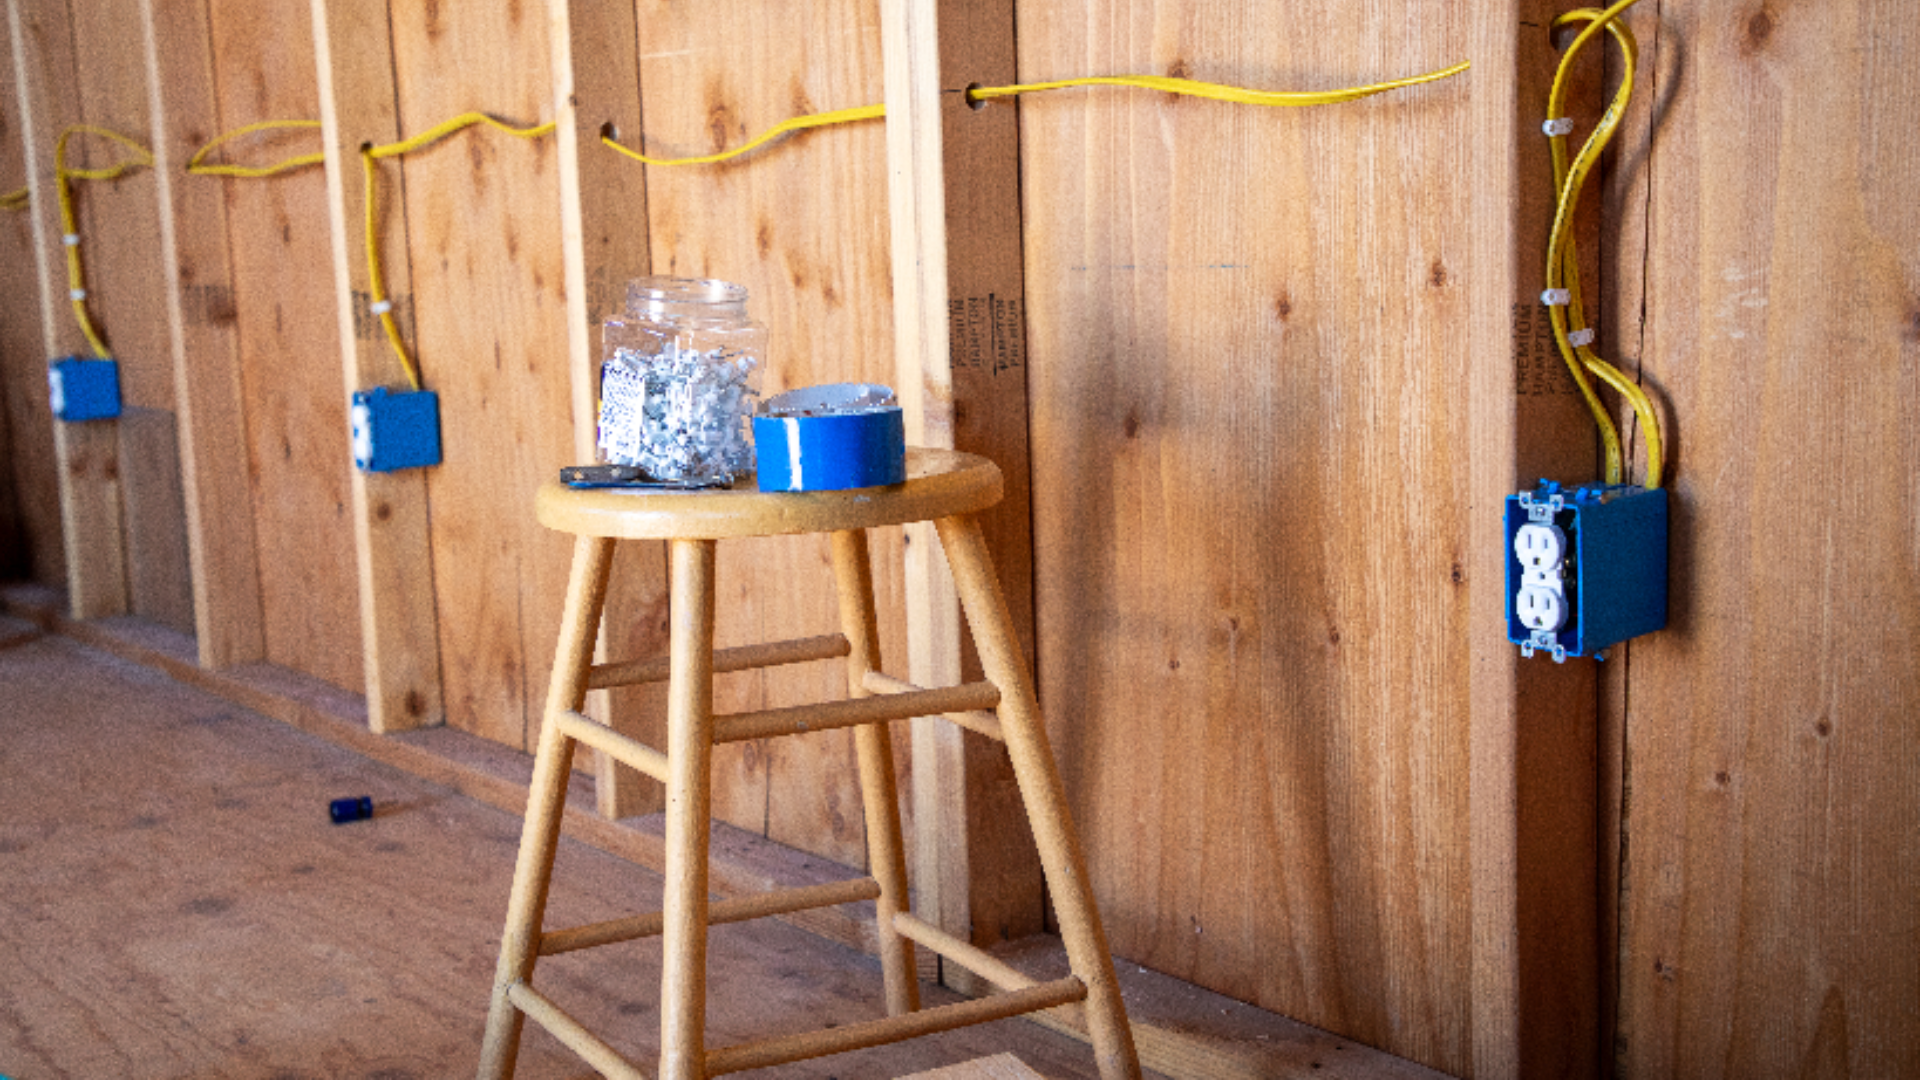
Wires, outlets, and clips, oh my!
Still undecided on the type of steps to make (wood, cement, or paving stones). And I need pretty plants in the front. Once the weather starts to warm up, I will grab lavender and rosemary and plant them in two large urns I have.
I’m also thinking of adding steps to the barn door. Originally, I hadn’t thought about it. But I know going in and out of that door will happen a lot, and I want some sort of steps.
The more I think about it, I’d love to have those doors open to use for side lighting and for creative backlit images. My creative brain is screaming full speed ahead.
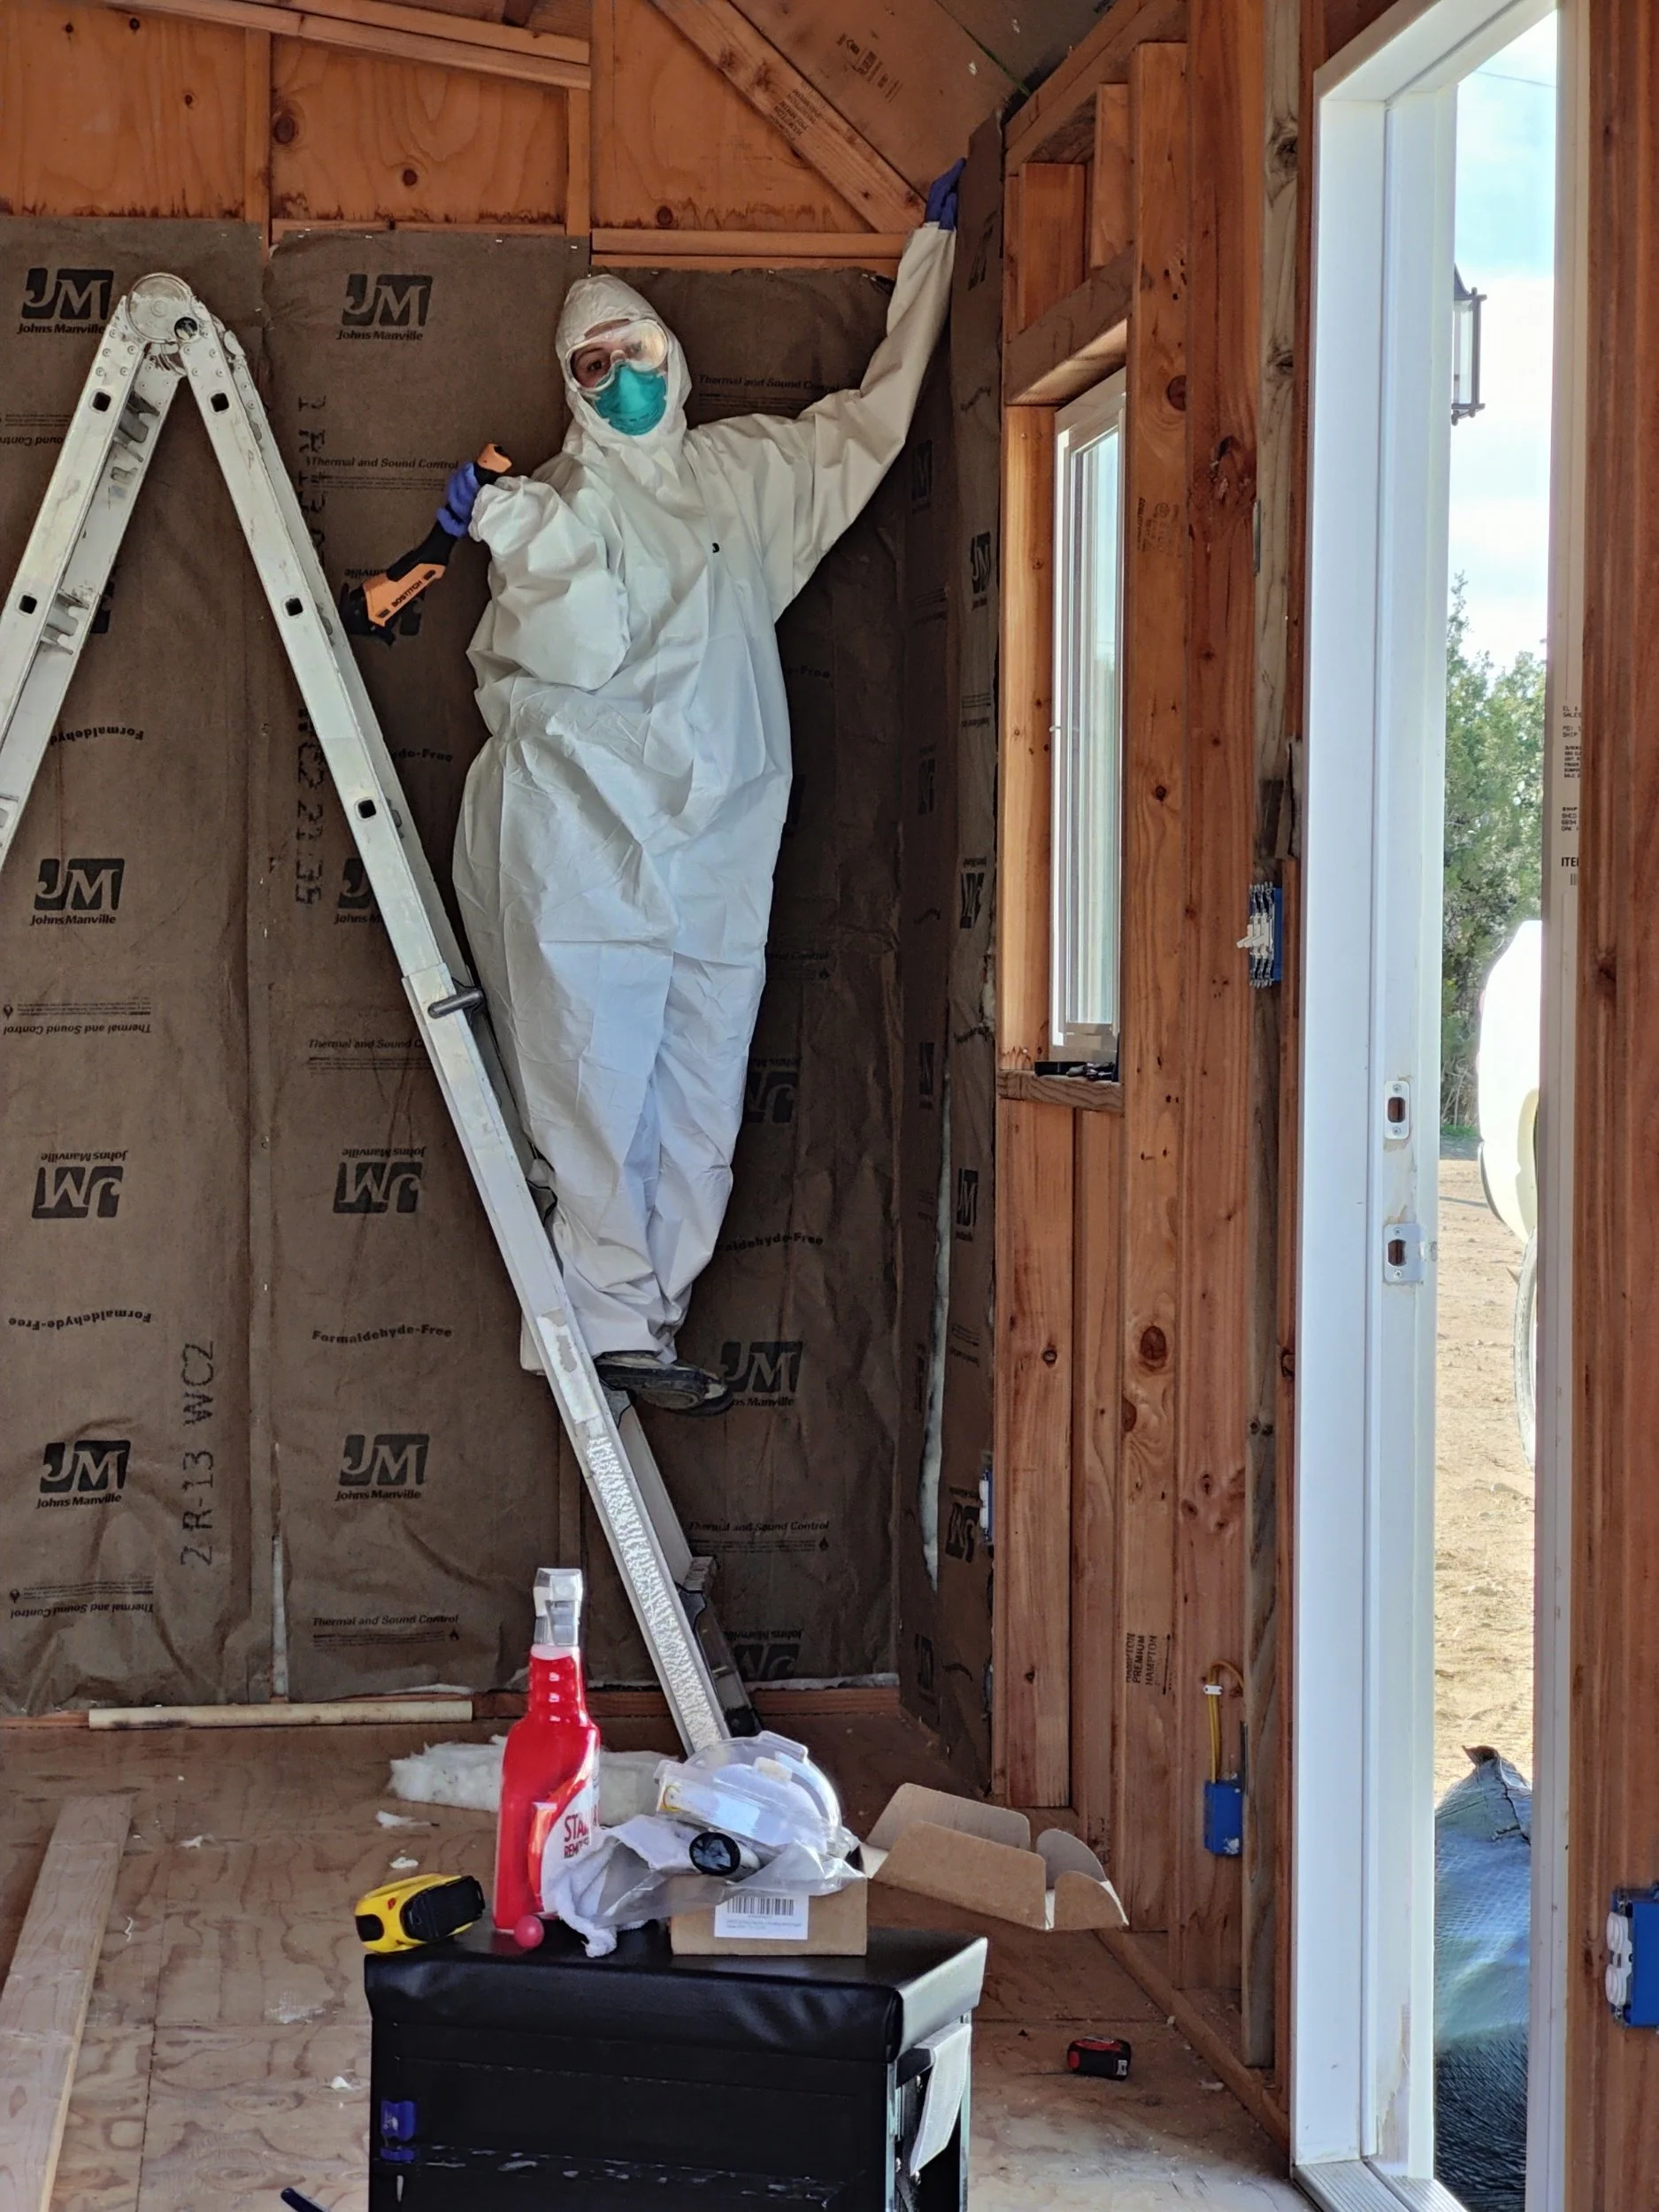
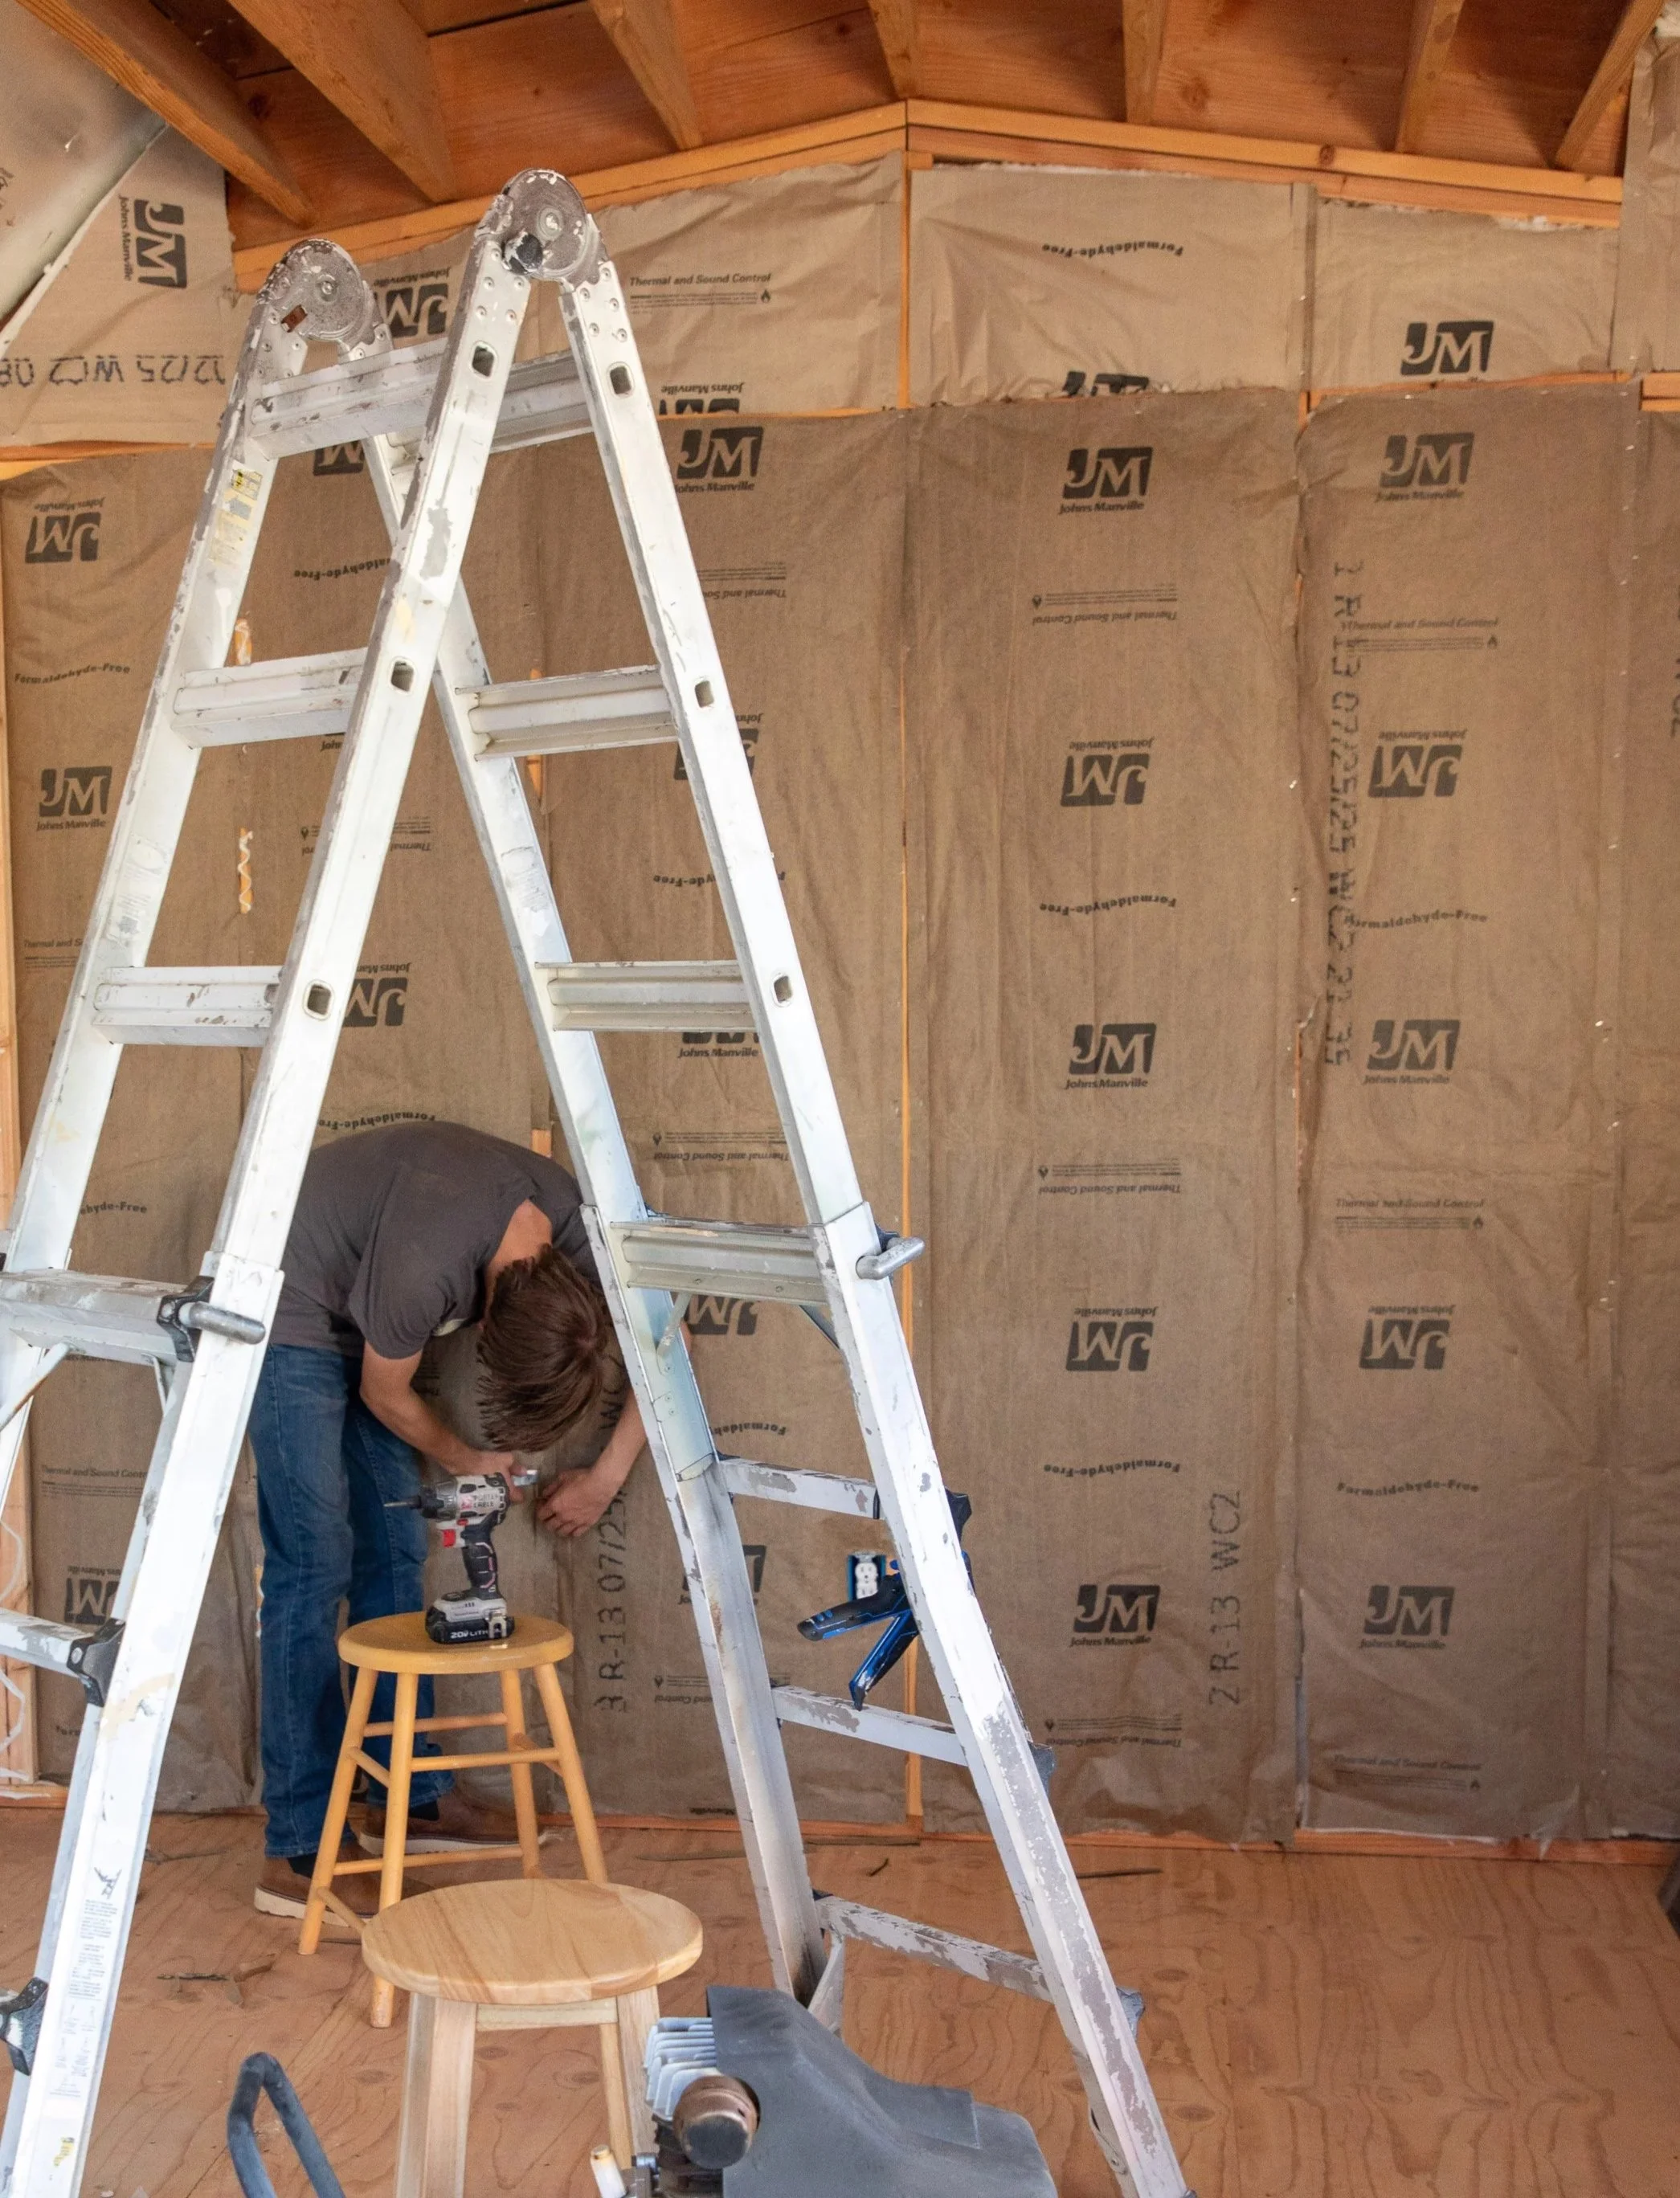
My husband and daughter put in the insulation. My son had to cut around the metal things that keep you from nailing into the wiring. So many steps.
Drywall is up next.
UPDATE: I decided against drywall. We put up wood panels instead.
This is a huge project, but as I’ve mentioned before, it’s really cool to customize everything to how I want it.
Check out “How to Master Your iPhone Photos.”
Here’s a Creative Maternity Portrait Session I did in my home. I’ll soon be able to whip up all the creative fun in my portrait studio.
See you back here real soon!
Annette