How I Turned a Backyard Shed Into a Magical Portrait Studio
Part One: Finding the Shed & Painting the Vision
Imagine walking around a sea of sheds, outbuildings, and dog runs.
The possibilities are endless, and you tell yourself, “Go big or go home!” Of course, you want that 40 ft building. But you also have to think about size limitations, like where you’ll put that huge monster. And, do you really need that big of a building? Not really.
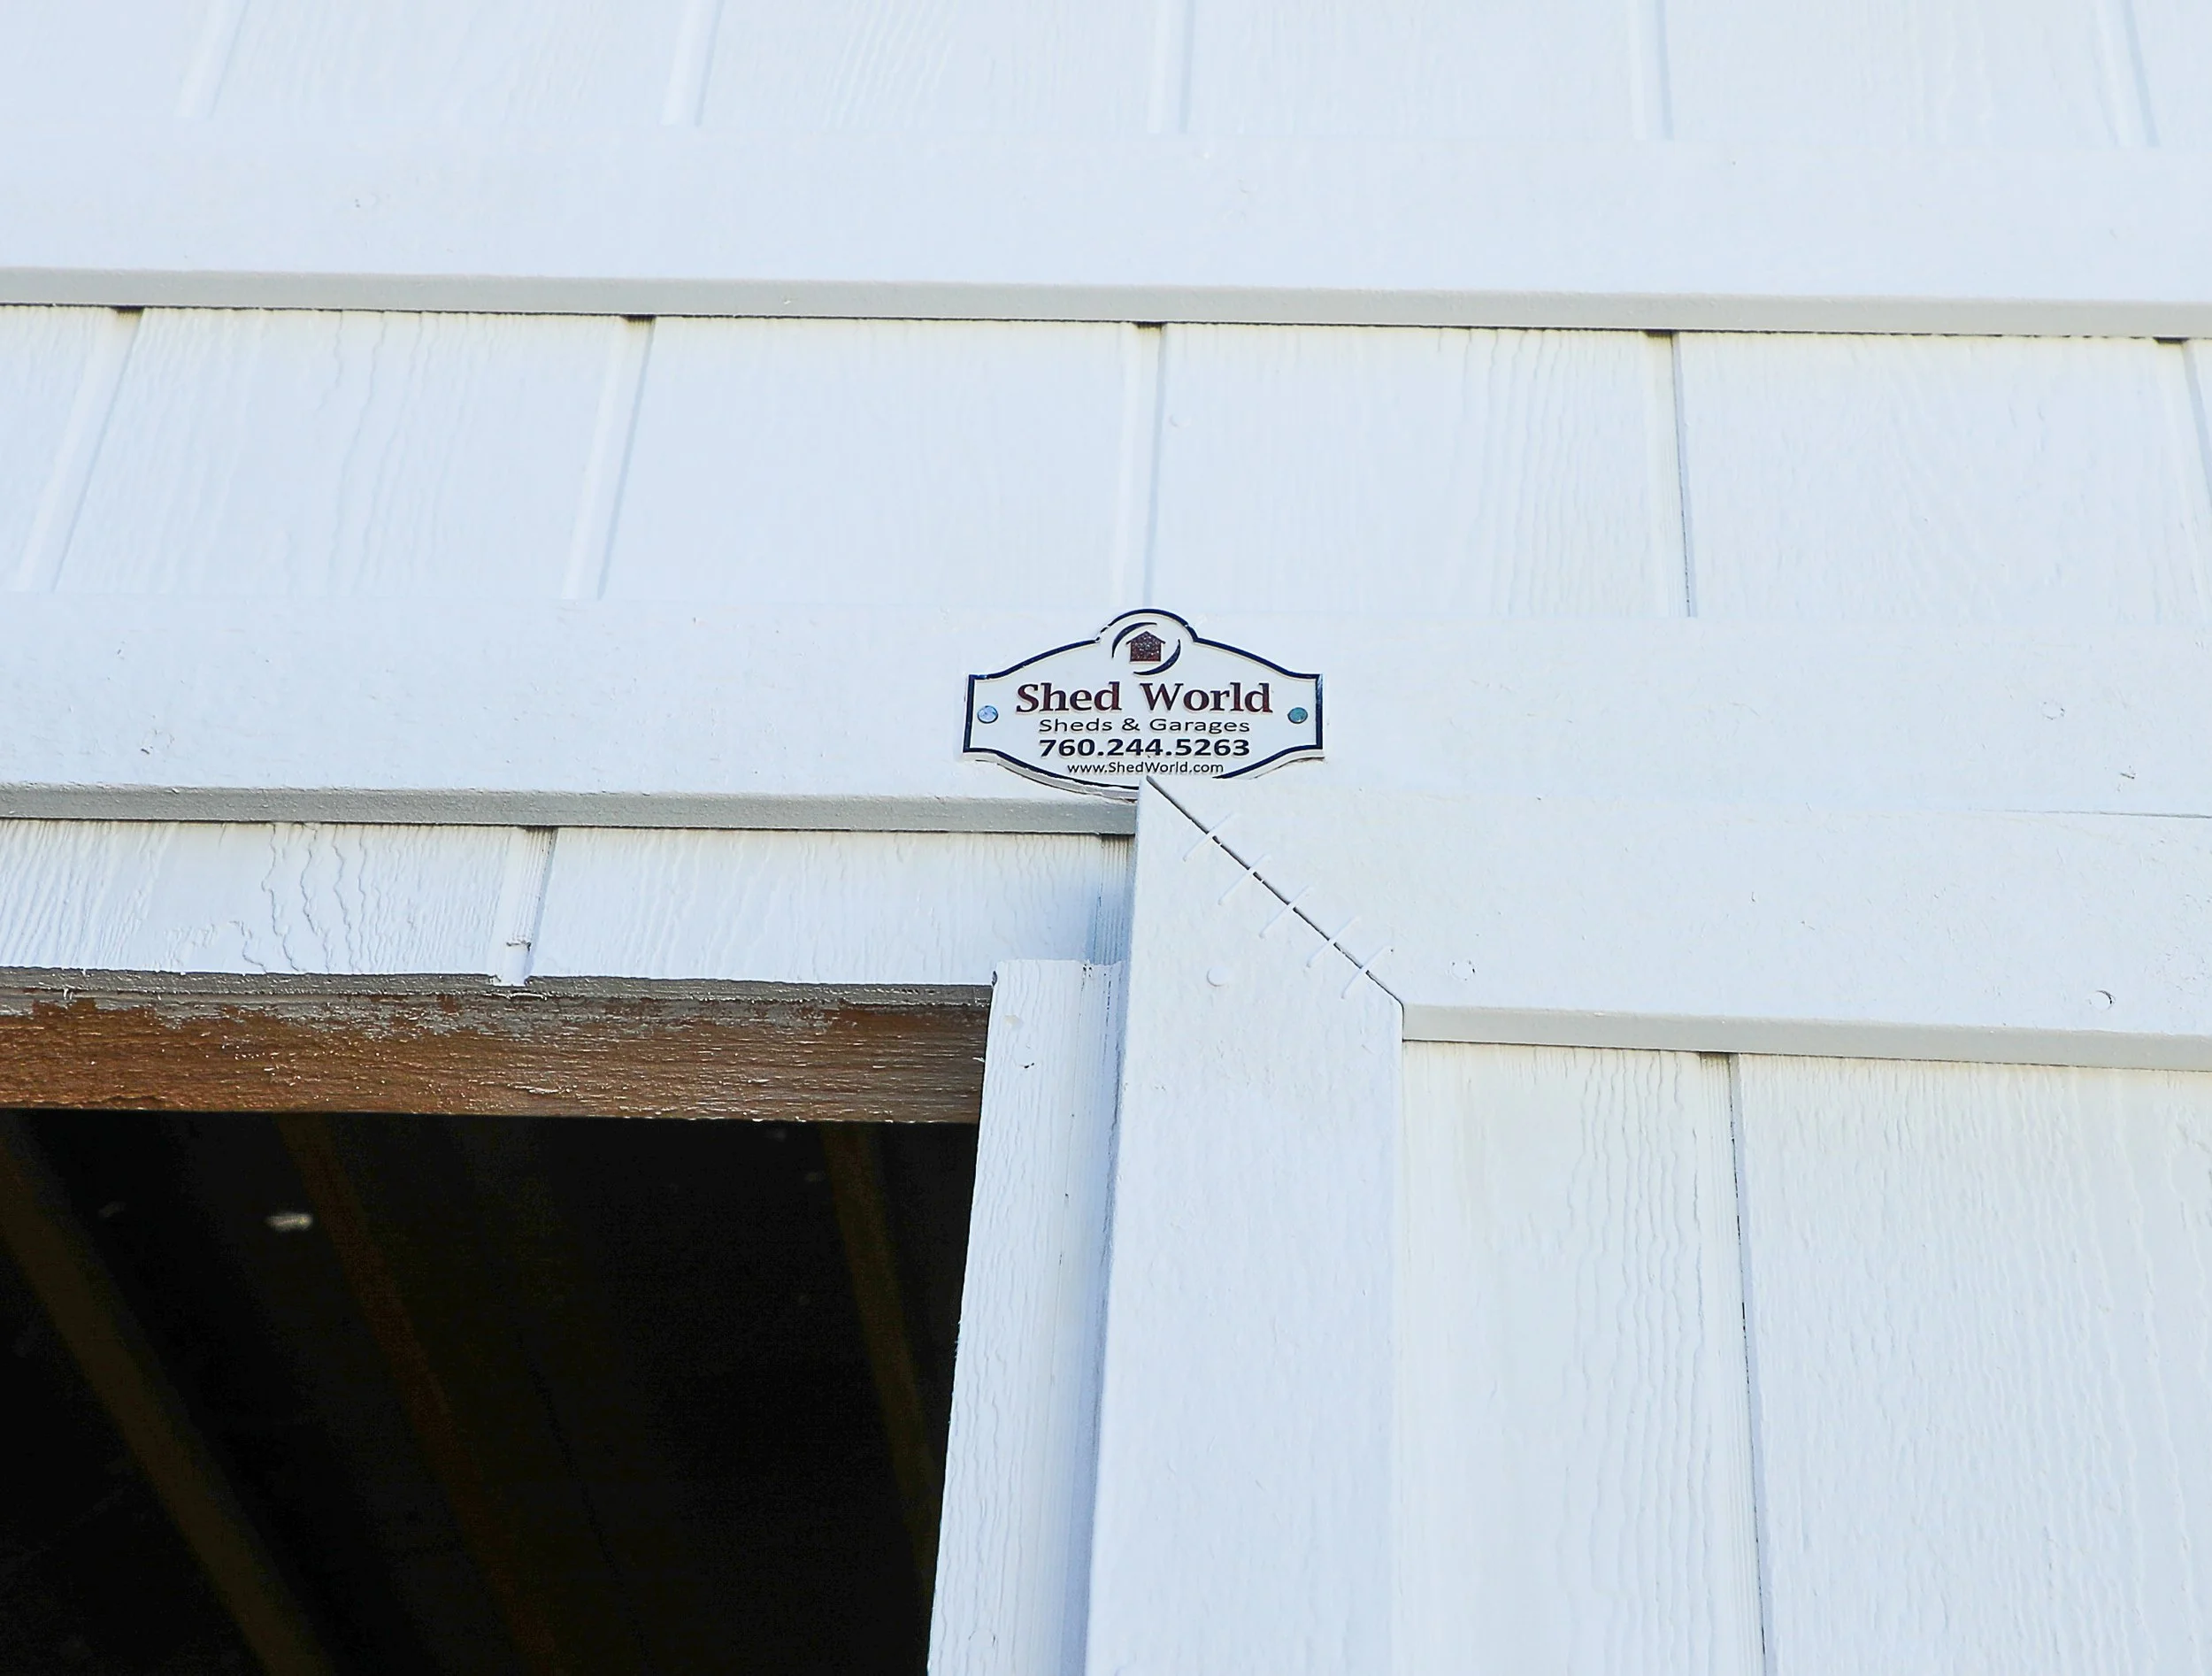
You walk into the showroom at Shed World and custom-build the one you want. They tell you the price, and it’s actually not bad. You thank the young kid and walk out.
Eyes full of excitement and a heart full of joy. You’re getting a shed!
You have lots of things to think about. Where will you put it? What’s the timeline you want it done by, and how much would it cost to build it yourself? Spoiler alert: it’s only $400 more. Yup.
It’s settled, you’re getting a shed, and it’ll be a space for you to create in.
You can paint, sculpt, sew, build, or do whatever your little heart desires inside. It’ll be all yours!
Pinterest is chock full of art studios, little reading nooks, tea rooms, kids’ playhouses, and more she sheds than I can count!
This shed transformation is no different. I wanted to turn my shed into a photo studio.
I’ve wanted a place to be creative for years. Originially I wanted a place to sew and even teach others to sew. But the years have gone by, and my interests have changed; what I want now is a photo studio.
A place to create art, take photos, and share my talent with clients and the world. I wanted a place that felt like another world. A magical space to play in.
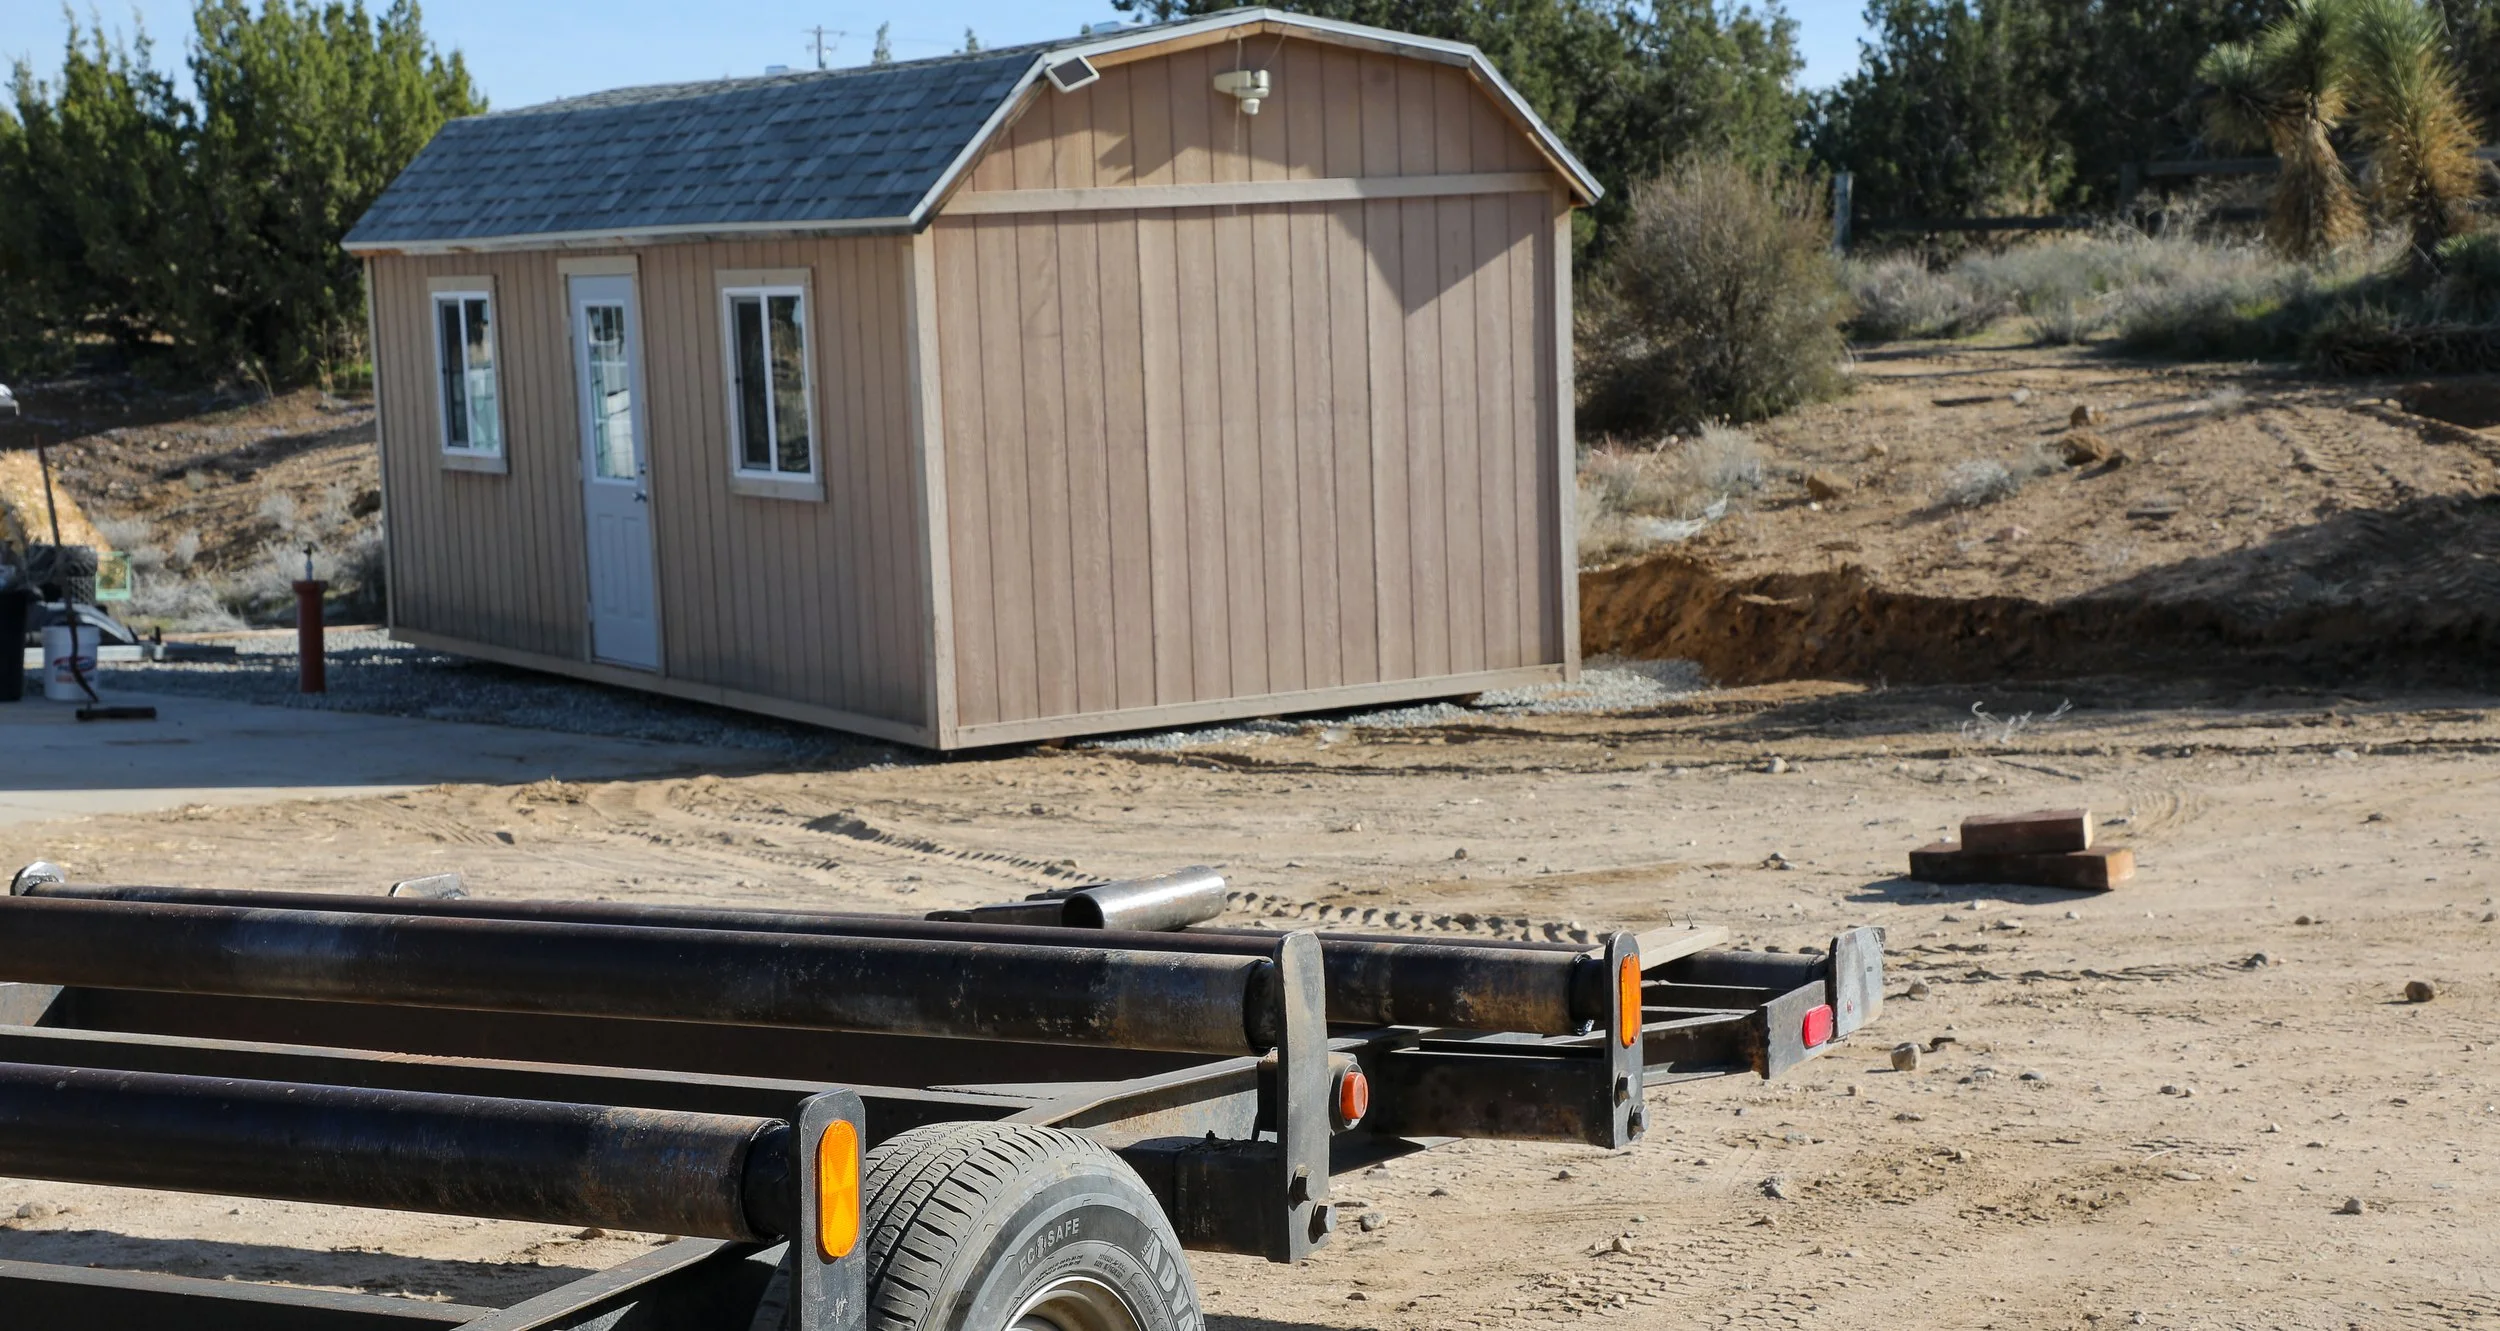
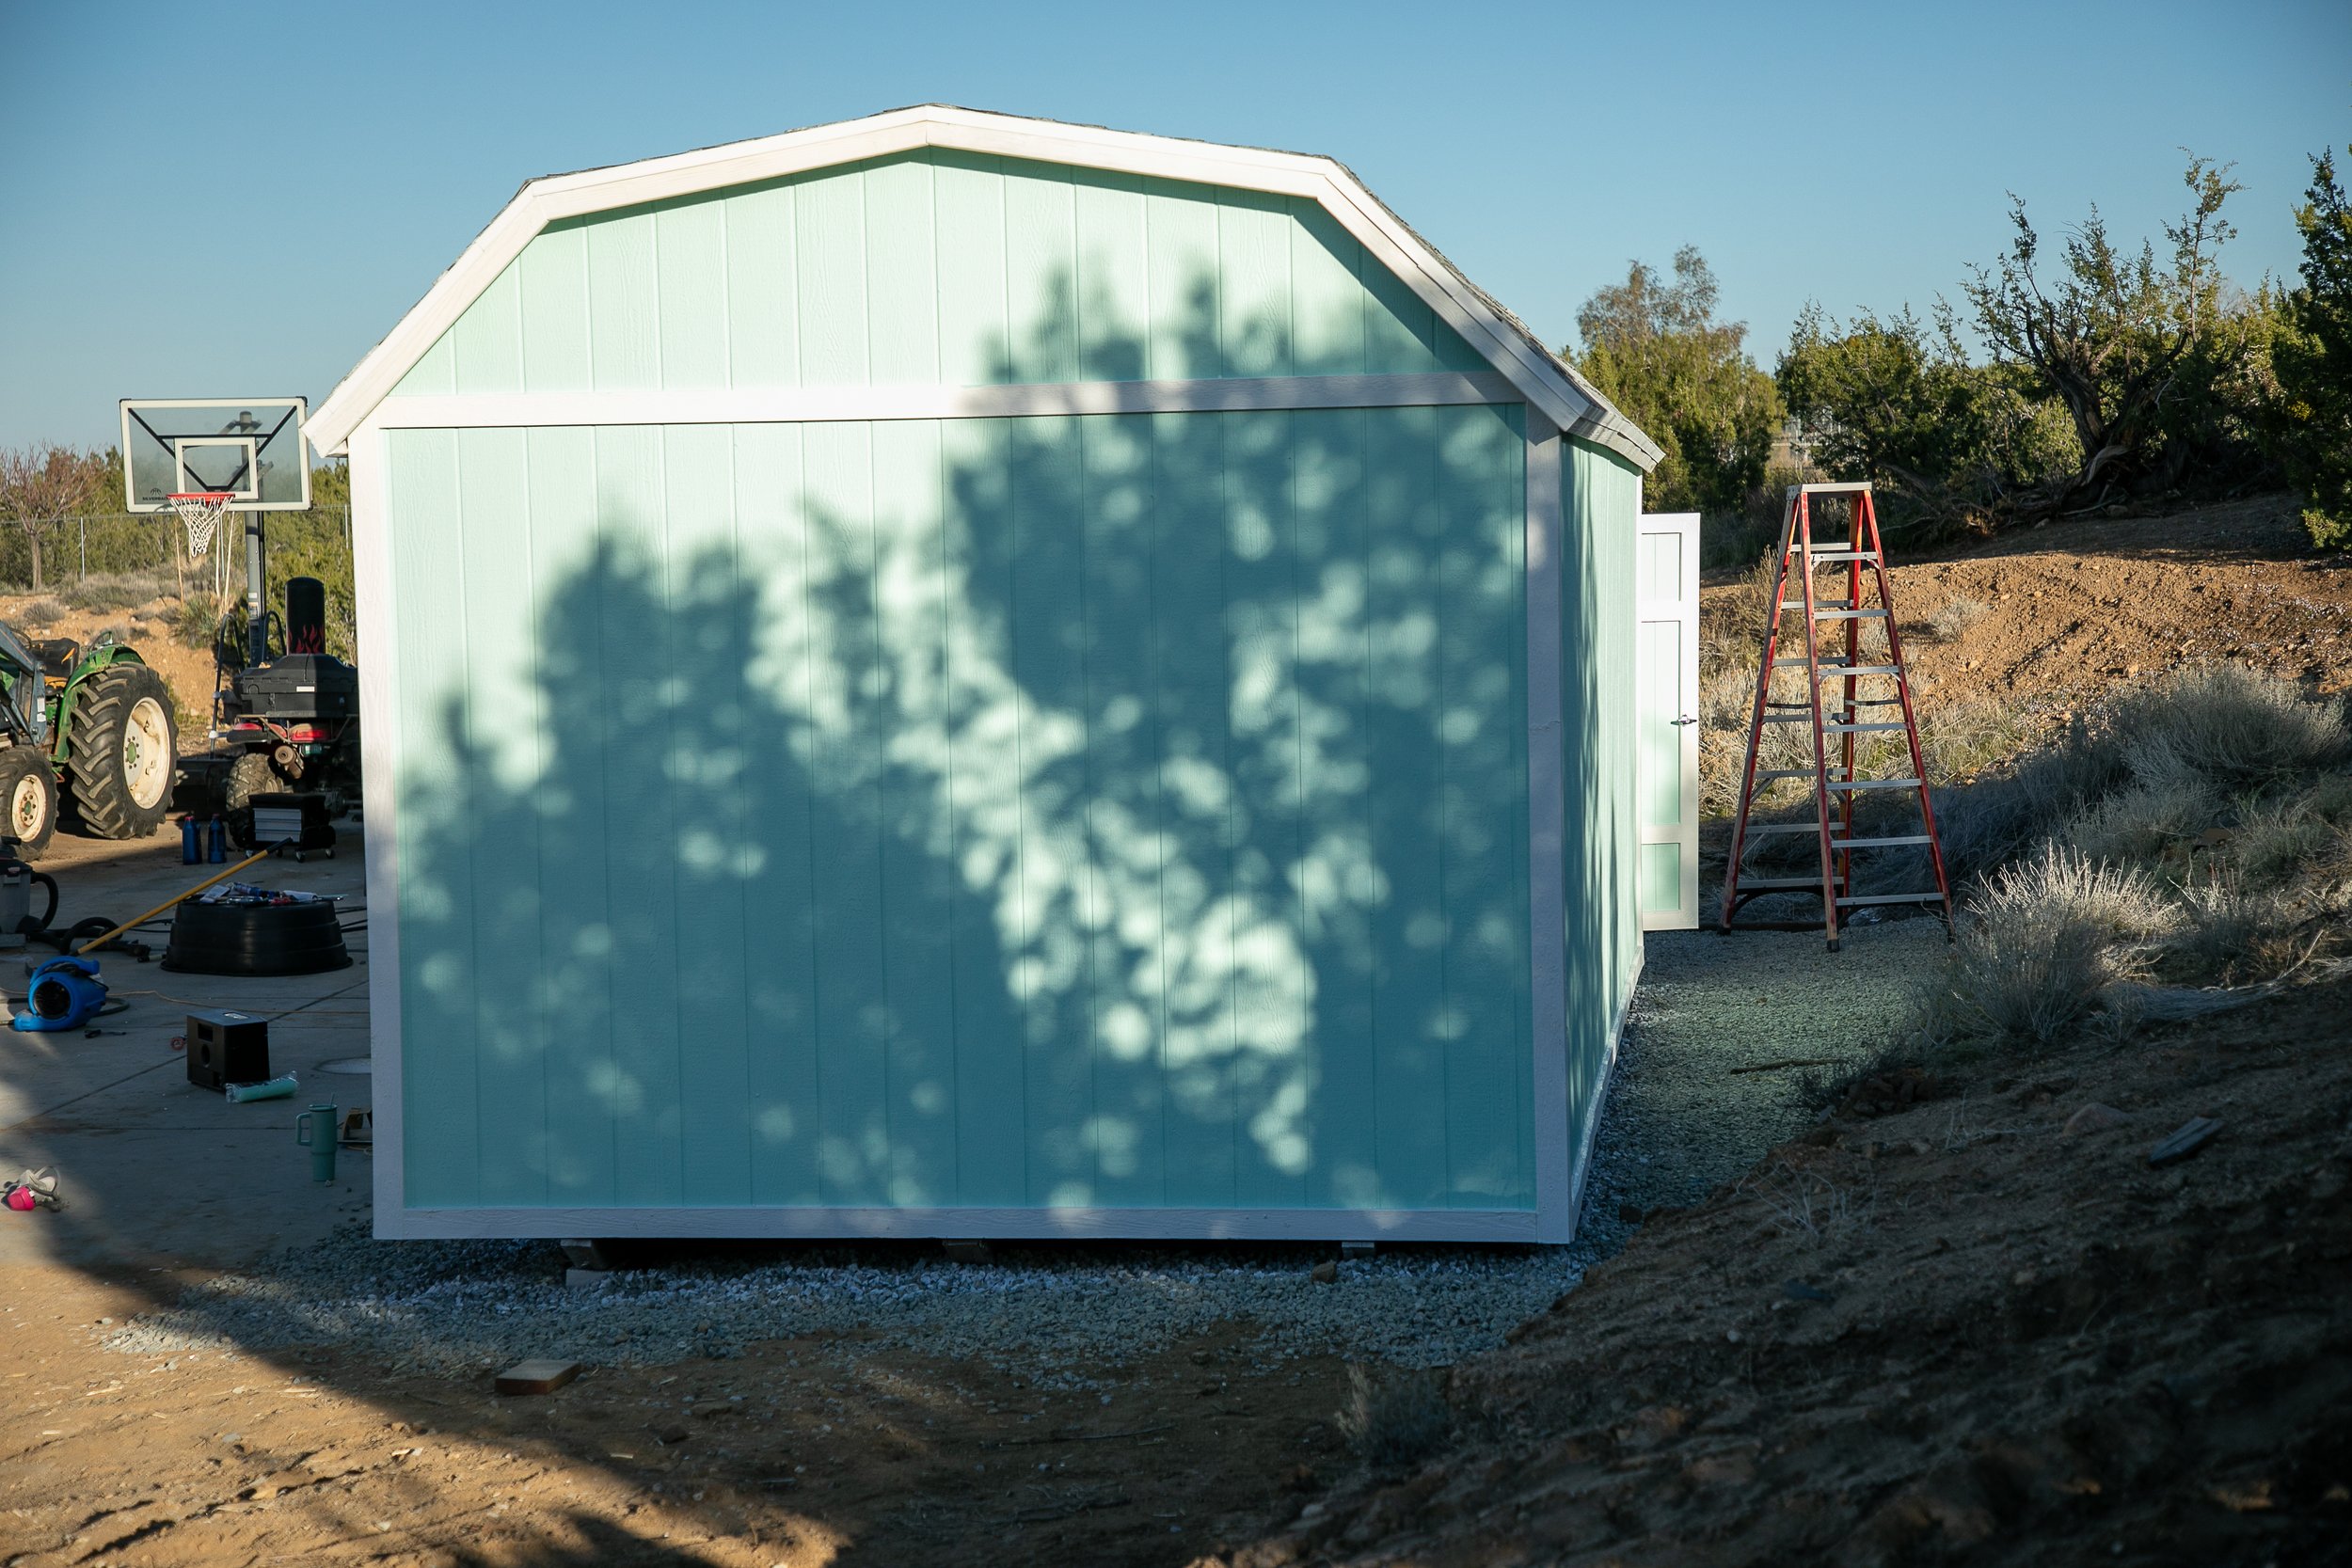
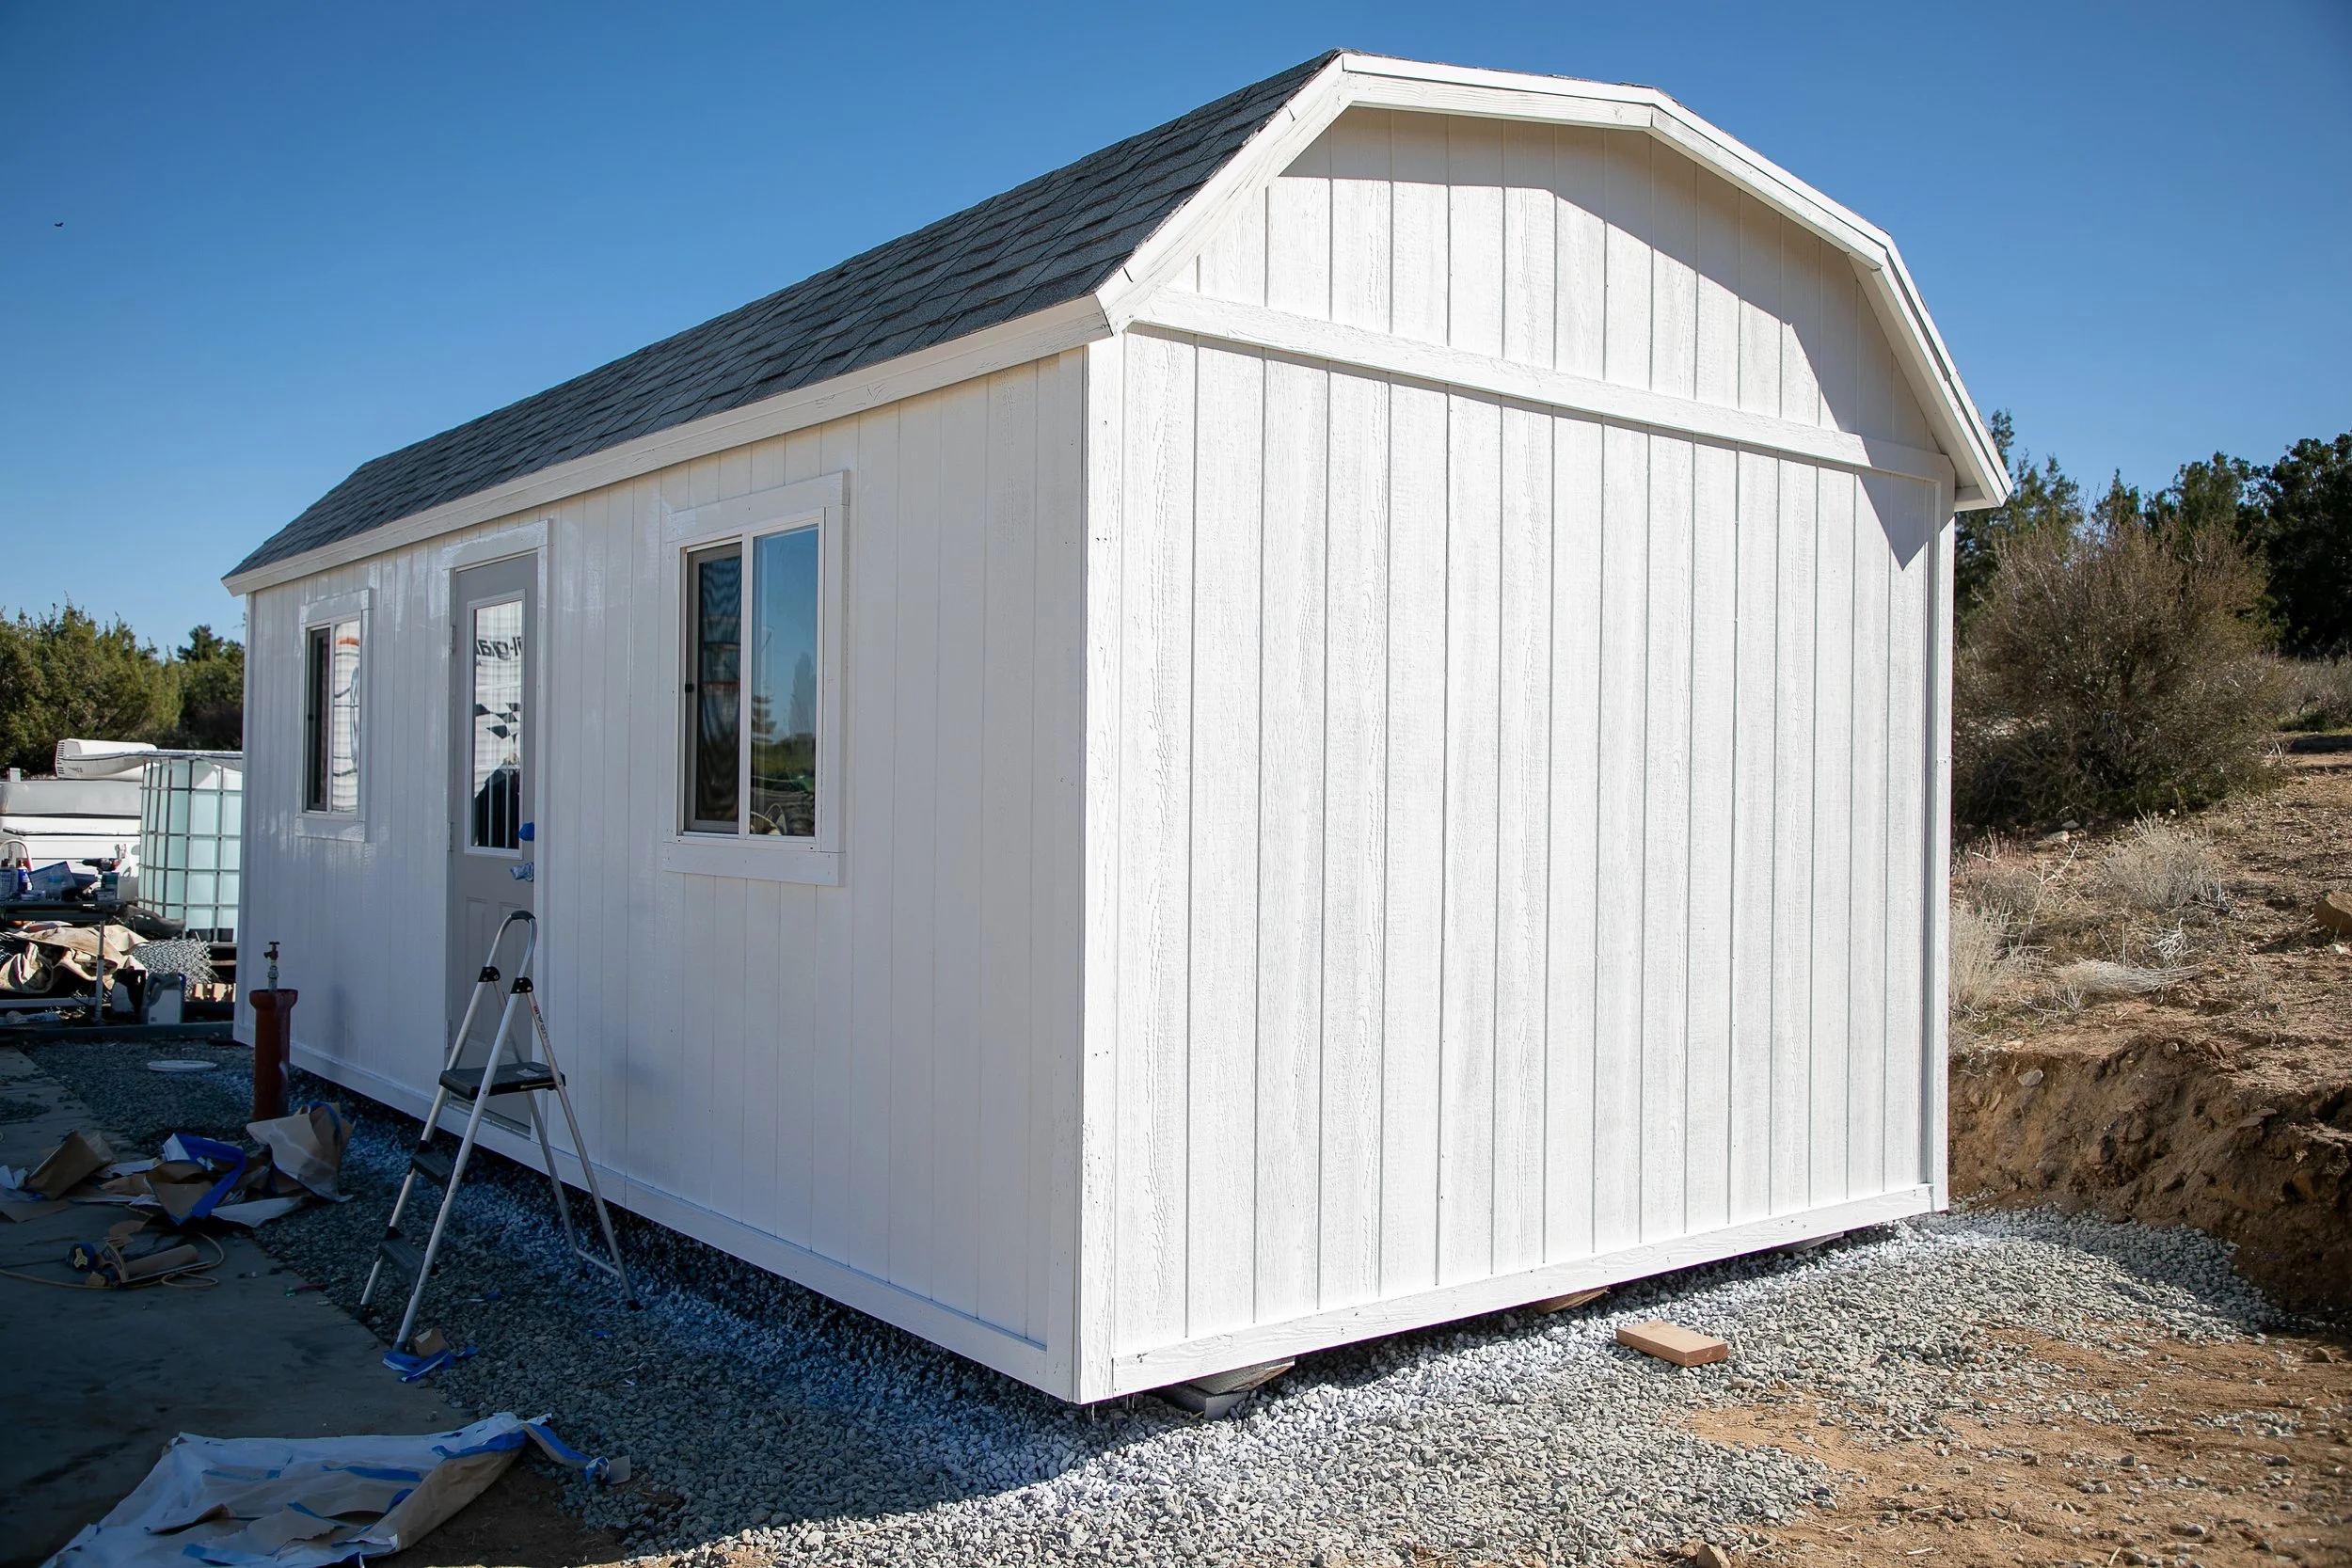
The shed has been delivered.
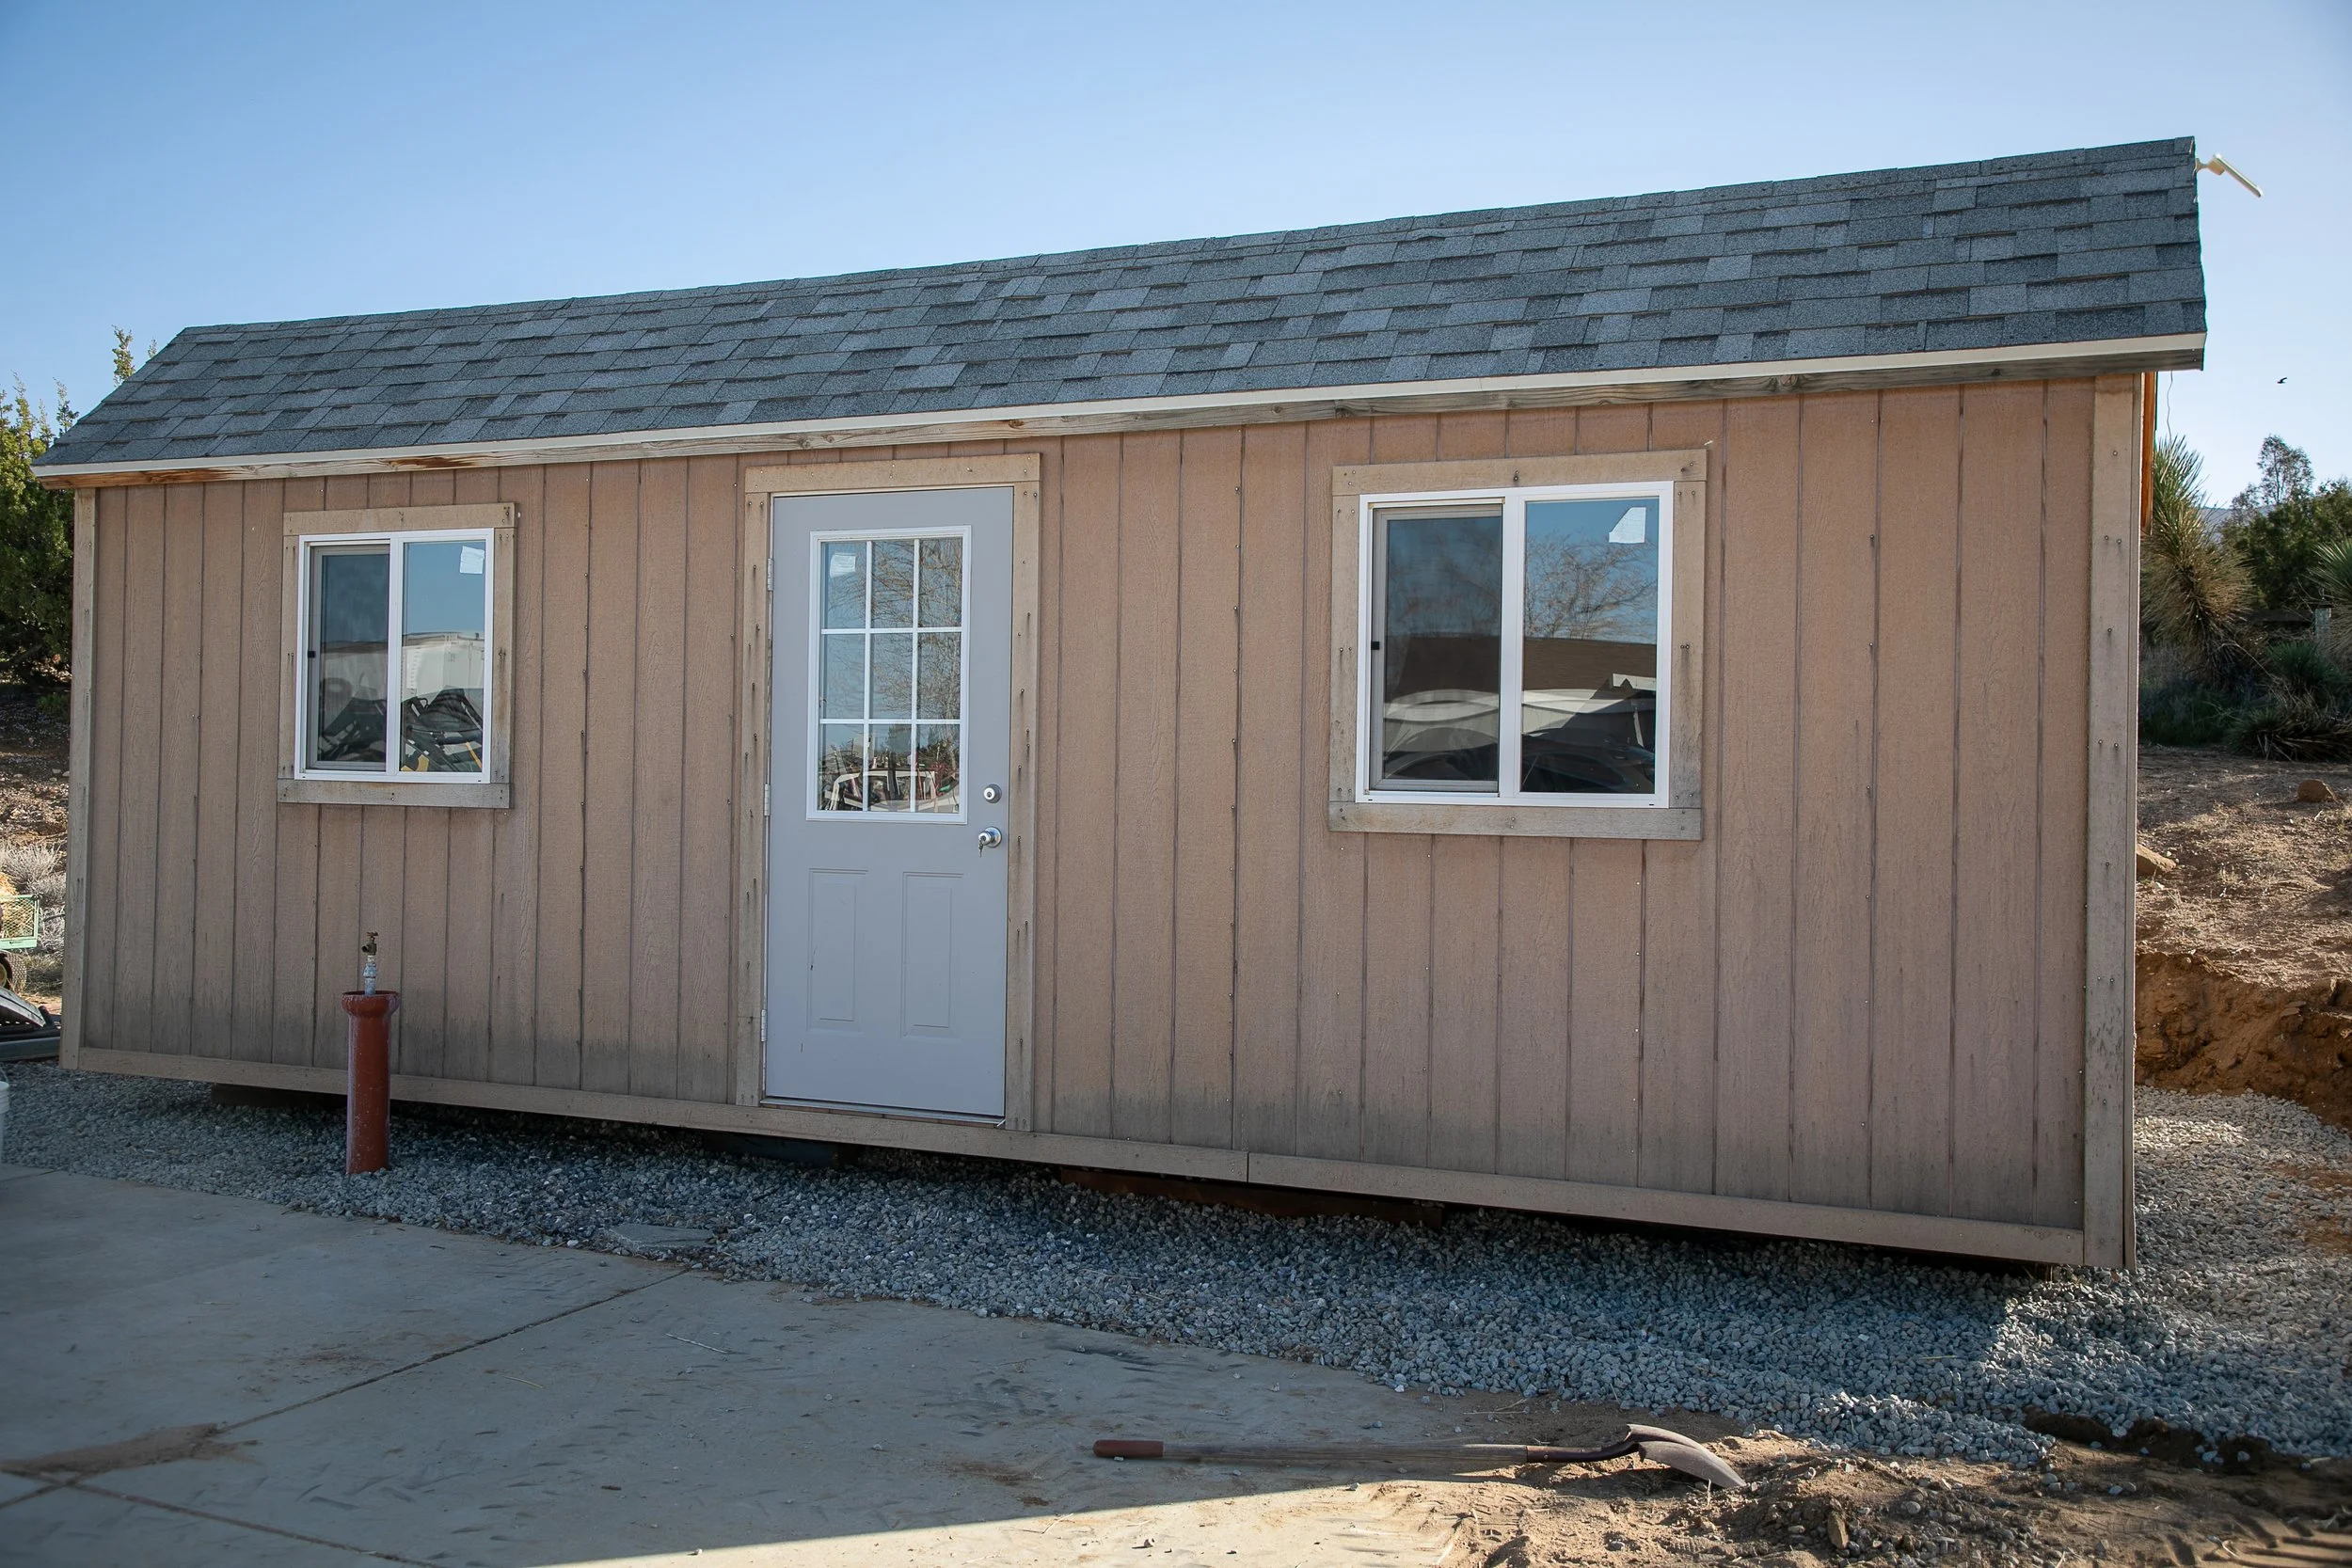
The Before
The shed was in need of a little cleaning and some pretty paint. Other than that, it was in perfect condition.
The Start of Something
After visiting a few local places, searching online, and going back to a shed dealer to build the perfect shed, we ended up finding a slightly used one online. Ha!
OfferUp can be a pain in the you-know-what, but sometimes you find a diamond in the rough. And that’s what happened here, luckily.
What I wanted:
12x20 size was the smallest
A door with a window
2 windows
A high ceiling
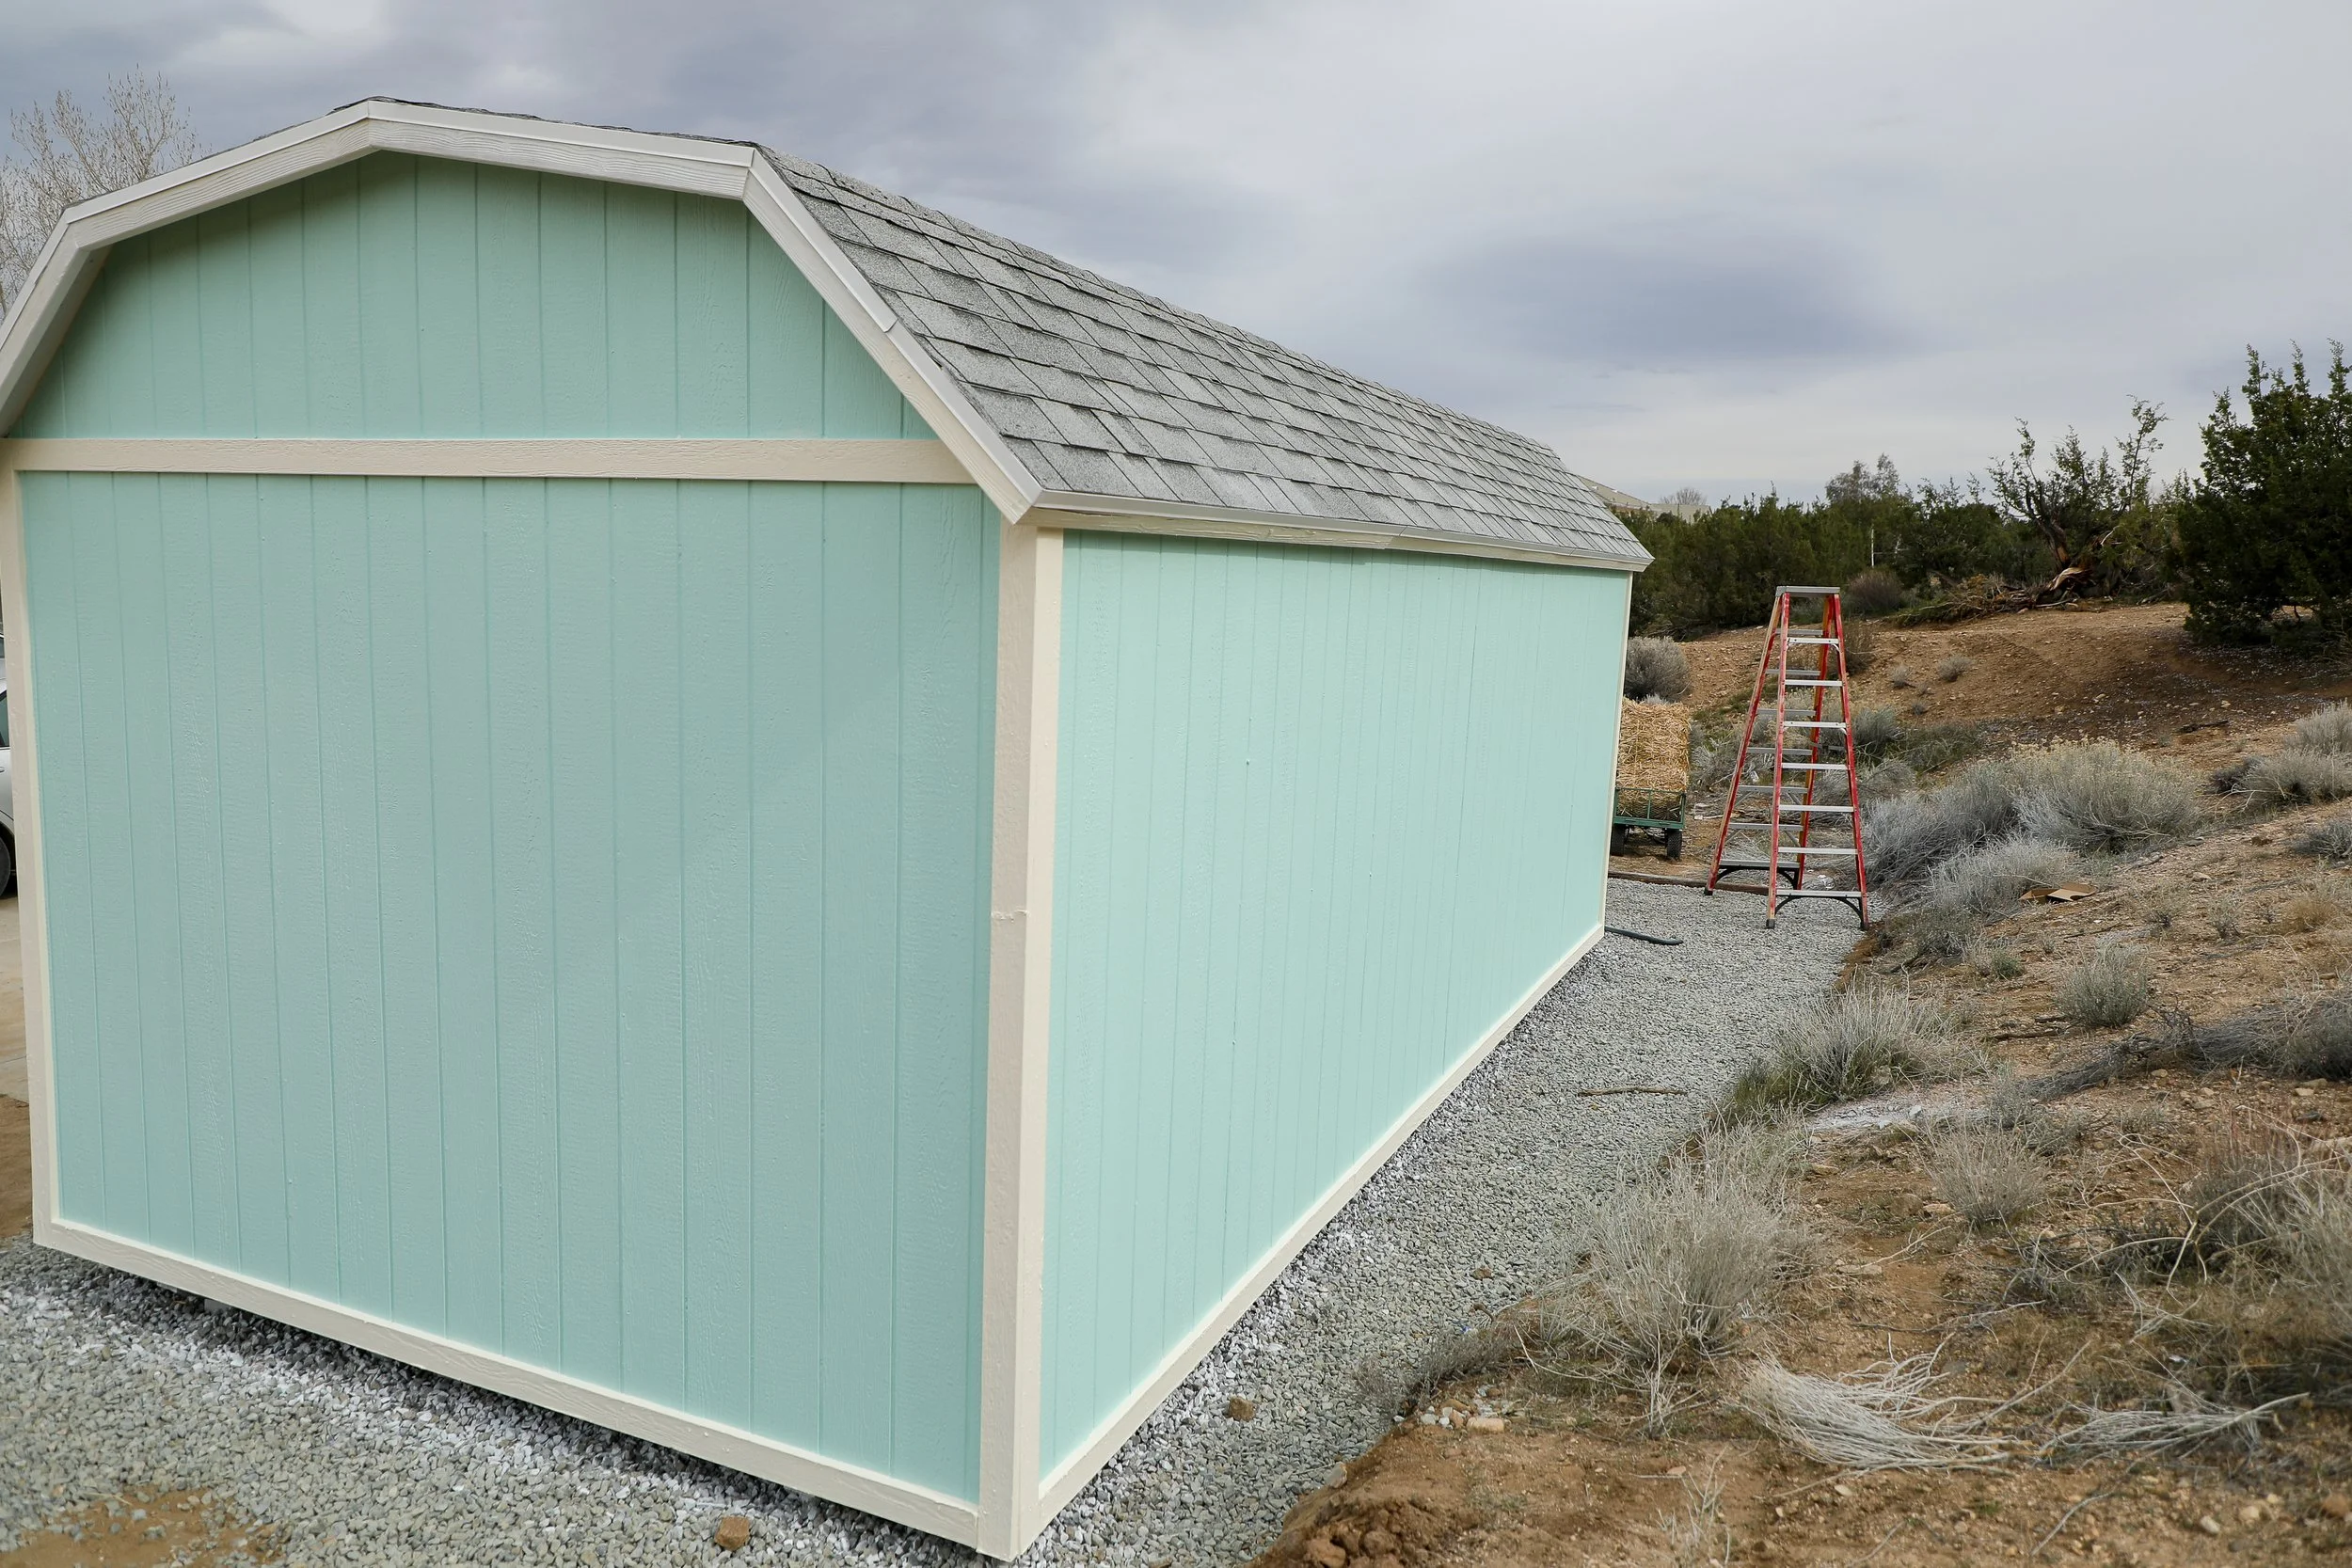
The OfferUp Gods gave us: 12x24 size, 2 windows, a door with a window, barn height ceiling, and Bonus: 2 roof vents and a double barn door on the back!
It needed paint and all the extra stuff you would install on a brand new shed, such as lights, walls, and flooring.
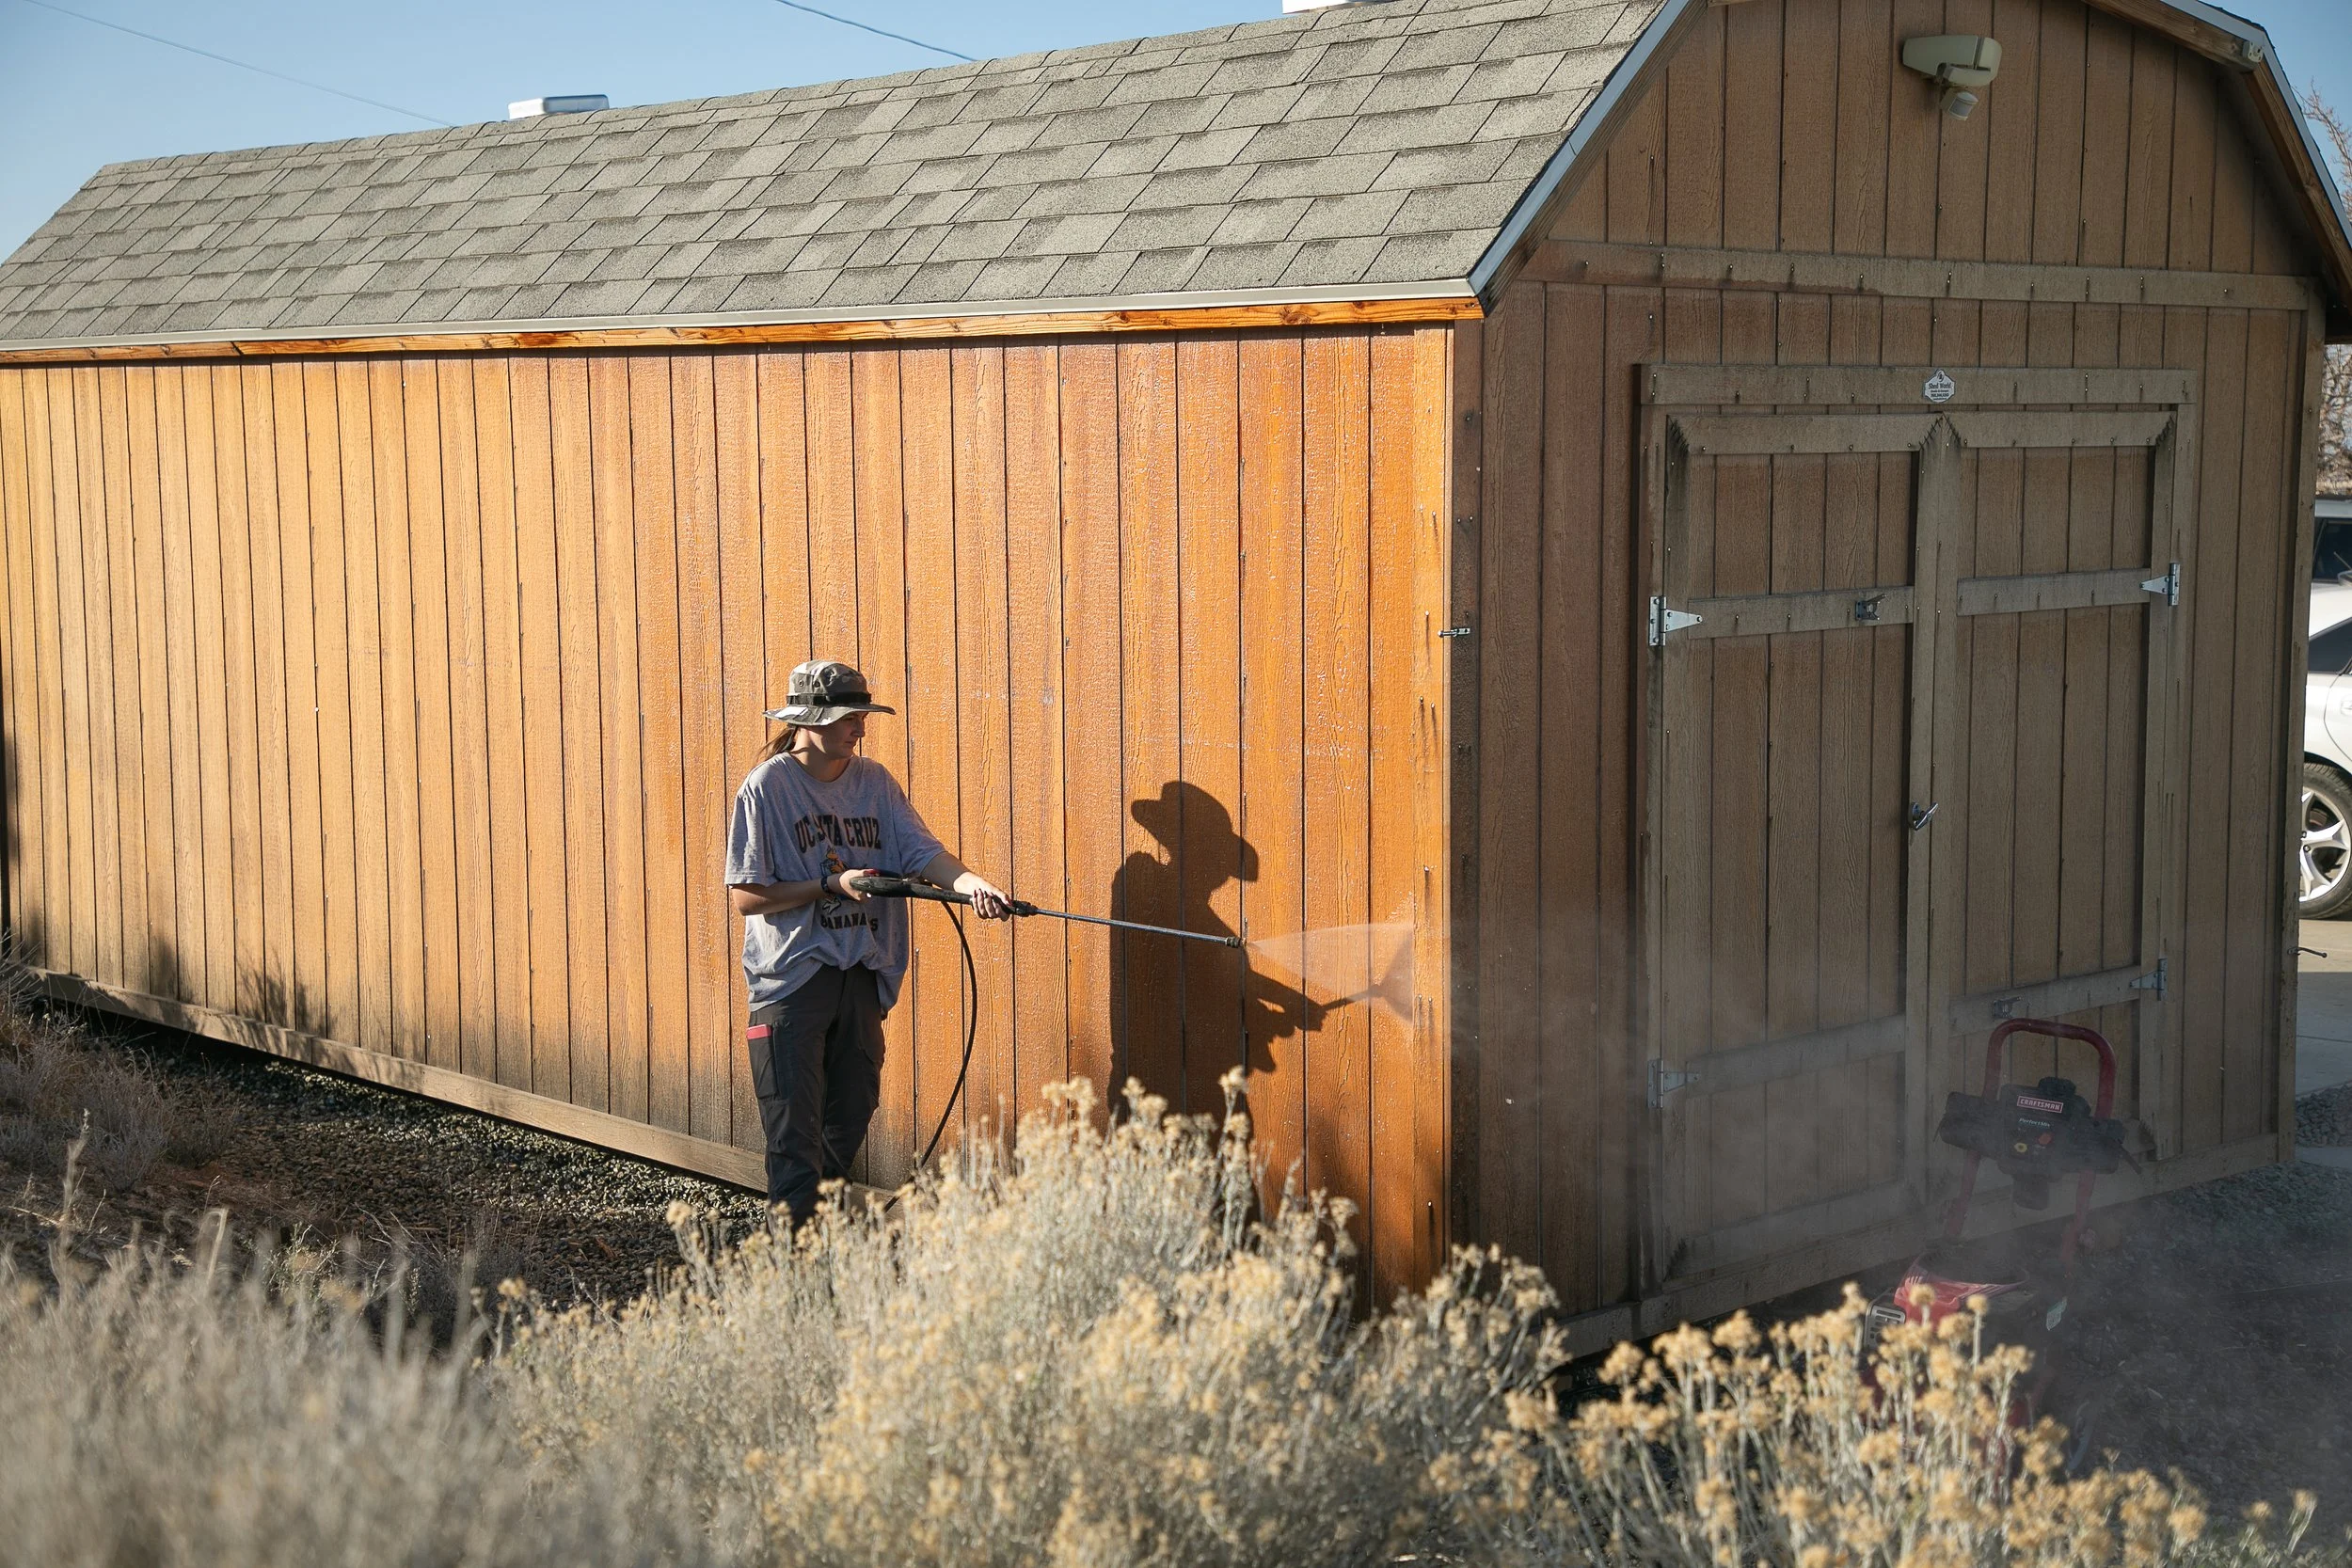
Pressure washing the exterior.
Where Will it Go?
We originally had our RV in this spot and decided that it was a good place for the shed.
We needed to add more rocks, though. The area needed to be lengthened, and a thicker layer of rocks for drainage.
Rocks are better than dirt because when the weather comes, snow or rain, the water can drain easily and won’t create mud or splash onto the building. Cement is always best, so if you can do that, do it.
The studio/shed was delivered by a truck and trailer. I set up my camera to take a timelapse of the whole process and messed up the settings, so I didn’t get more than a 5 second timelaps. Face-palm!
And, I call myself a photographer. I know. Sigh….
The delivery man leveled it out, and the excitement began to set in!
Although there was still so much to do before it was ready for creative play!
The shed needed to be cleaned, primed, caulked, and painted before we even thought about anything else.
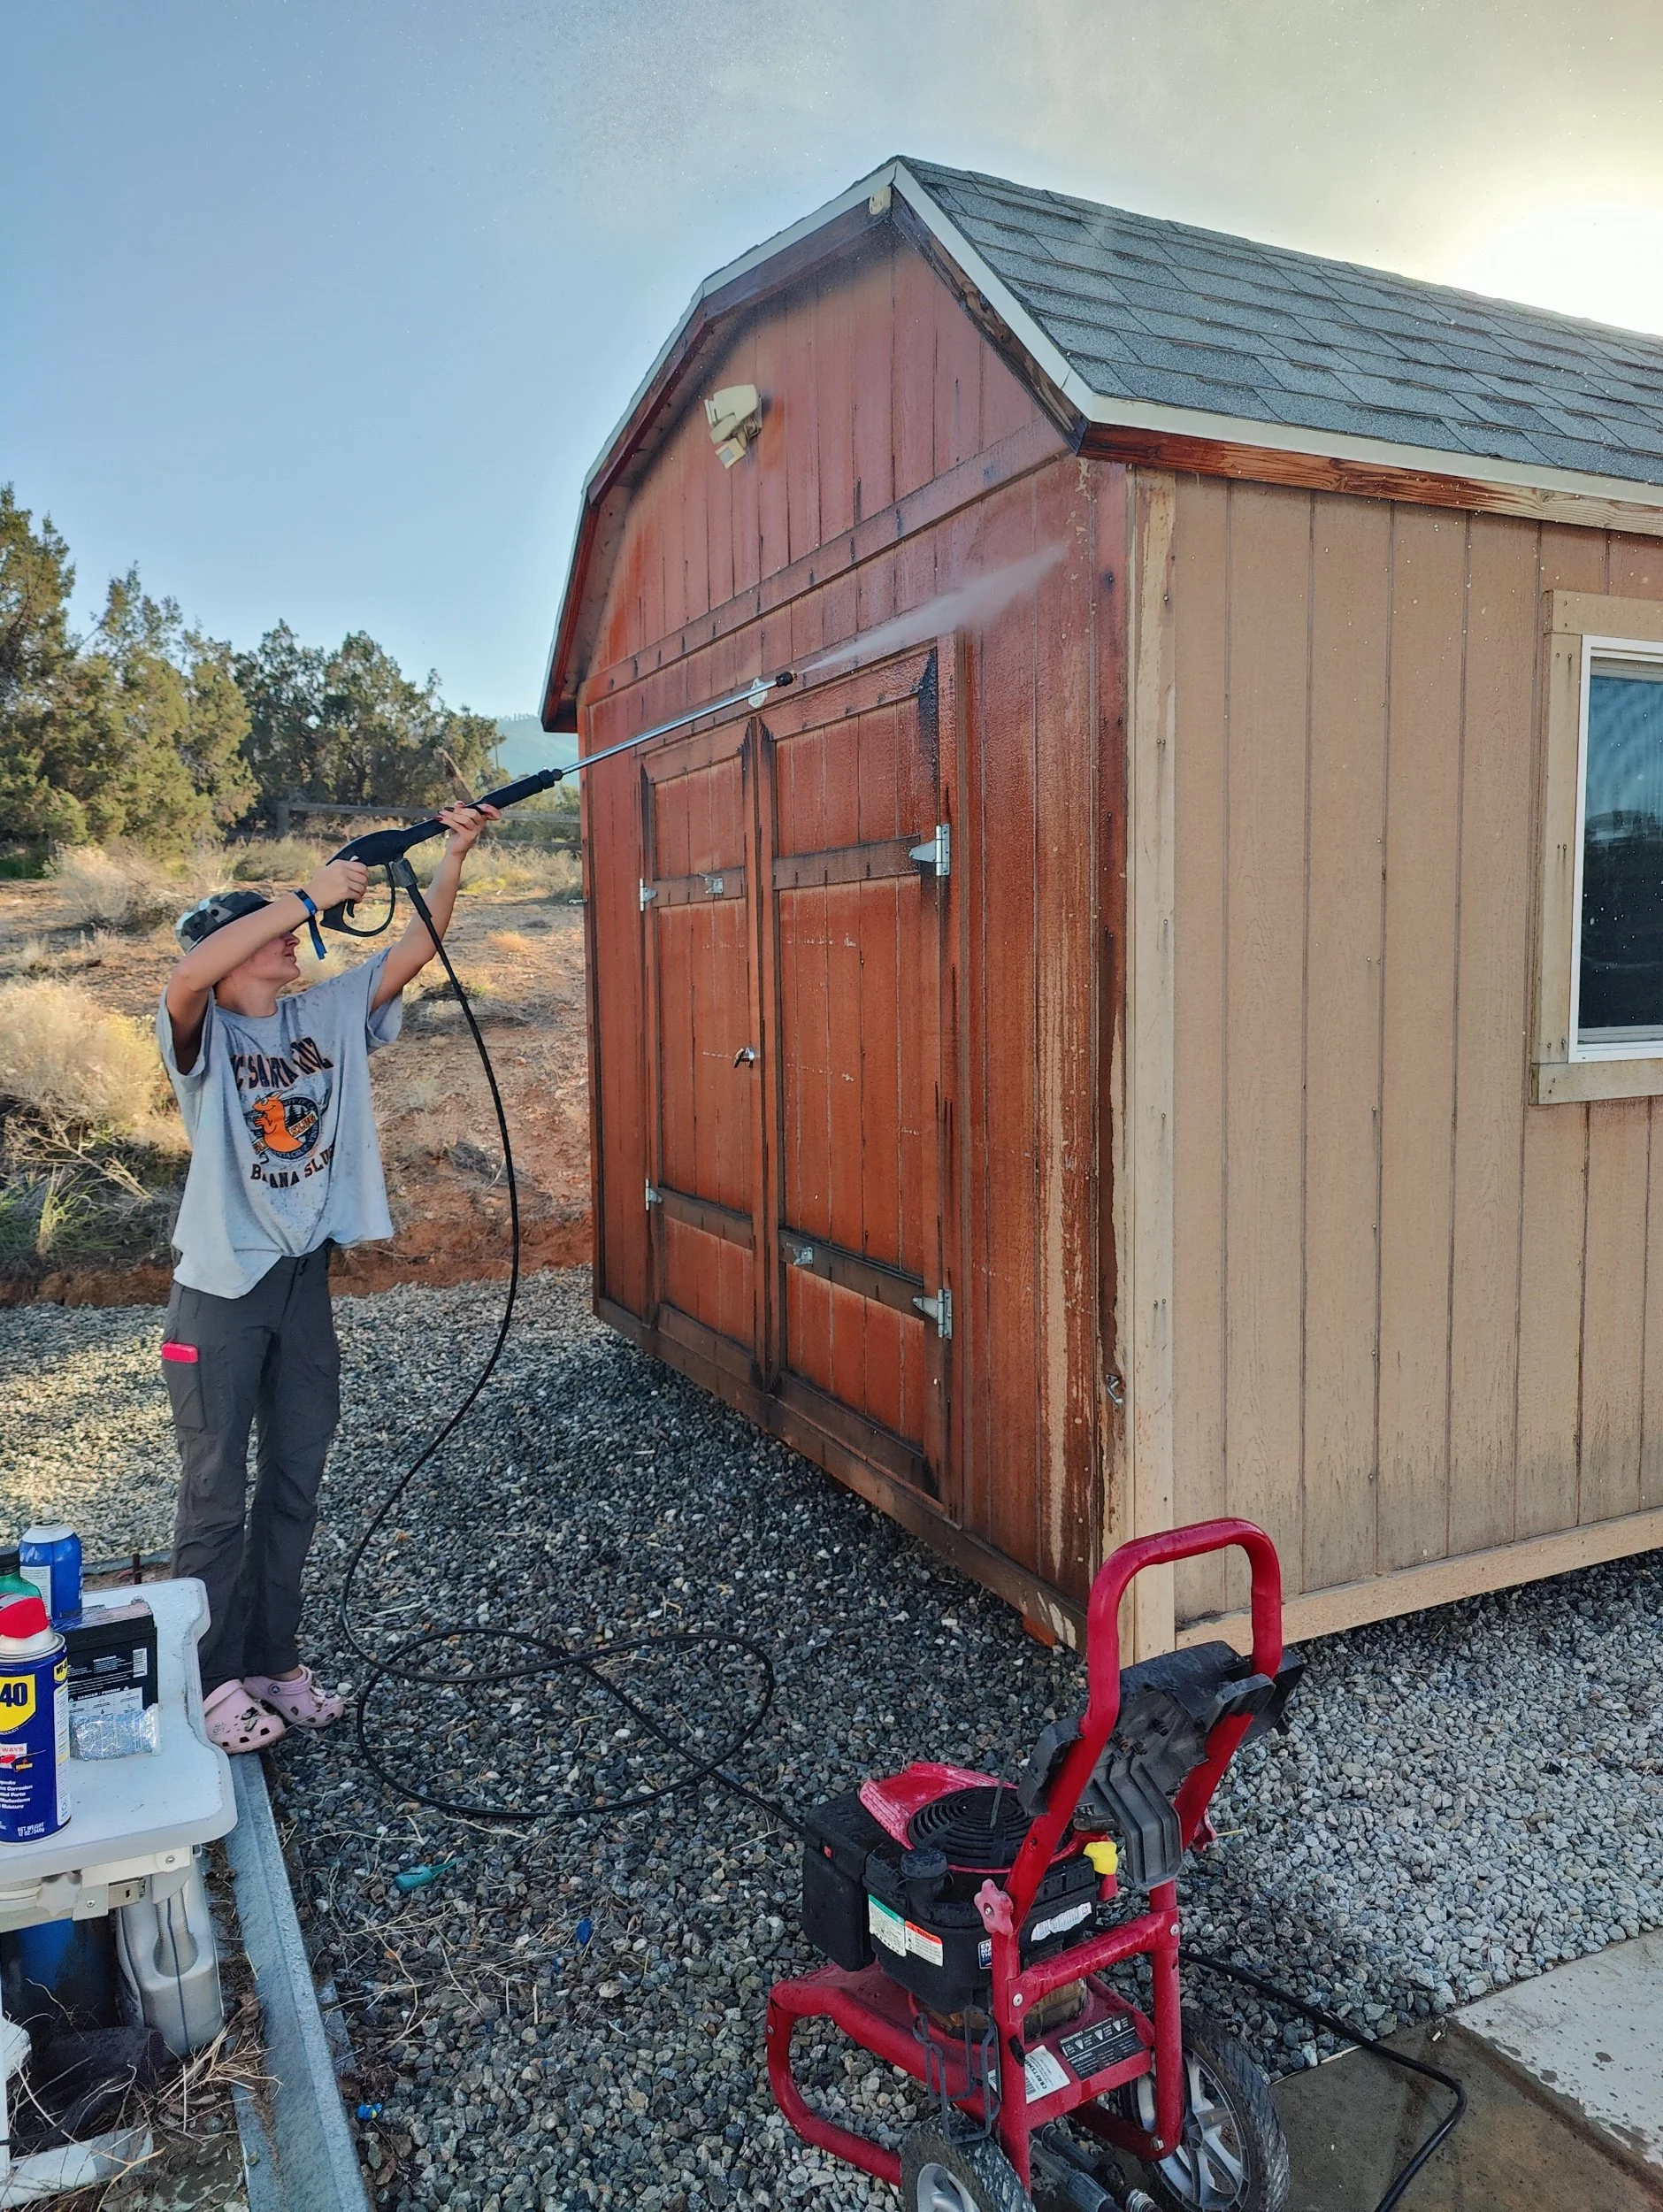
Pressure washing the whole outside.
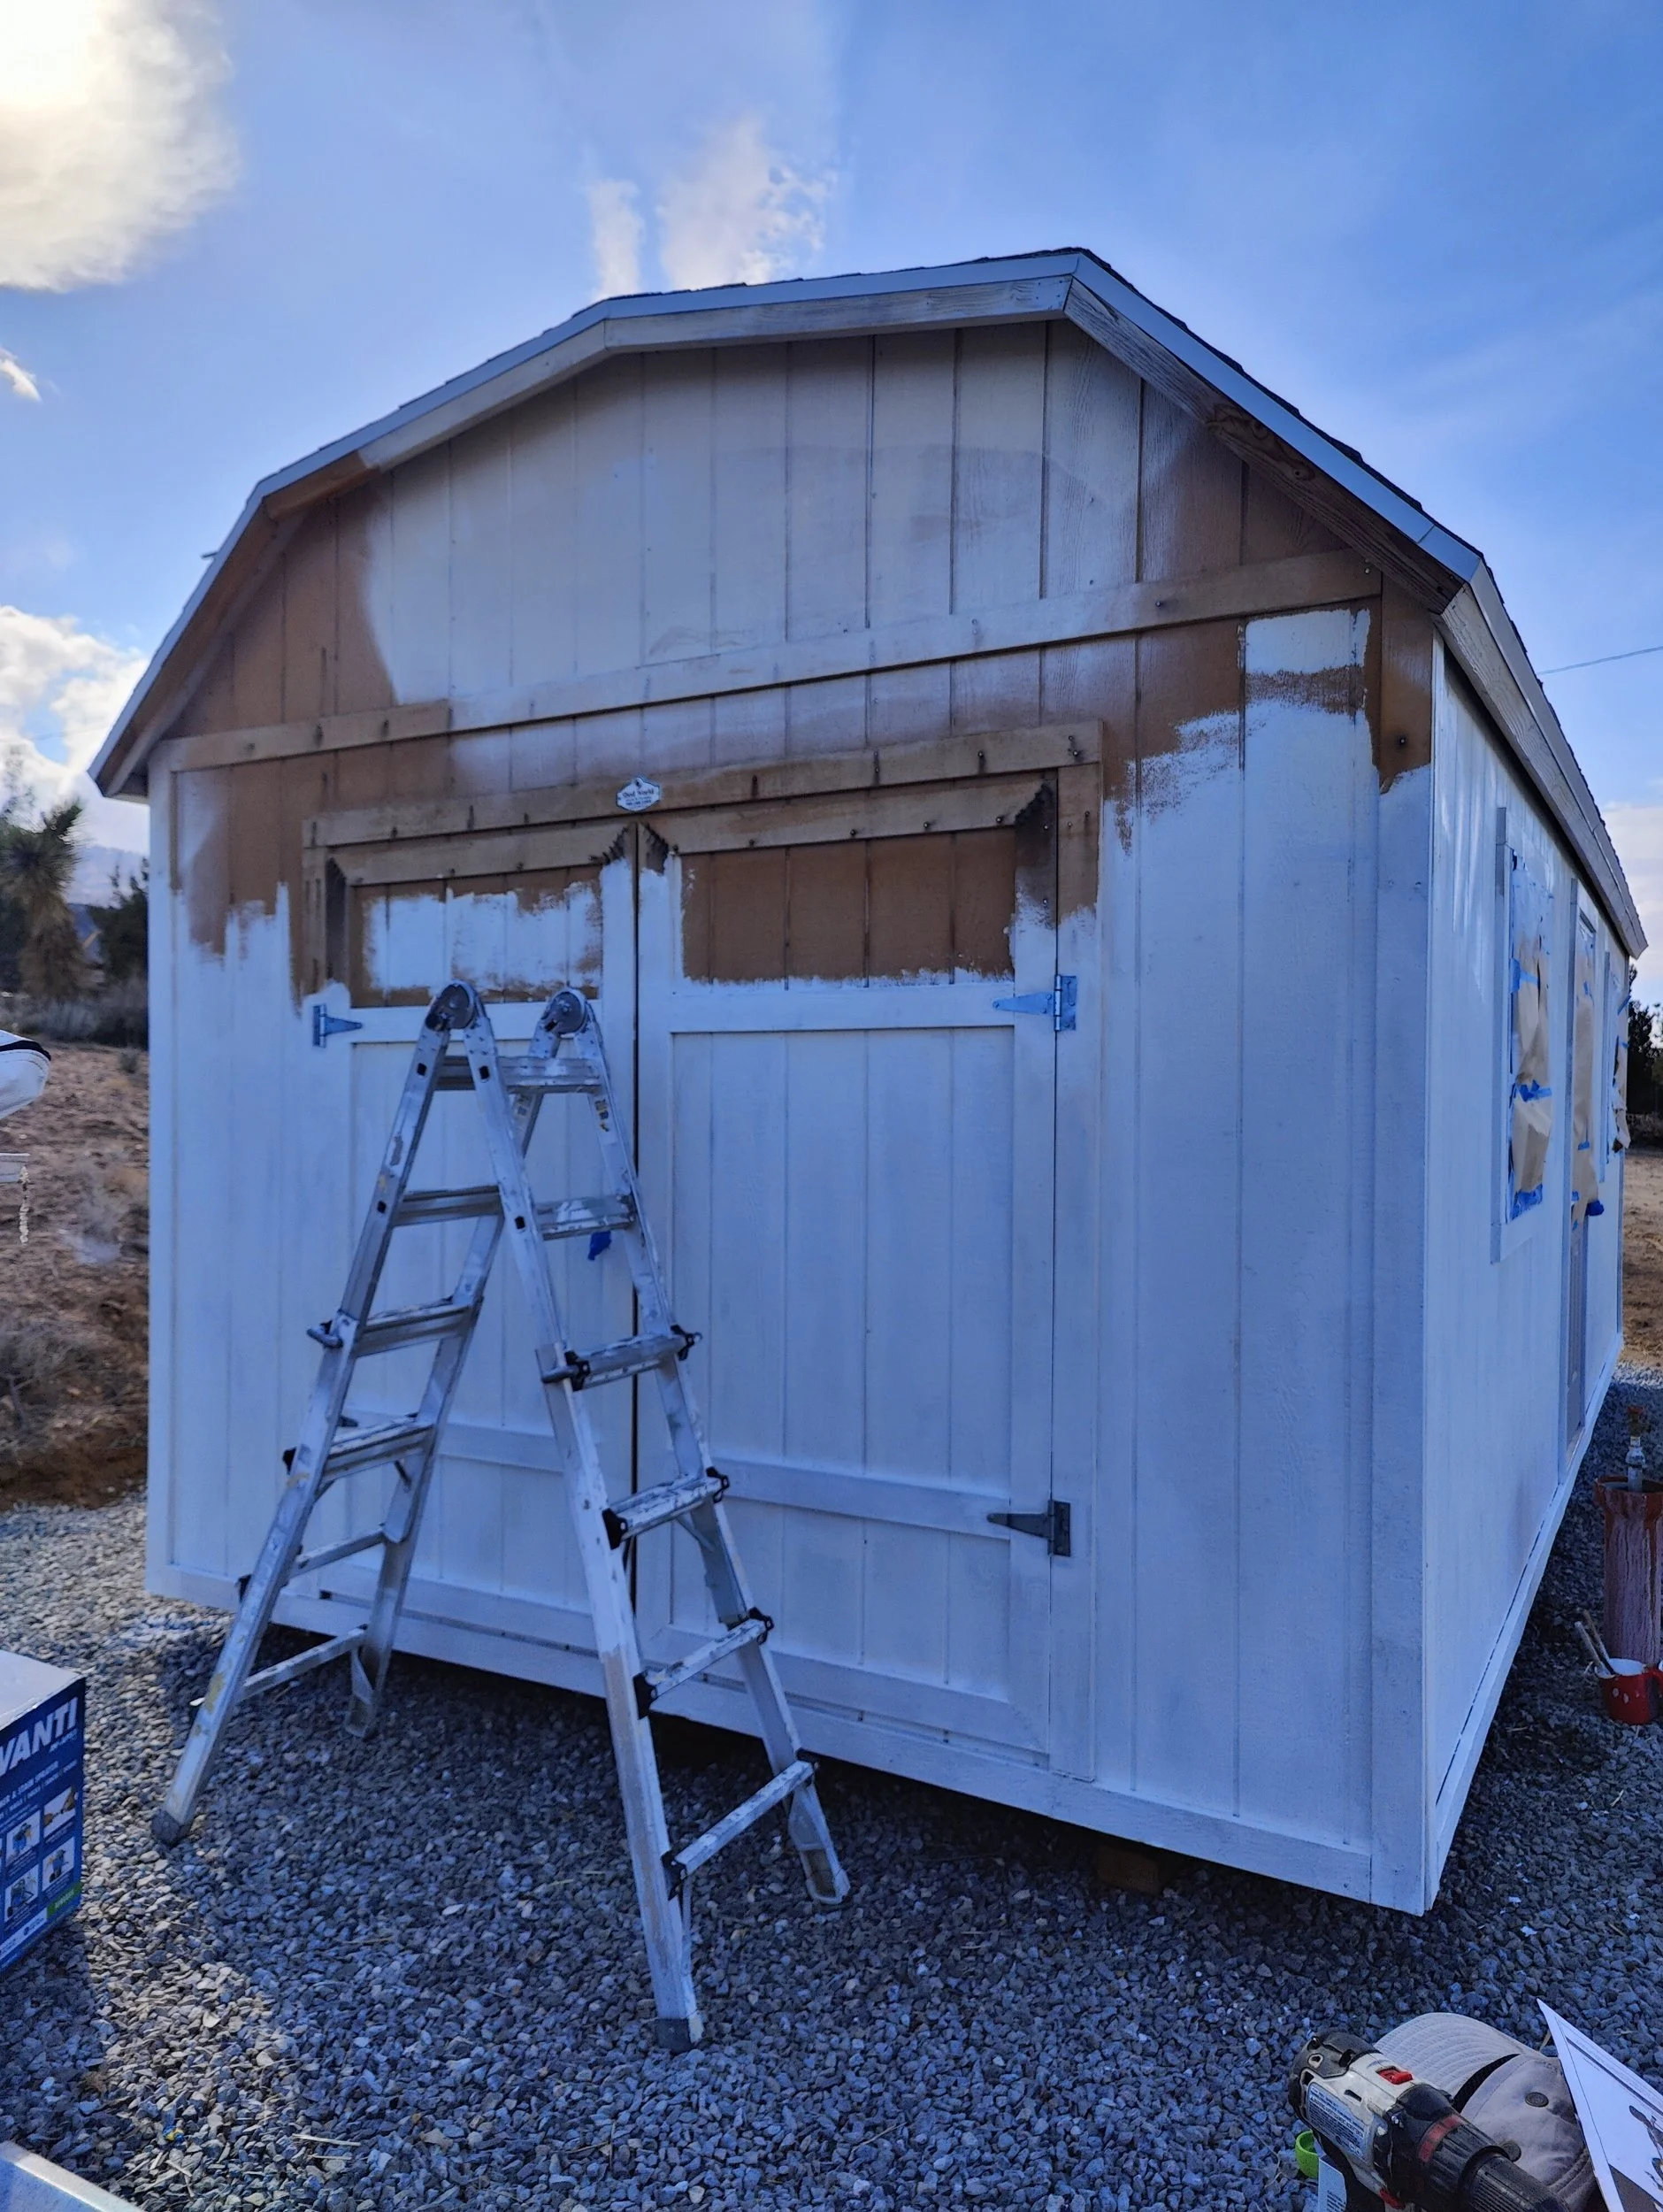
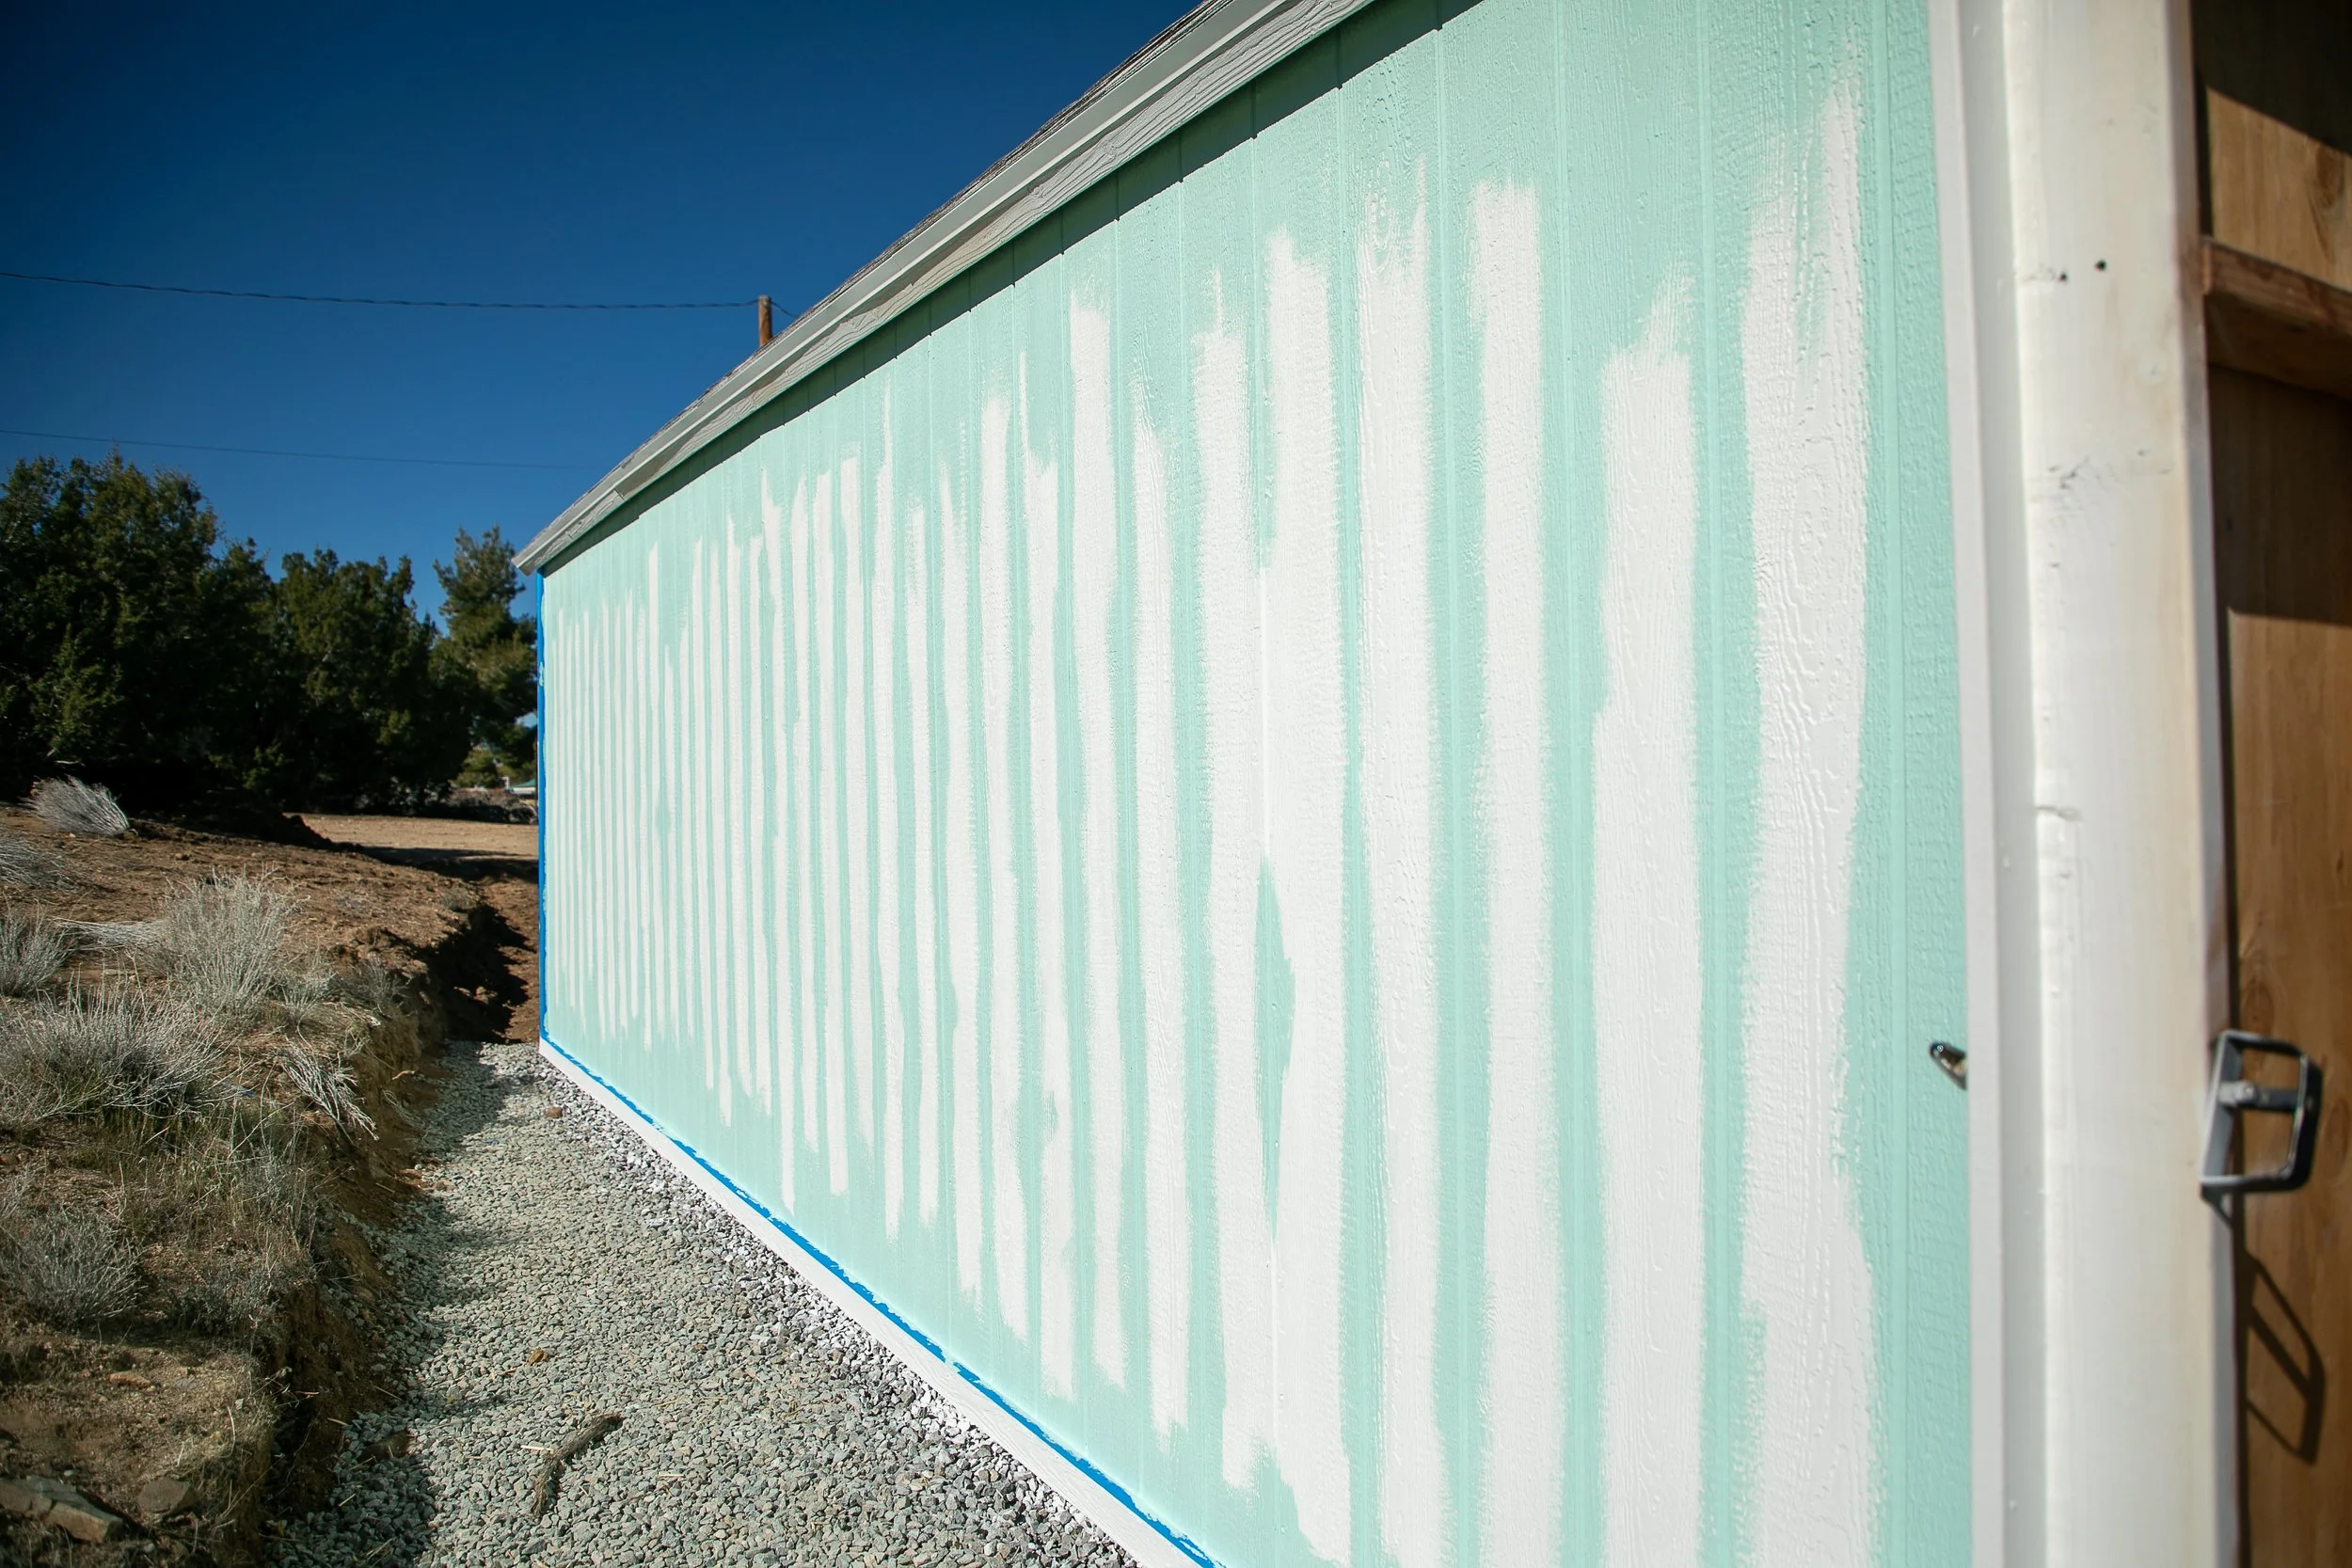
Priming the heck out of this beast! It doesn’t seem huge until you pull out a paintbrush.
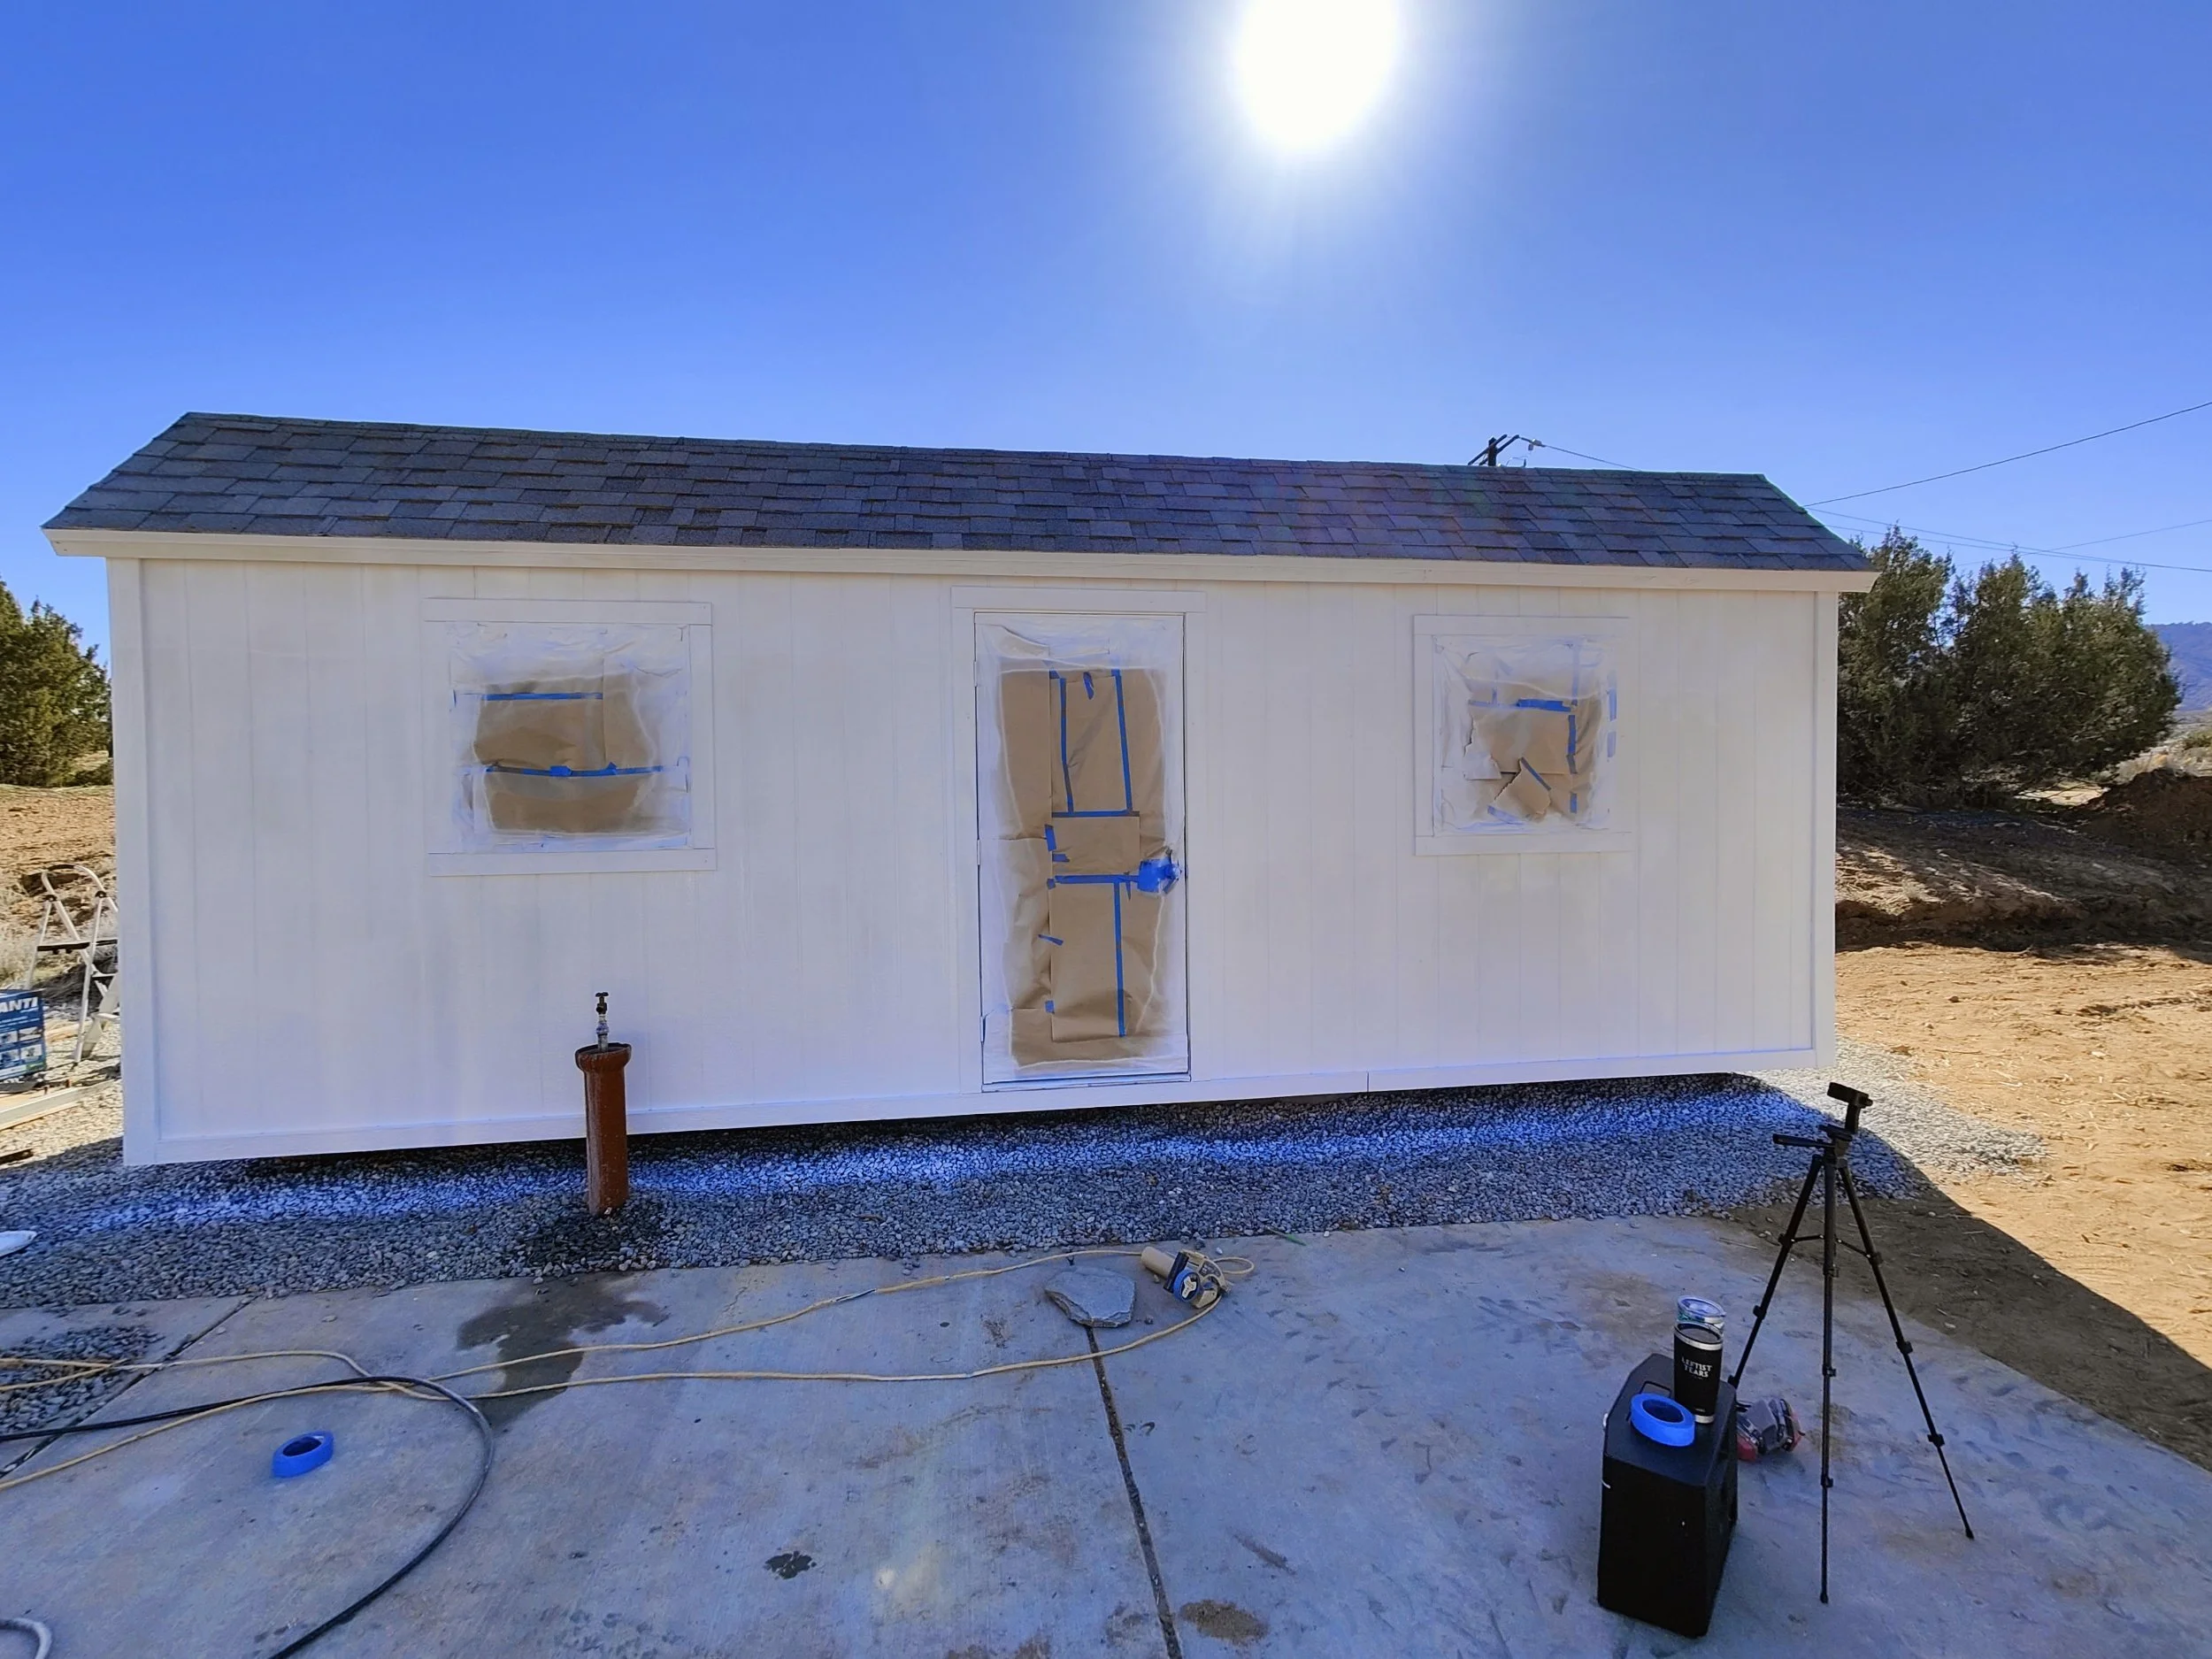
First coat of primer made a huge difference!
Primer, Paint, and Prep
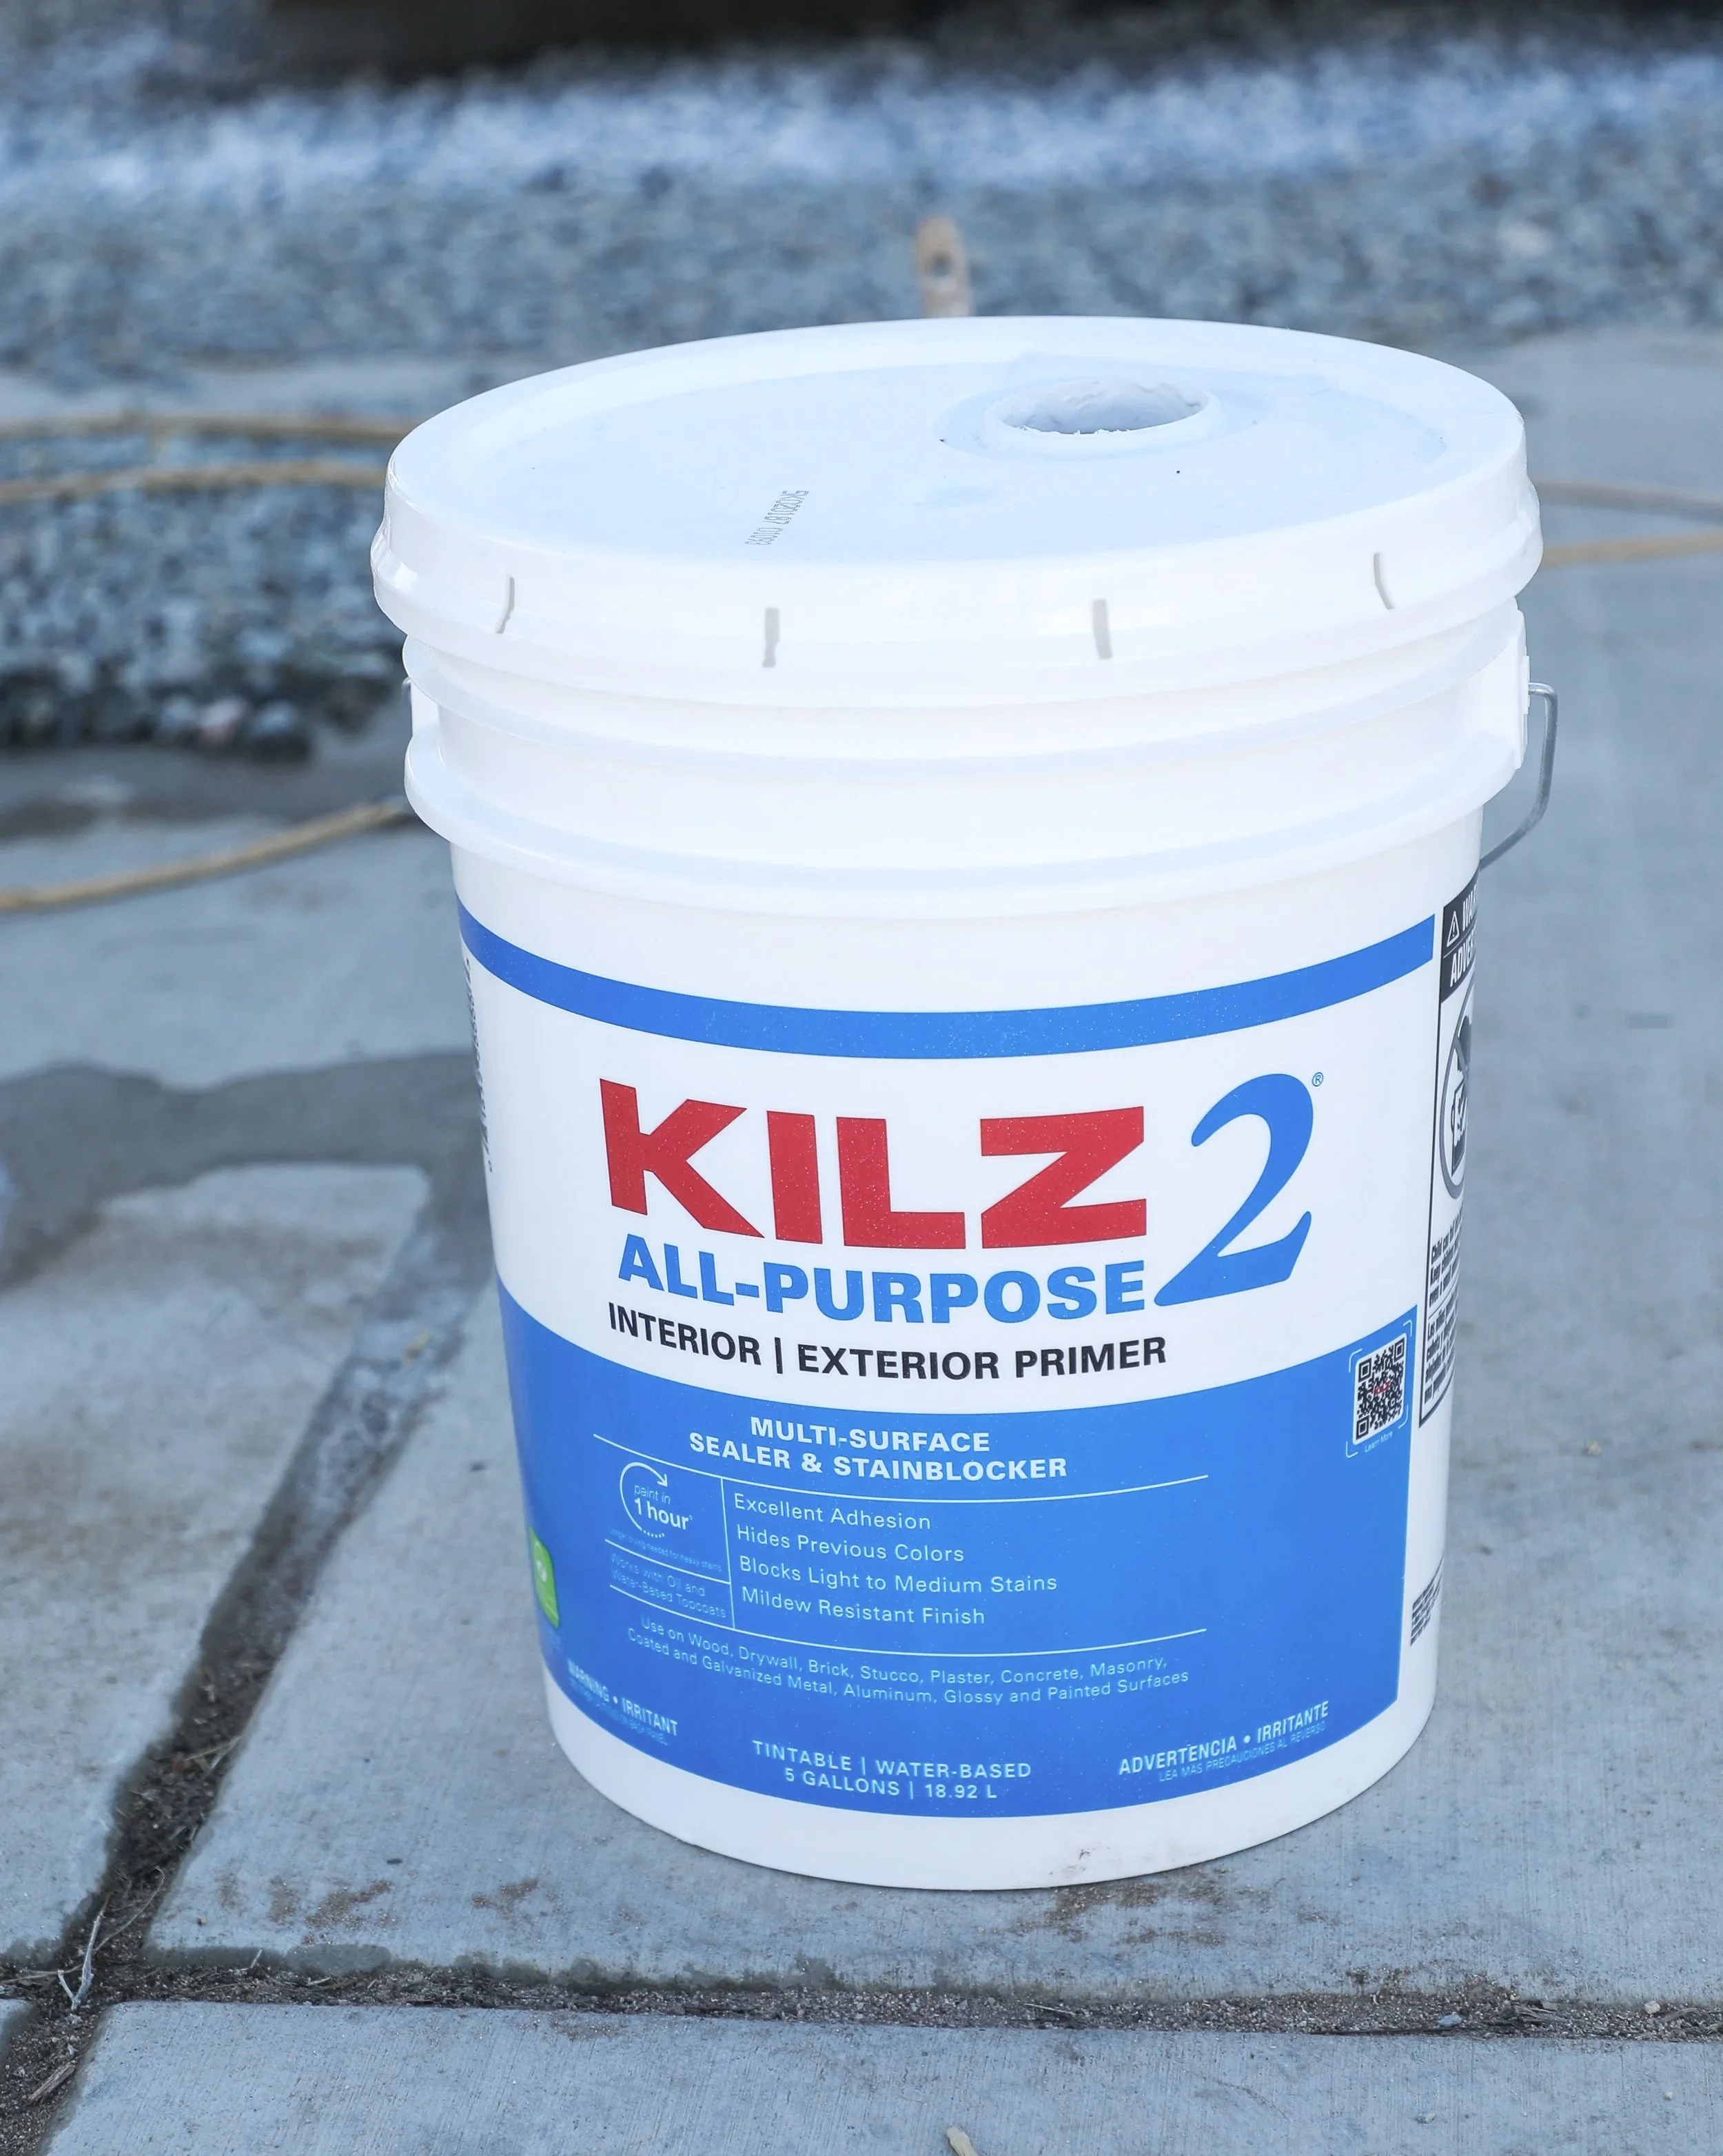
We headed to ye olde Home Depot for all the things. We are huge DIYers, so we had most of everything on hand, including a 5-gallon bucket of primer. KILZ brand is the best. We had one leftover from a previous house project, but needed more. We used a total of 10 gallons of primer.
Now, before you fall over from shock, we used a paint sprayer. They use 8000% more paint than a good old-fashioned roller or brush. They are paint hogs, but it made it go by so quickly.
The original paint had mostly peeled off, and the weird siding stuff was in dire need of paint. So after 3 coats of primer, we were ready to caulk, then paint it in pretty colors. It was a solid 4-day extravaganza, and the whole family pitched in, whether they wanted to or not. Ha!
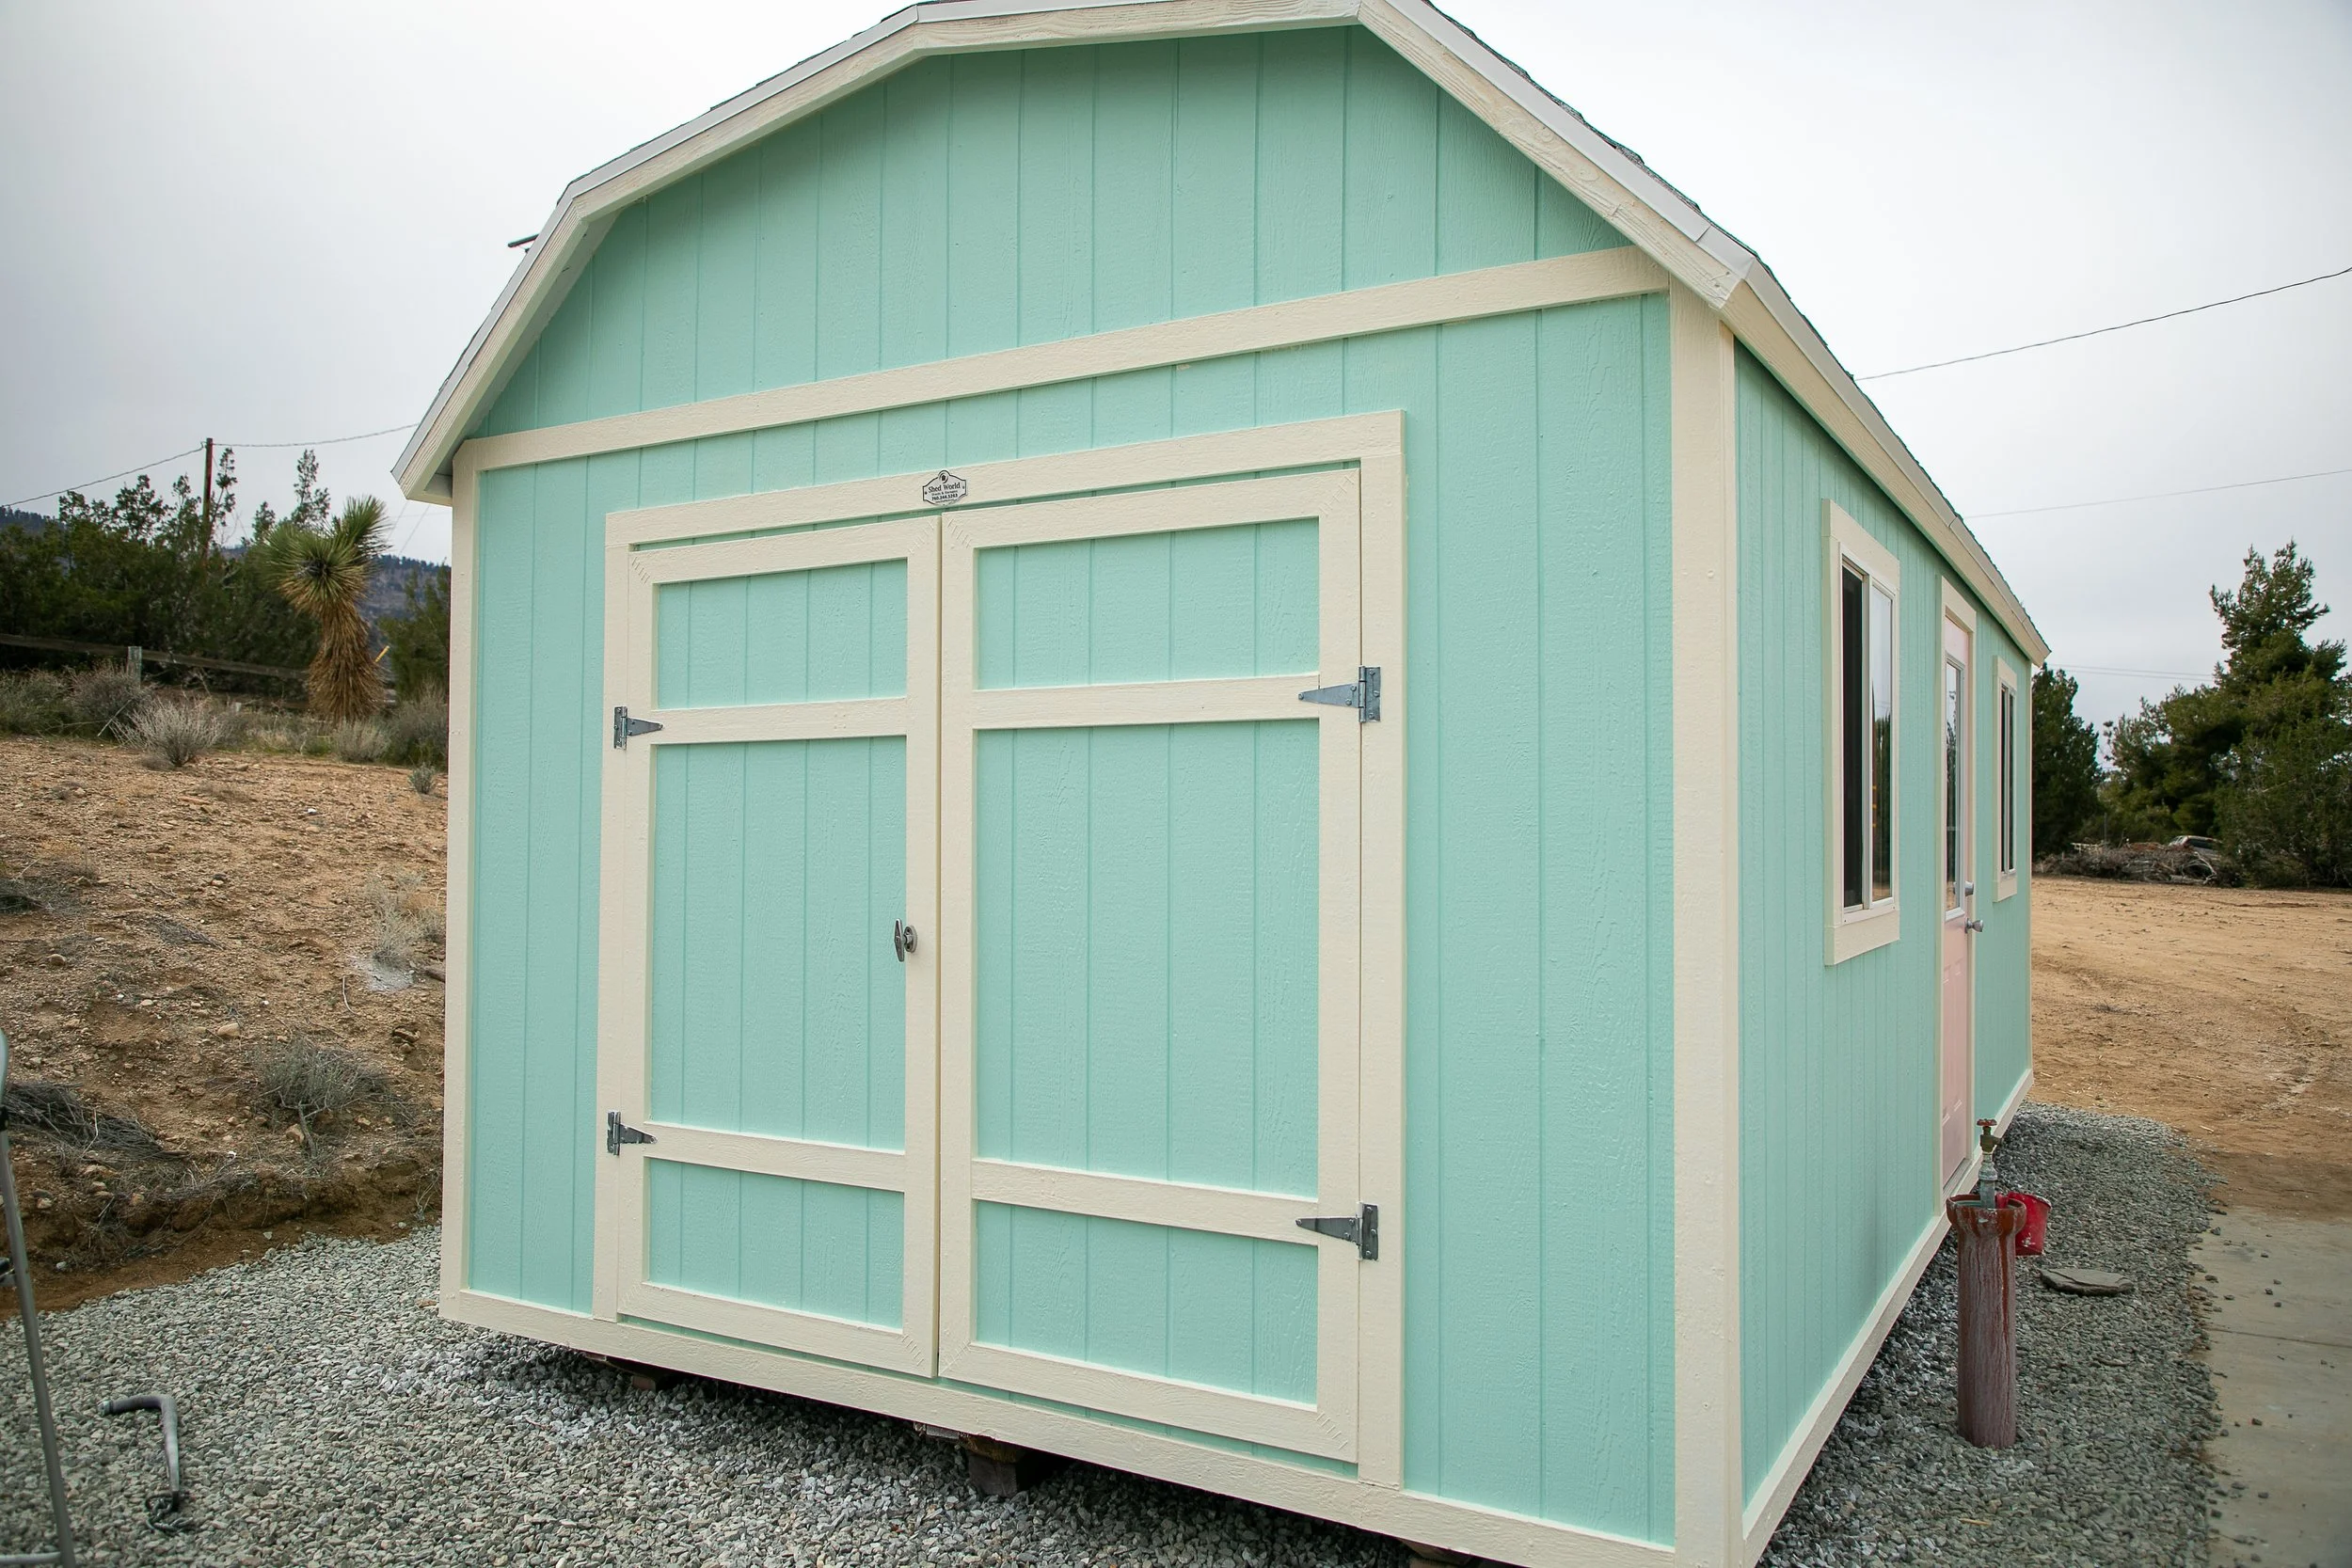
I have a secret Pinterest Board, and it’s full of cottagecore ideas. I wanted a pastel vibe to my studio. It should make me happy to look at and others happy to walk into.
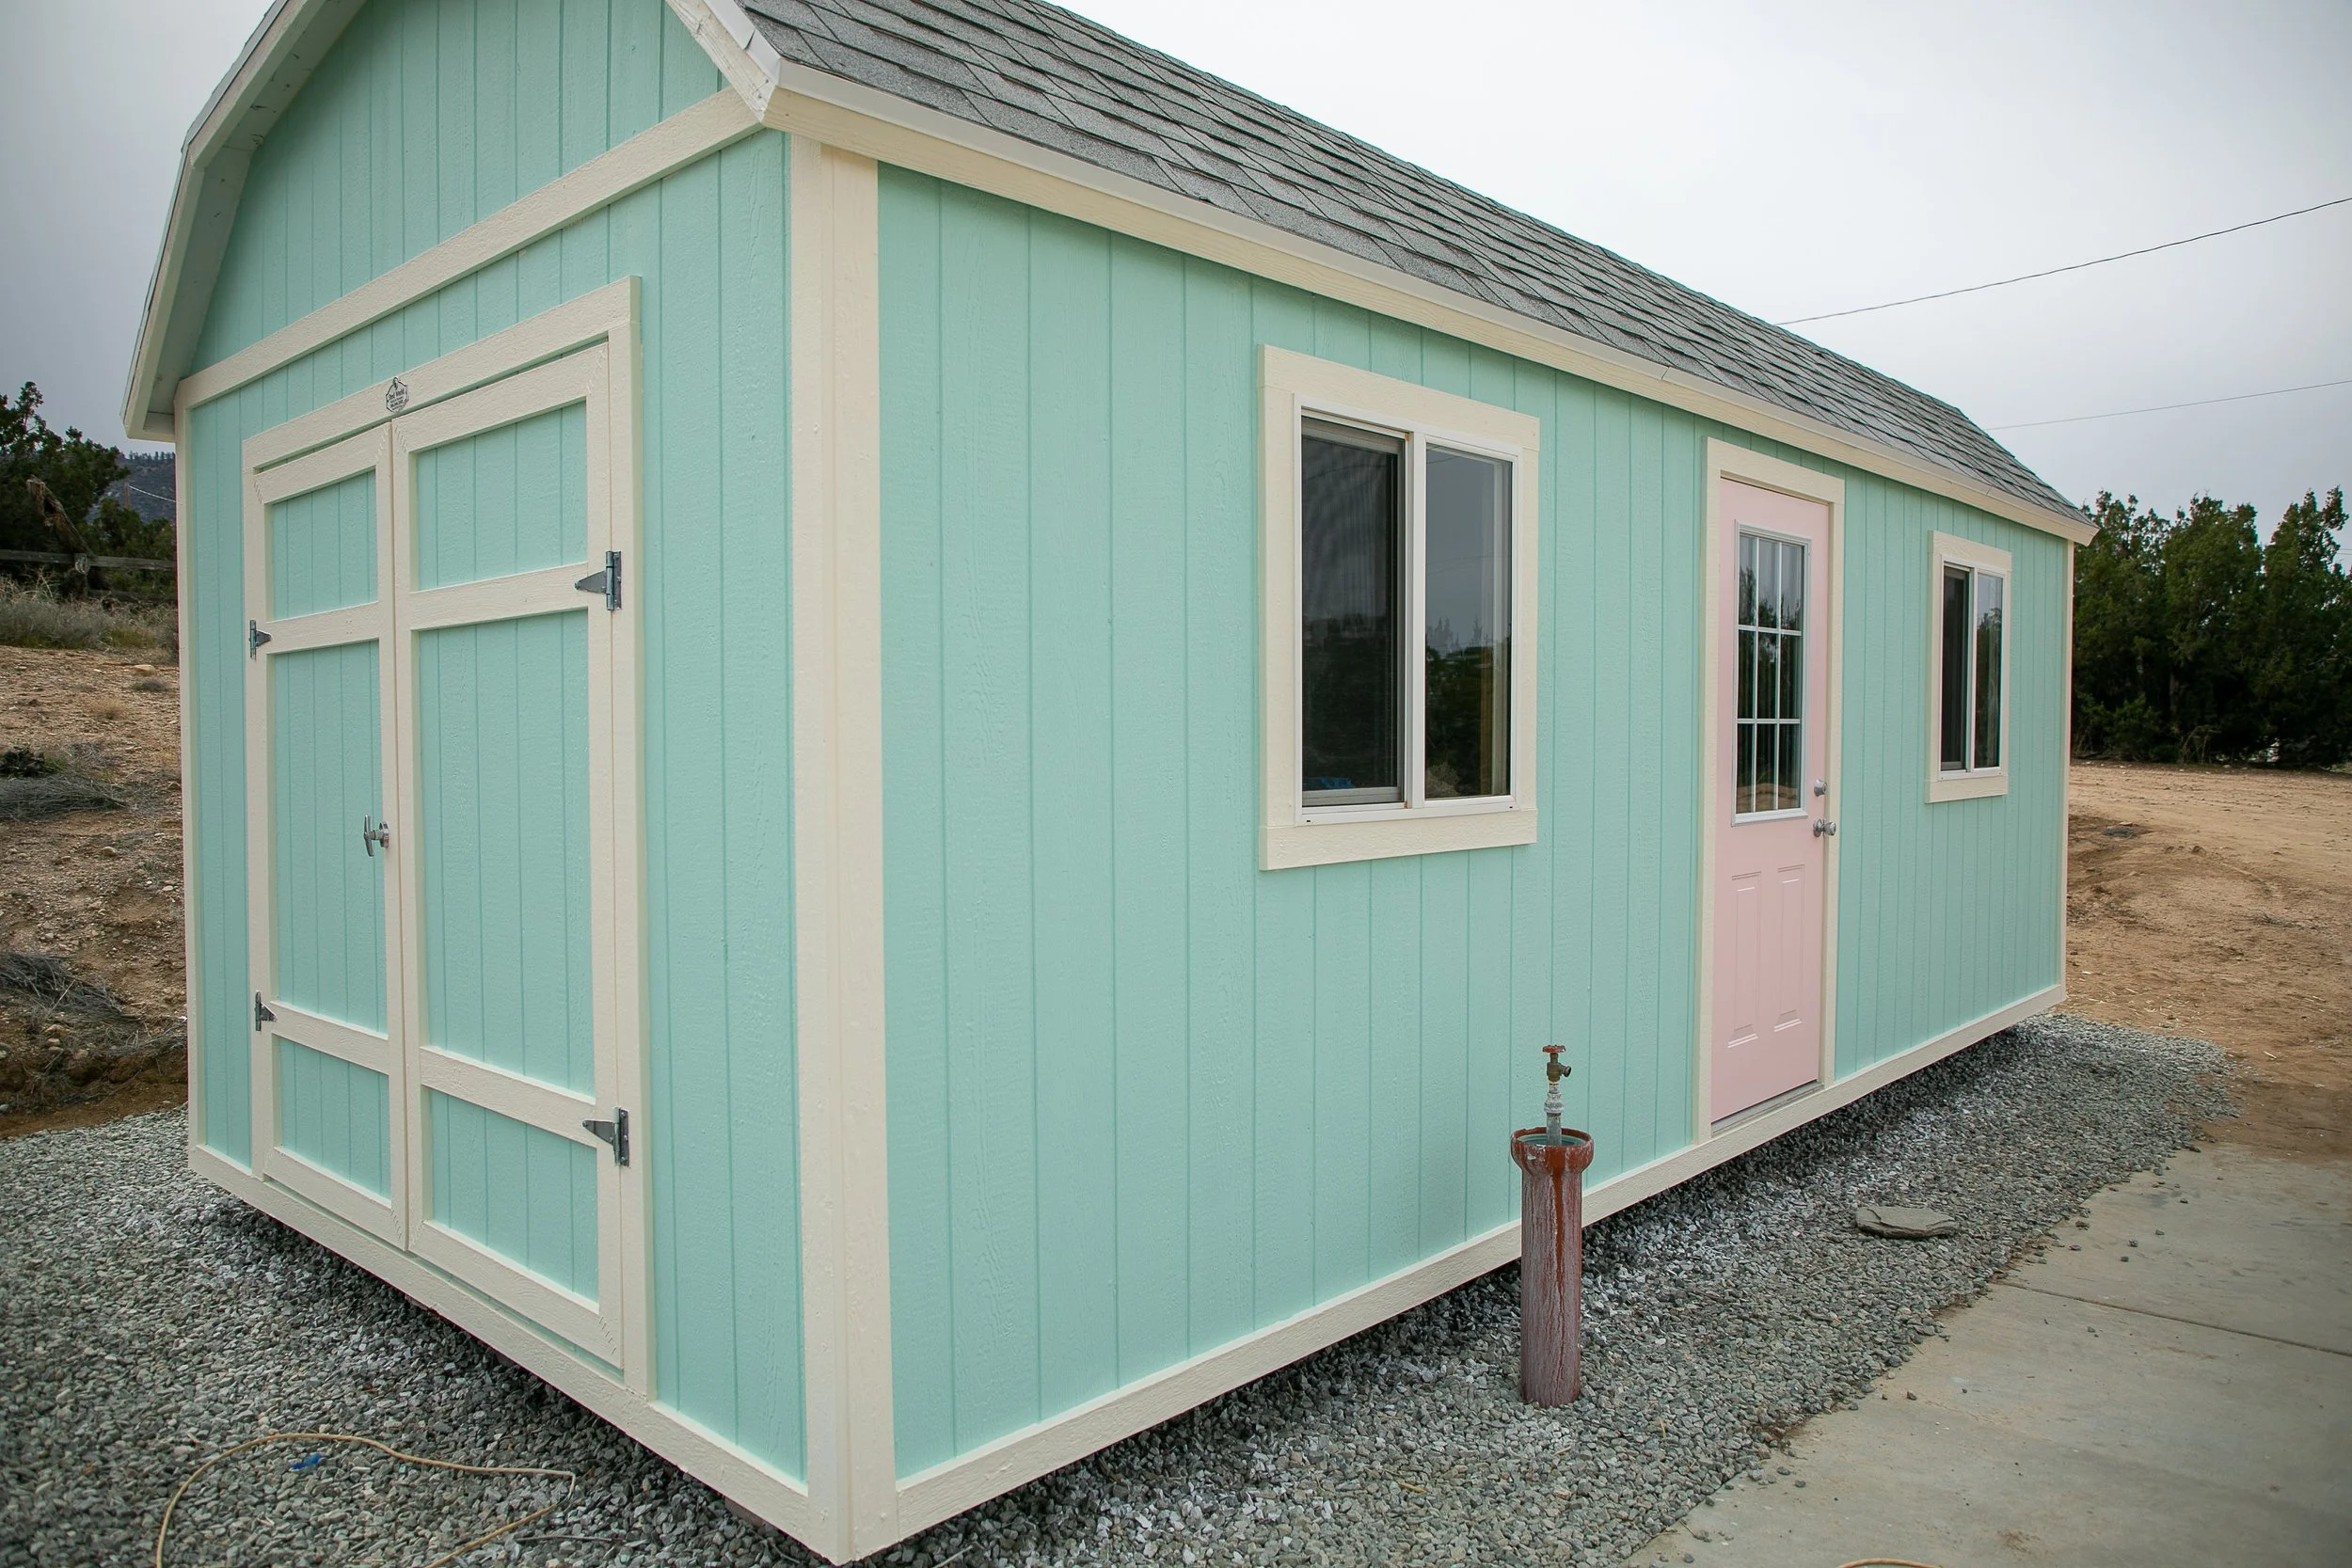
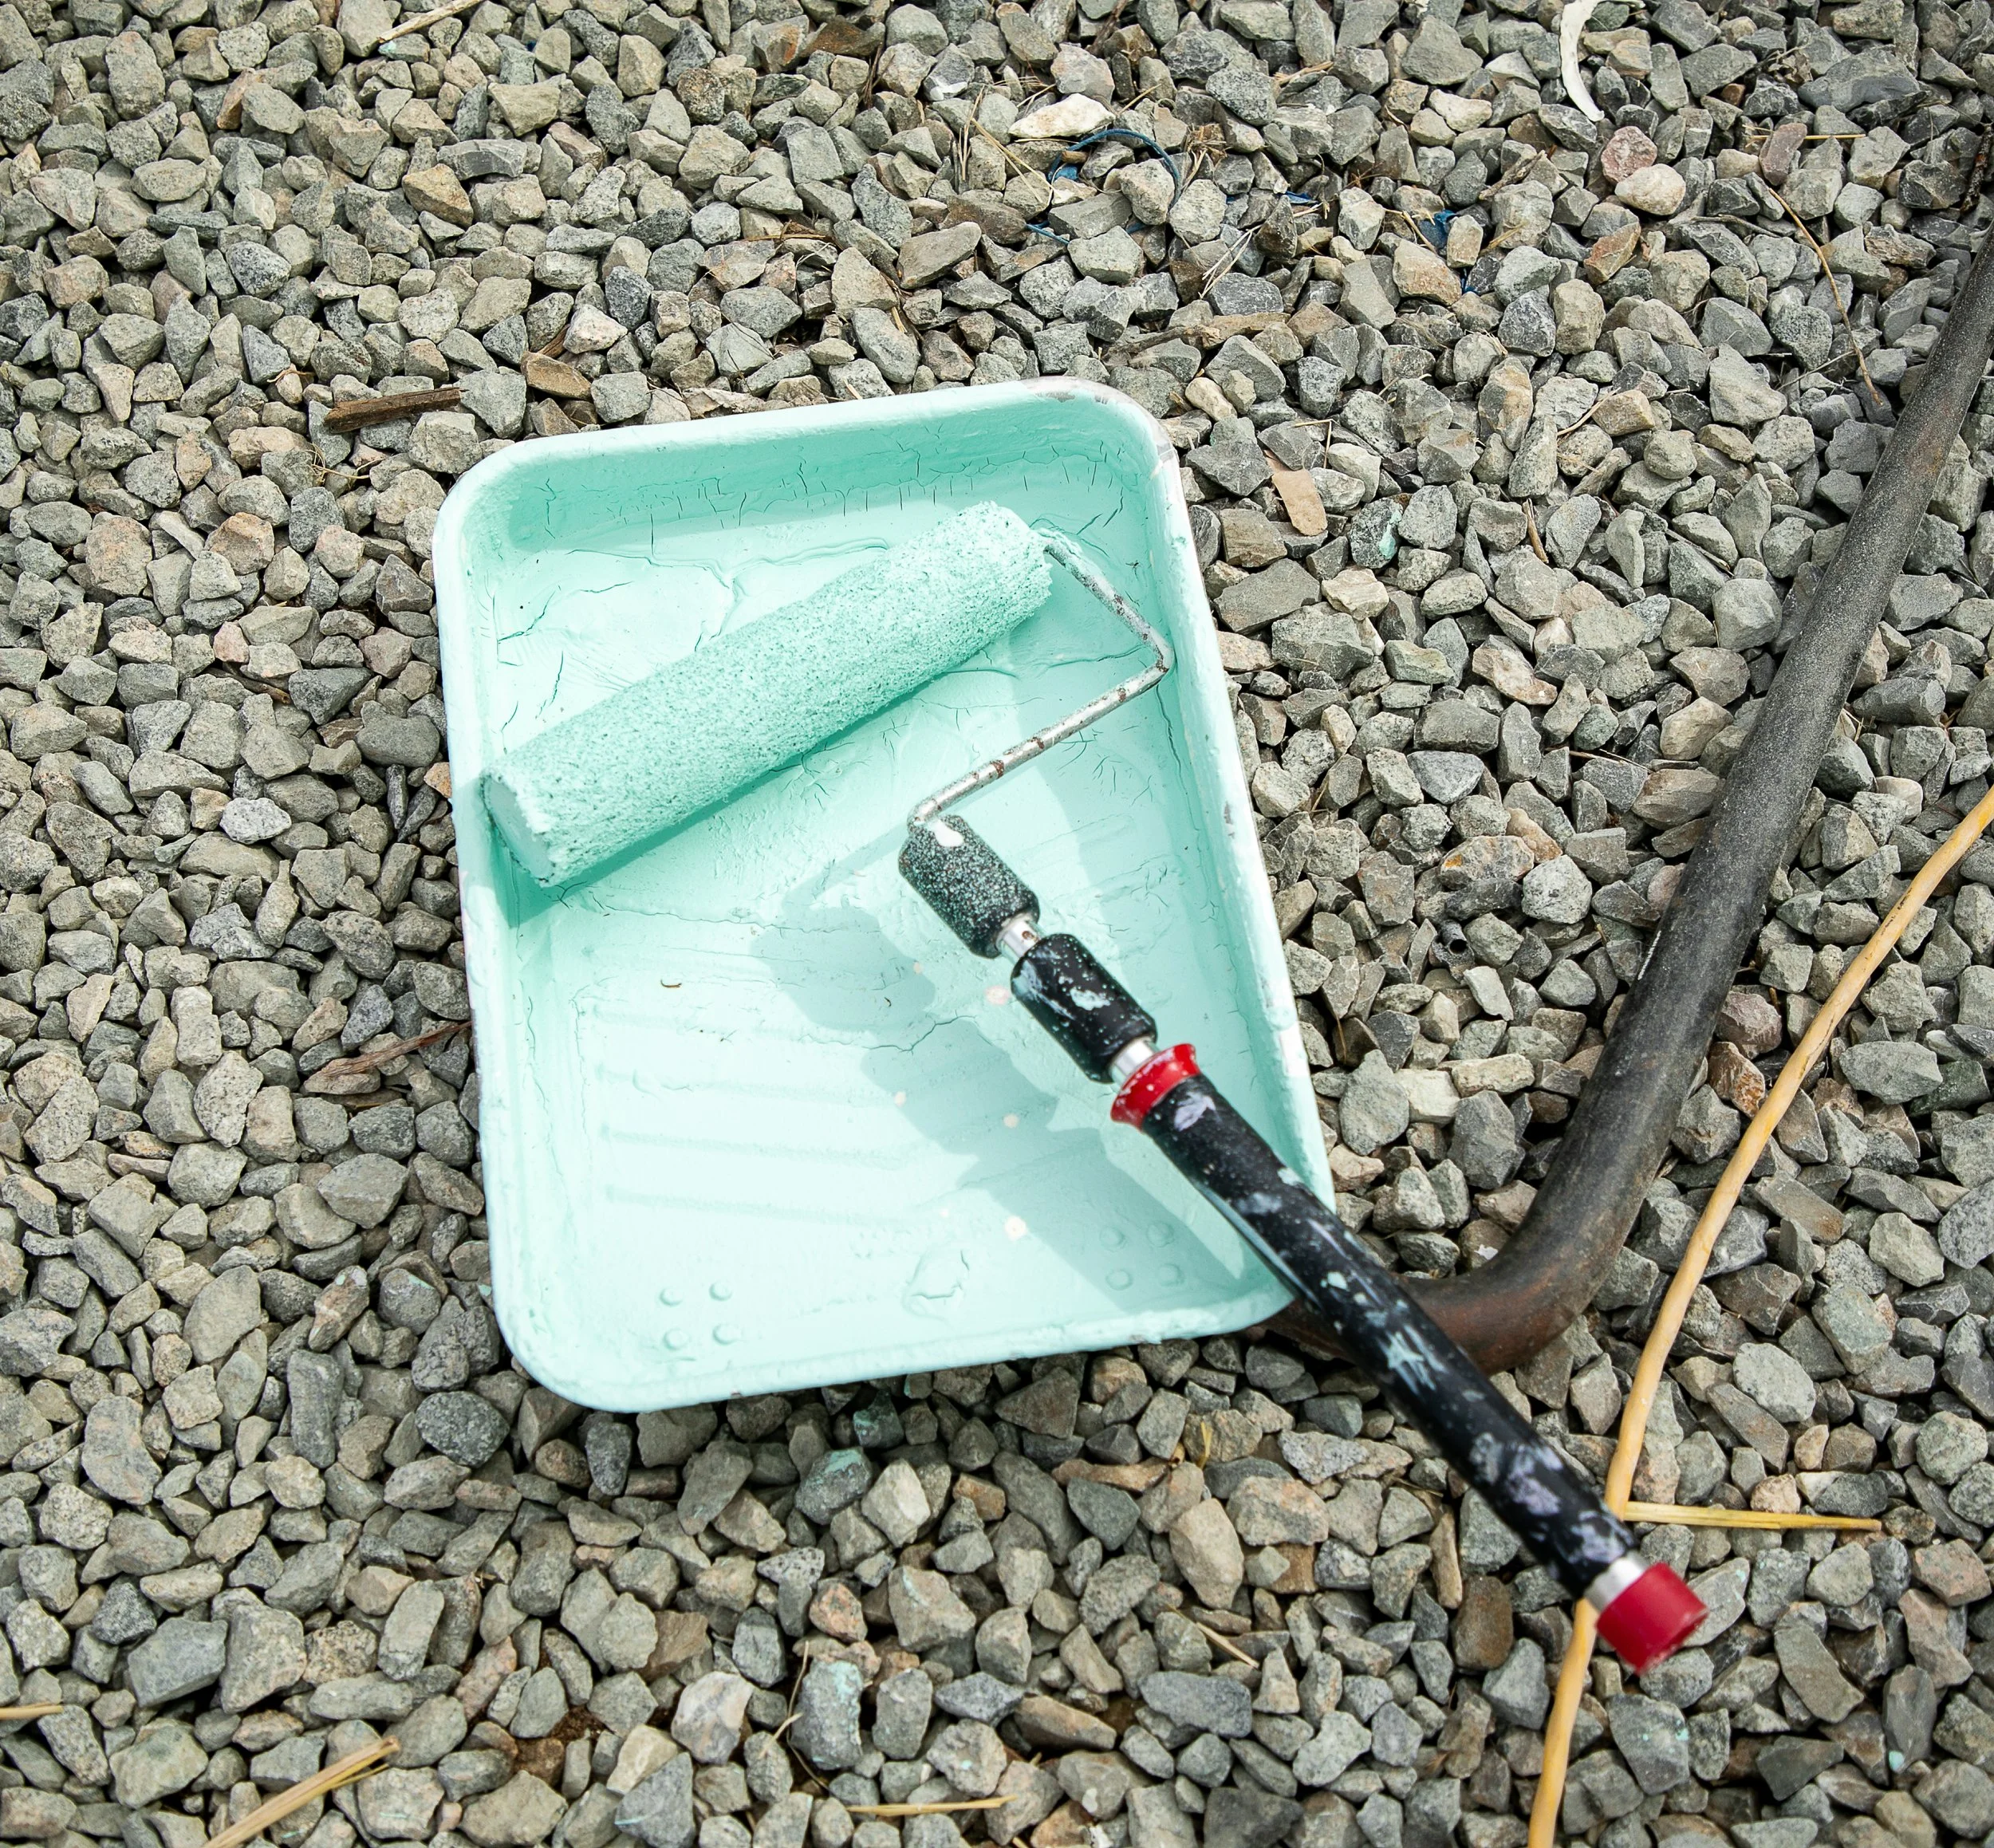
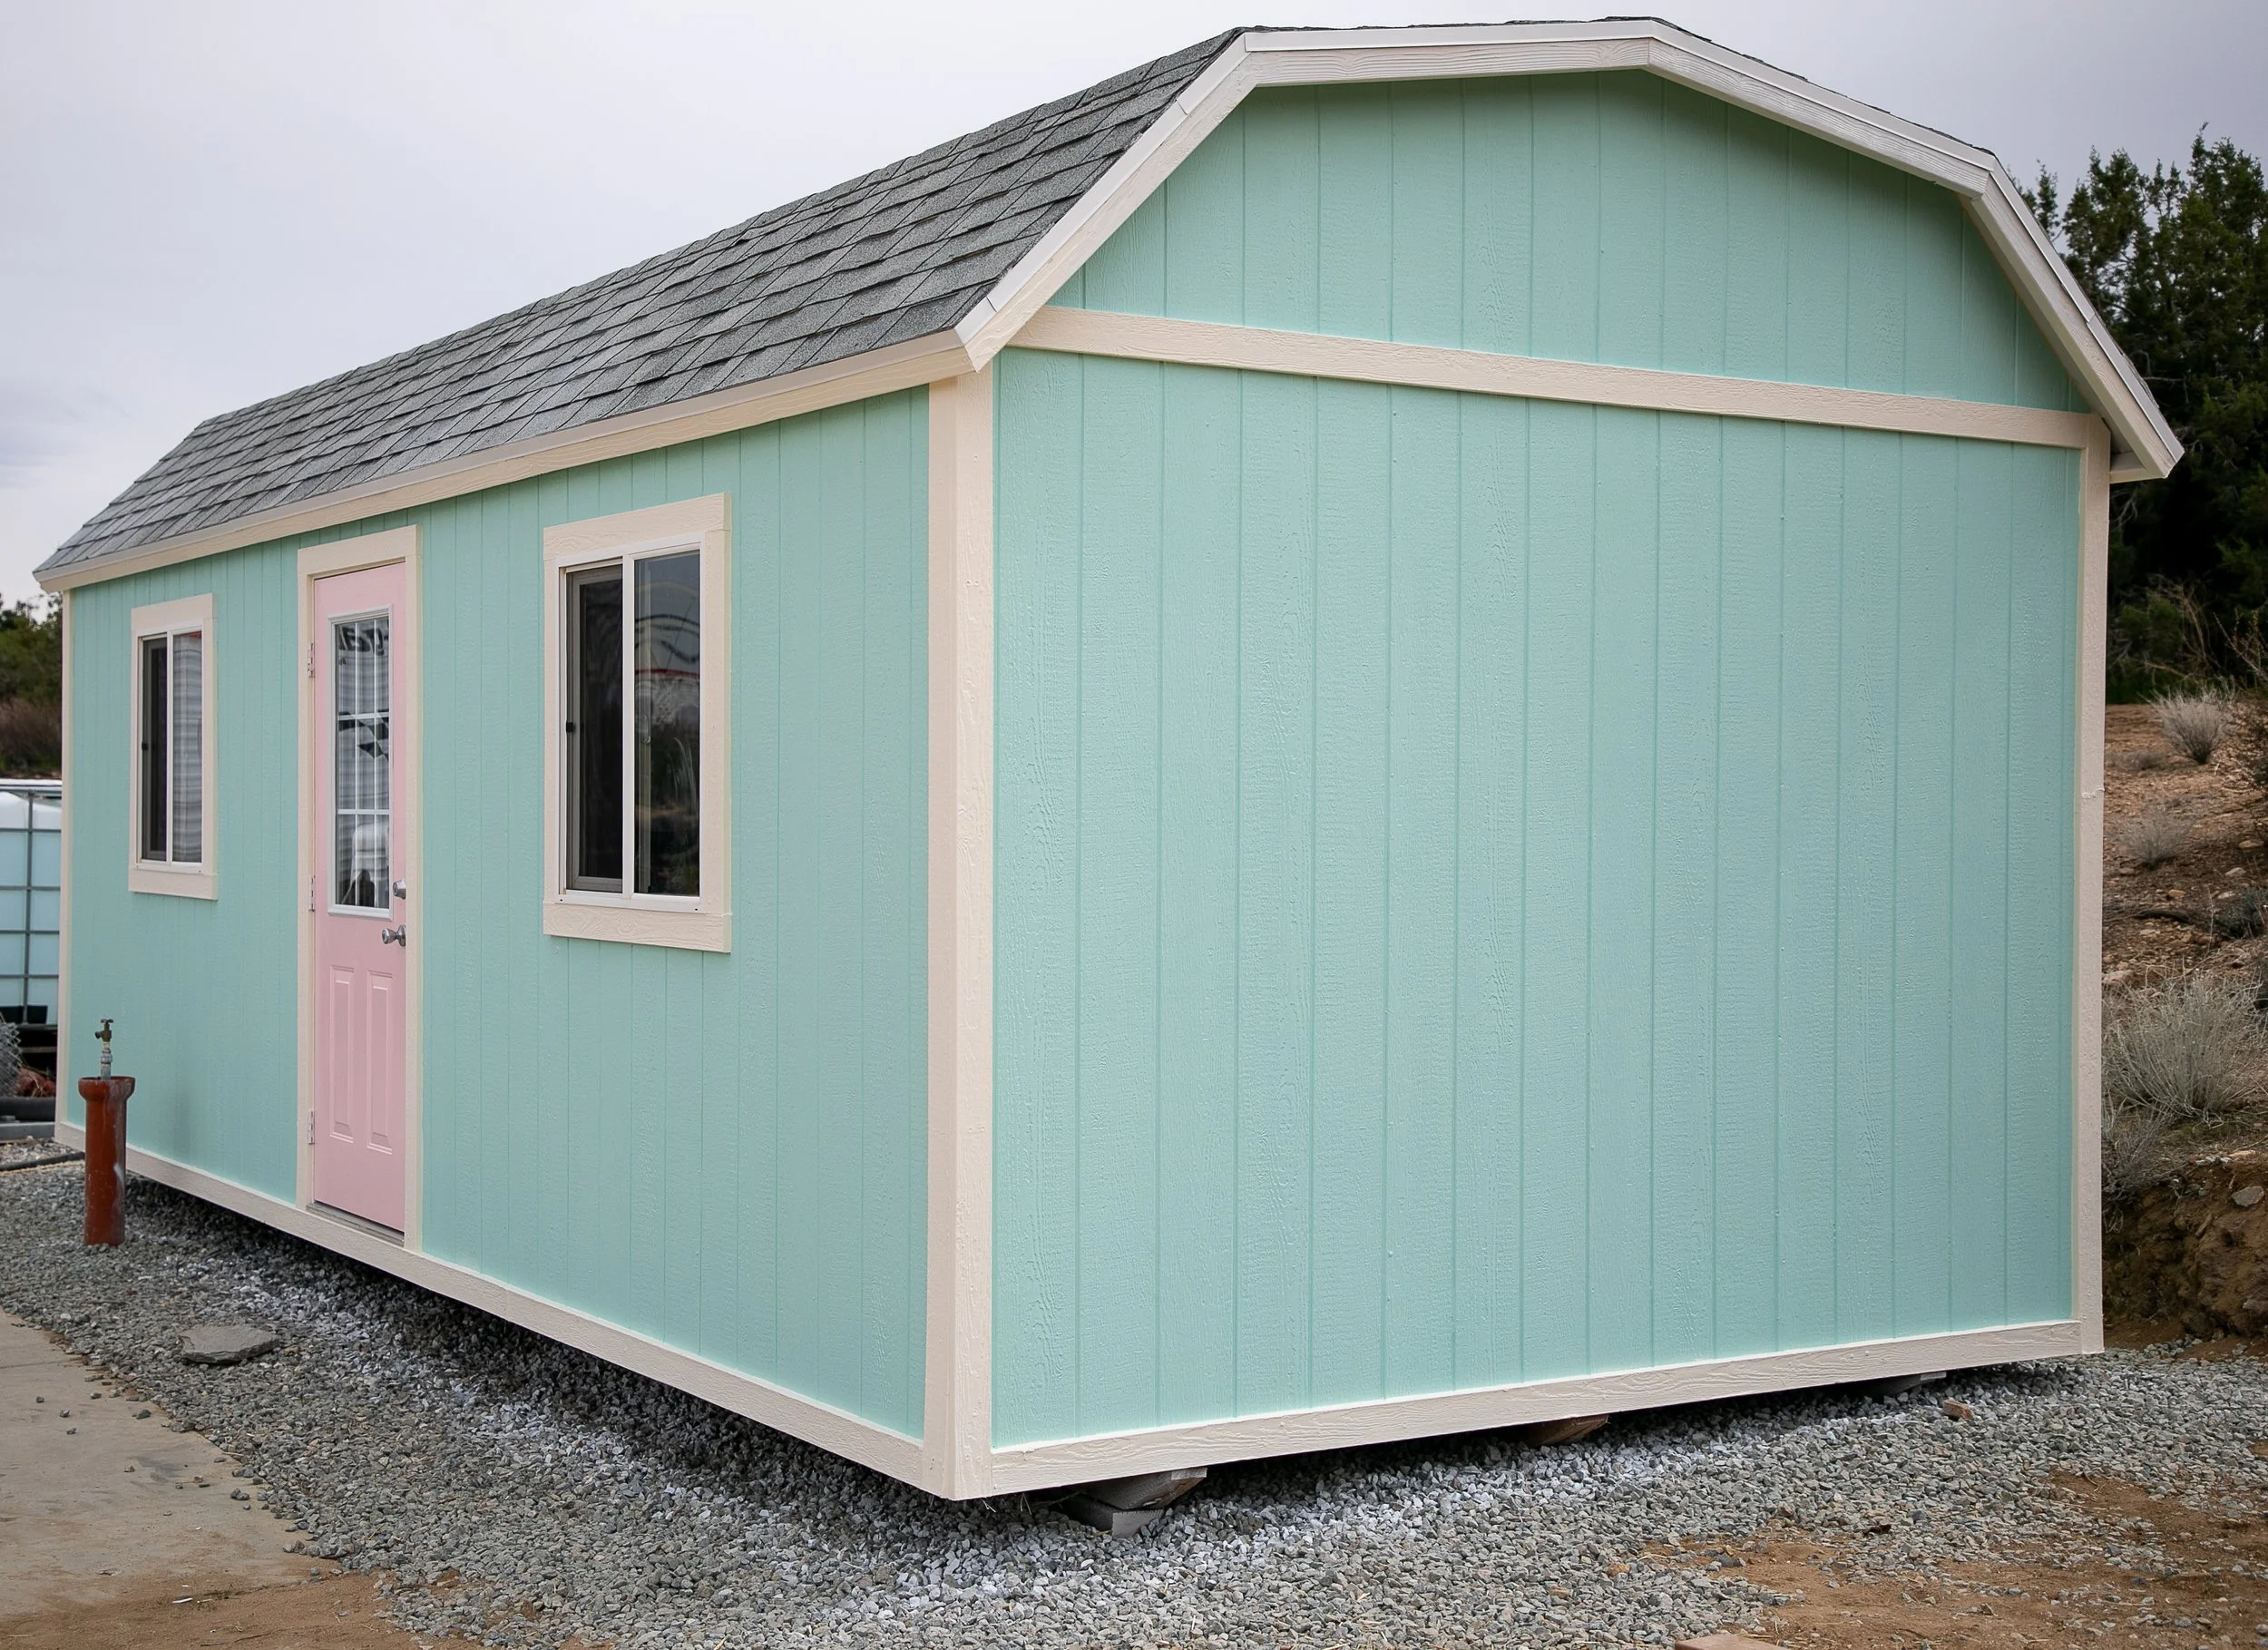
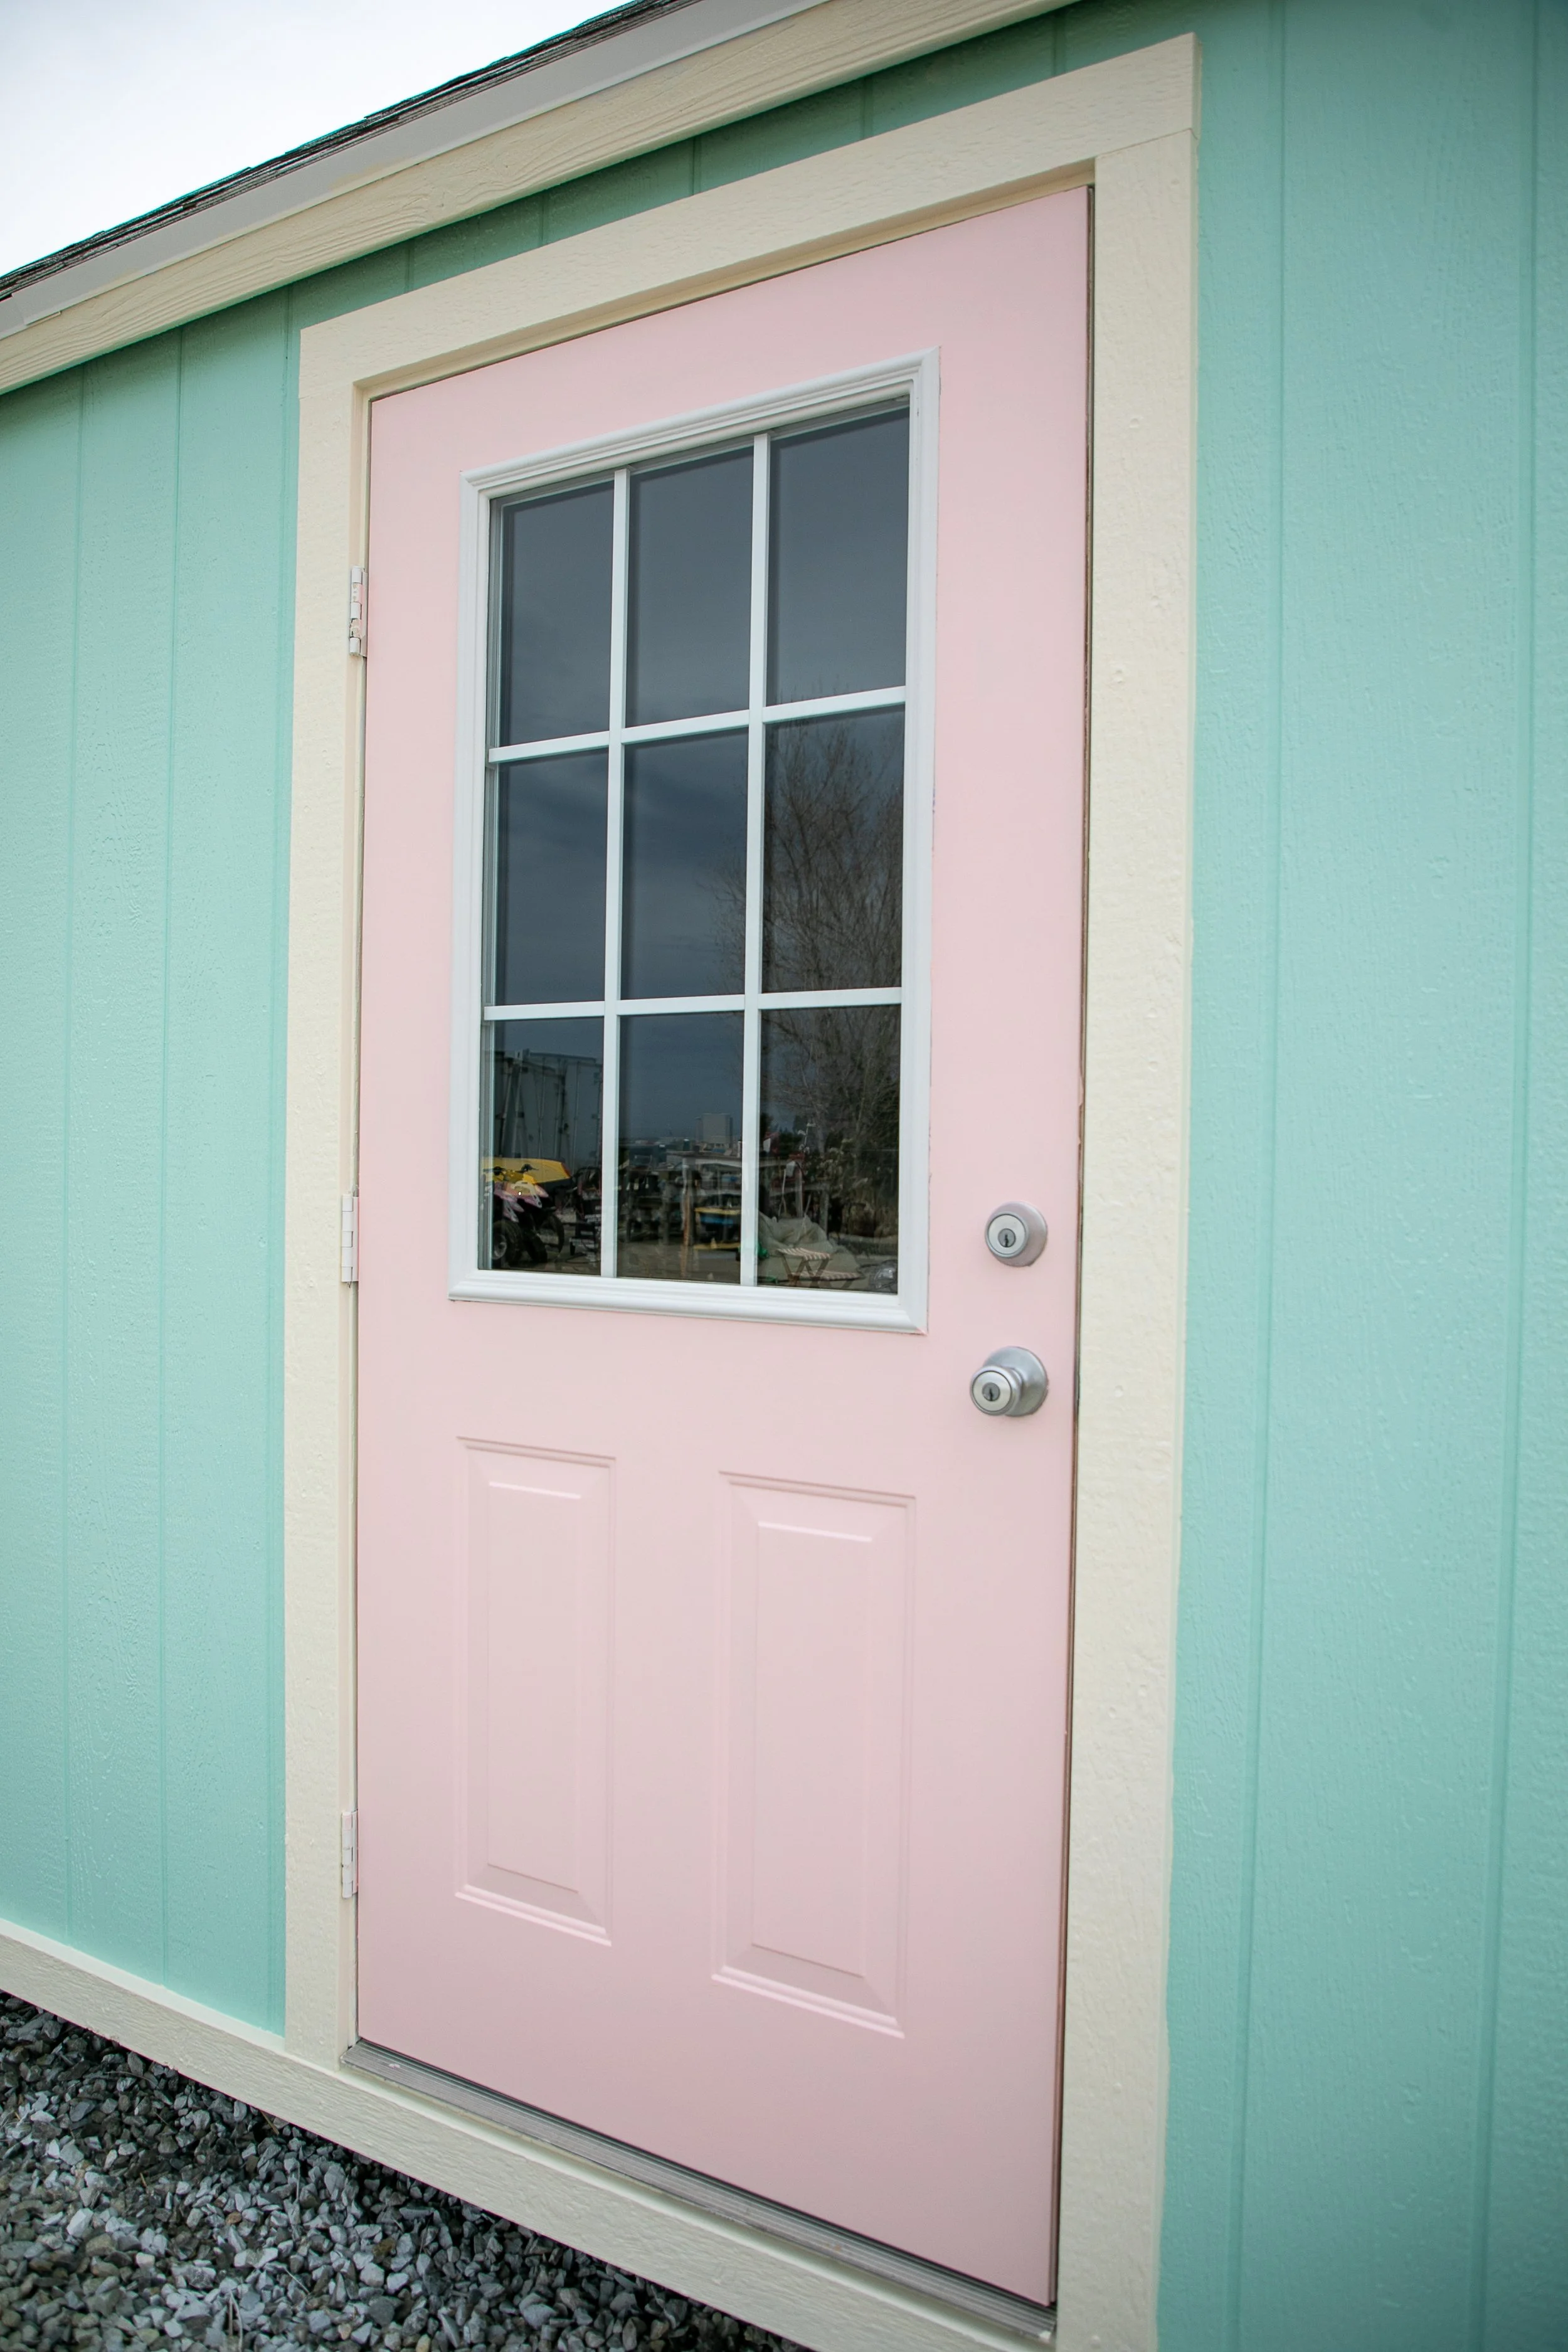
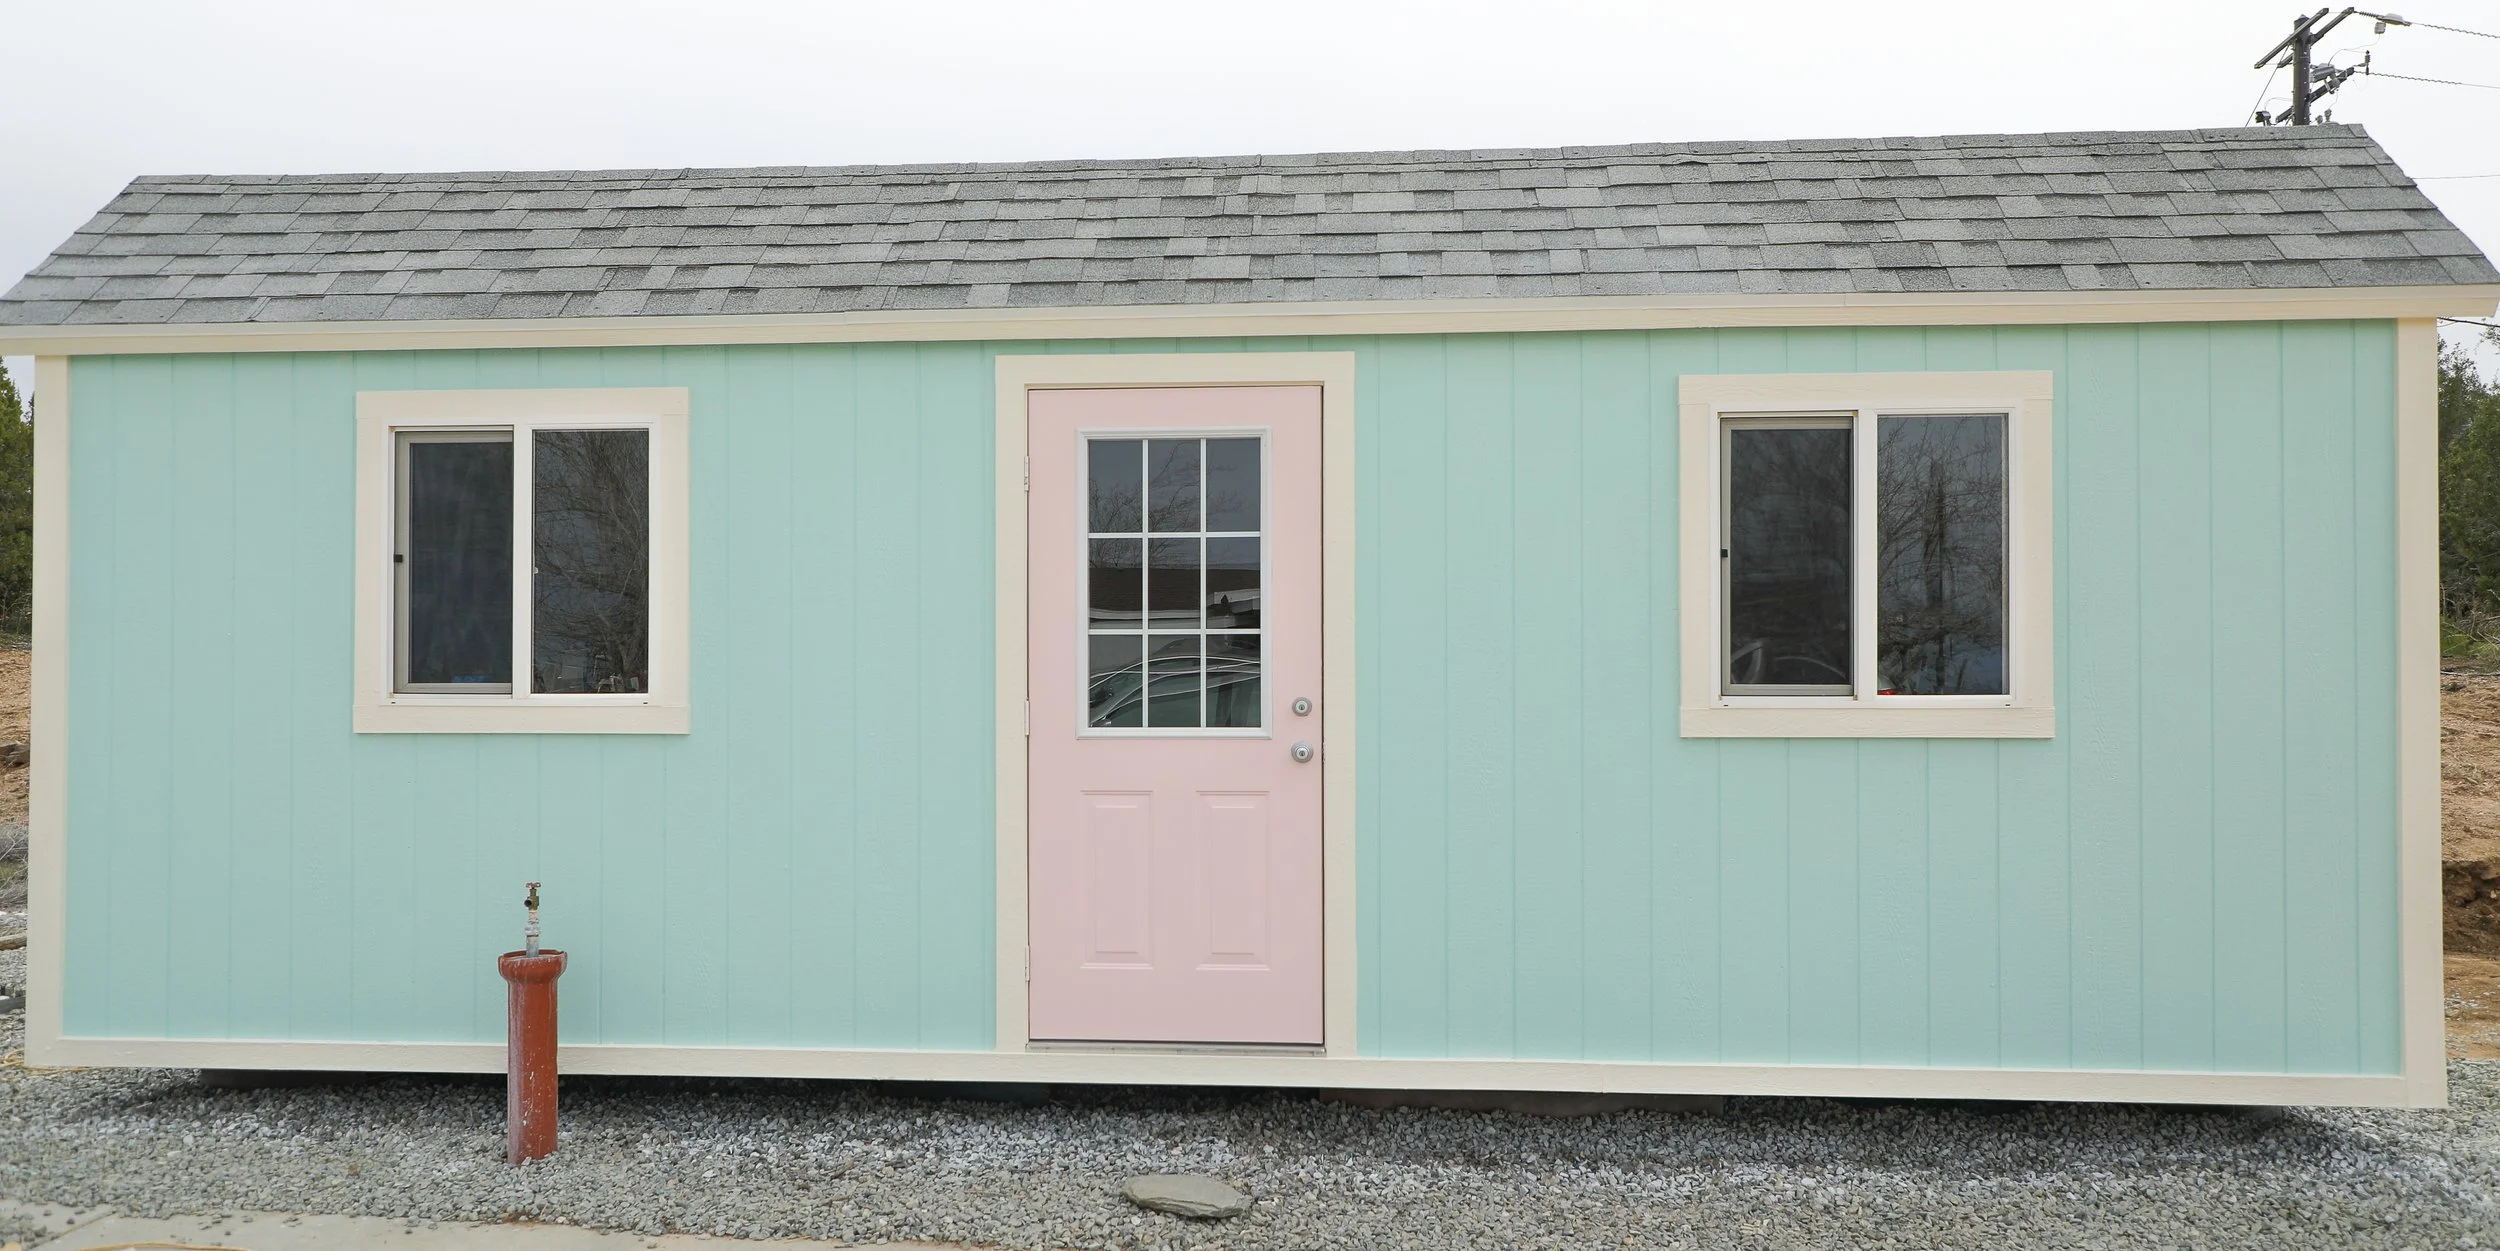
I chose seafoam green for the walls, pastel pink for the door, and cream trim. Thankfully, the perfect paint colors do exist.
I love Behr paint with primer, so that’s what we went with for the exterior. It had great coverage.
We used:
10 Gallons of KILZ primer (2-5 gallon buckets)
Paint sprayer from Harbor Freight
3 Gallons of Seafoam green, 1/2 gallon is leftover for touchups
1 qt of pink door and cabinet paint
1 Gallon of cream for the trim. This was overkill, and I probably could have gotten away with a quart.
9 tubes of caulk
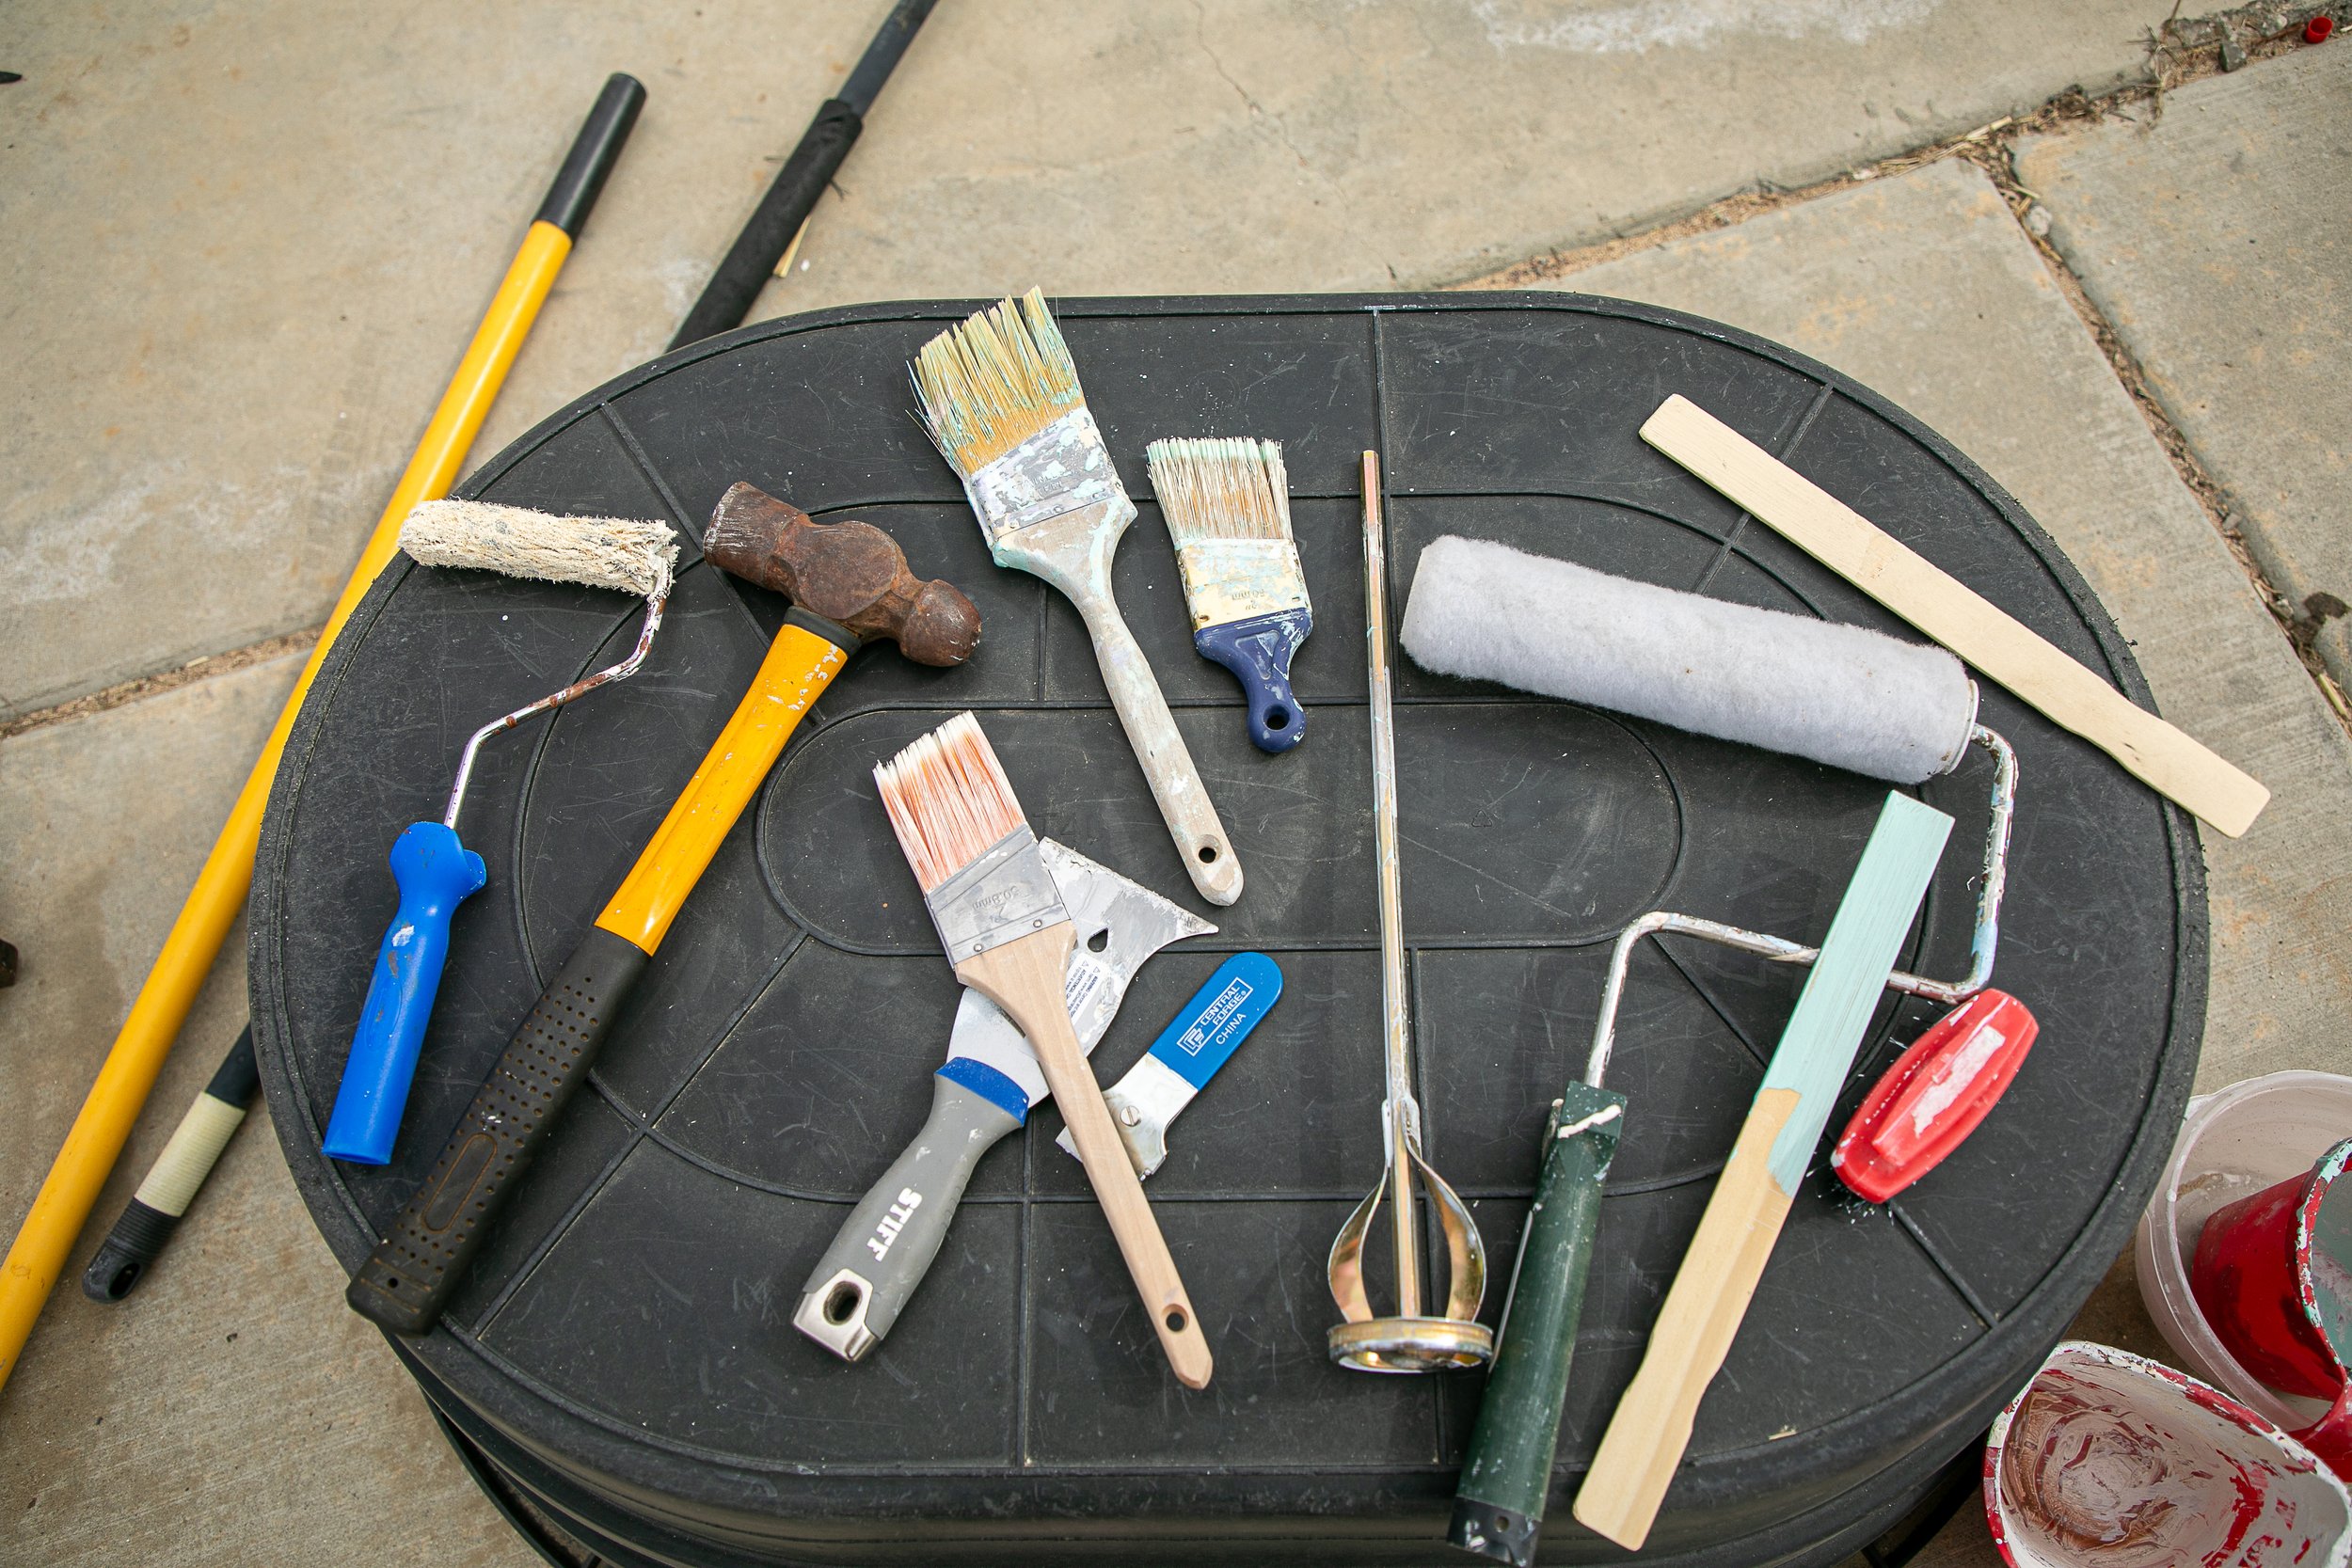
Rollers, brushes, tape, and paint trays/cups
When I say it was a lot of painting, I mean it. From morning until evening, when we couldn’t feel our fingers.
I like painting. I find it relaxing. But, painting this ginormous shed vs a bedroom was different.

It’s looking so much better.
3 coats of primer later…
We caulked everything. I didn’t want any rain or dust getting inside.
Prep Steps and Paint Tips
We used the pressure washer to get all the dirt and debris off the exterior.
Cleaned the windows and vacuumed the inside, although I wish we hadn’t wasted our time on this. Drywall dust and sawdust are a real thing (later to come).
When painting siding, it’s easier to use a brush for the seams, then roll the flat areas. If you do this as a team, it goes by quickly. Put a good playlist on and go to town.
Painted the seams first.
I don’t like taping, so my husband taped everything, thankfully. He was the paint sprayer, too. I personally love to “cut in” with the brush and paint the seams. My youngest rolled the flat areas with the green color paint.
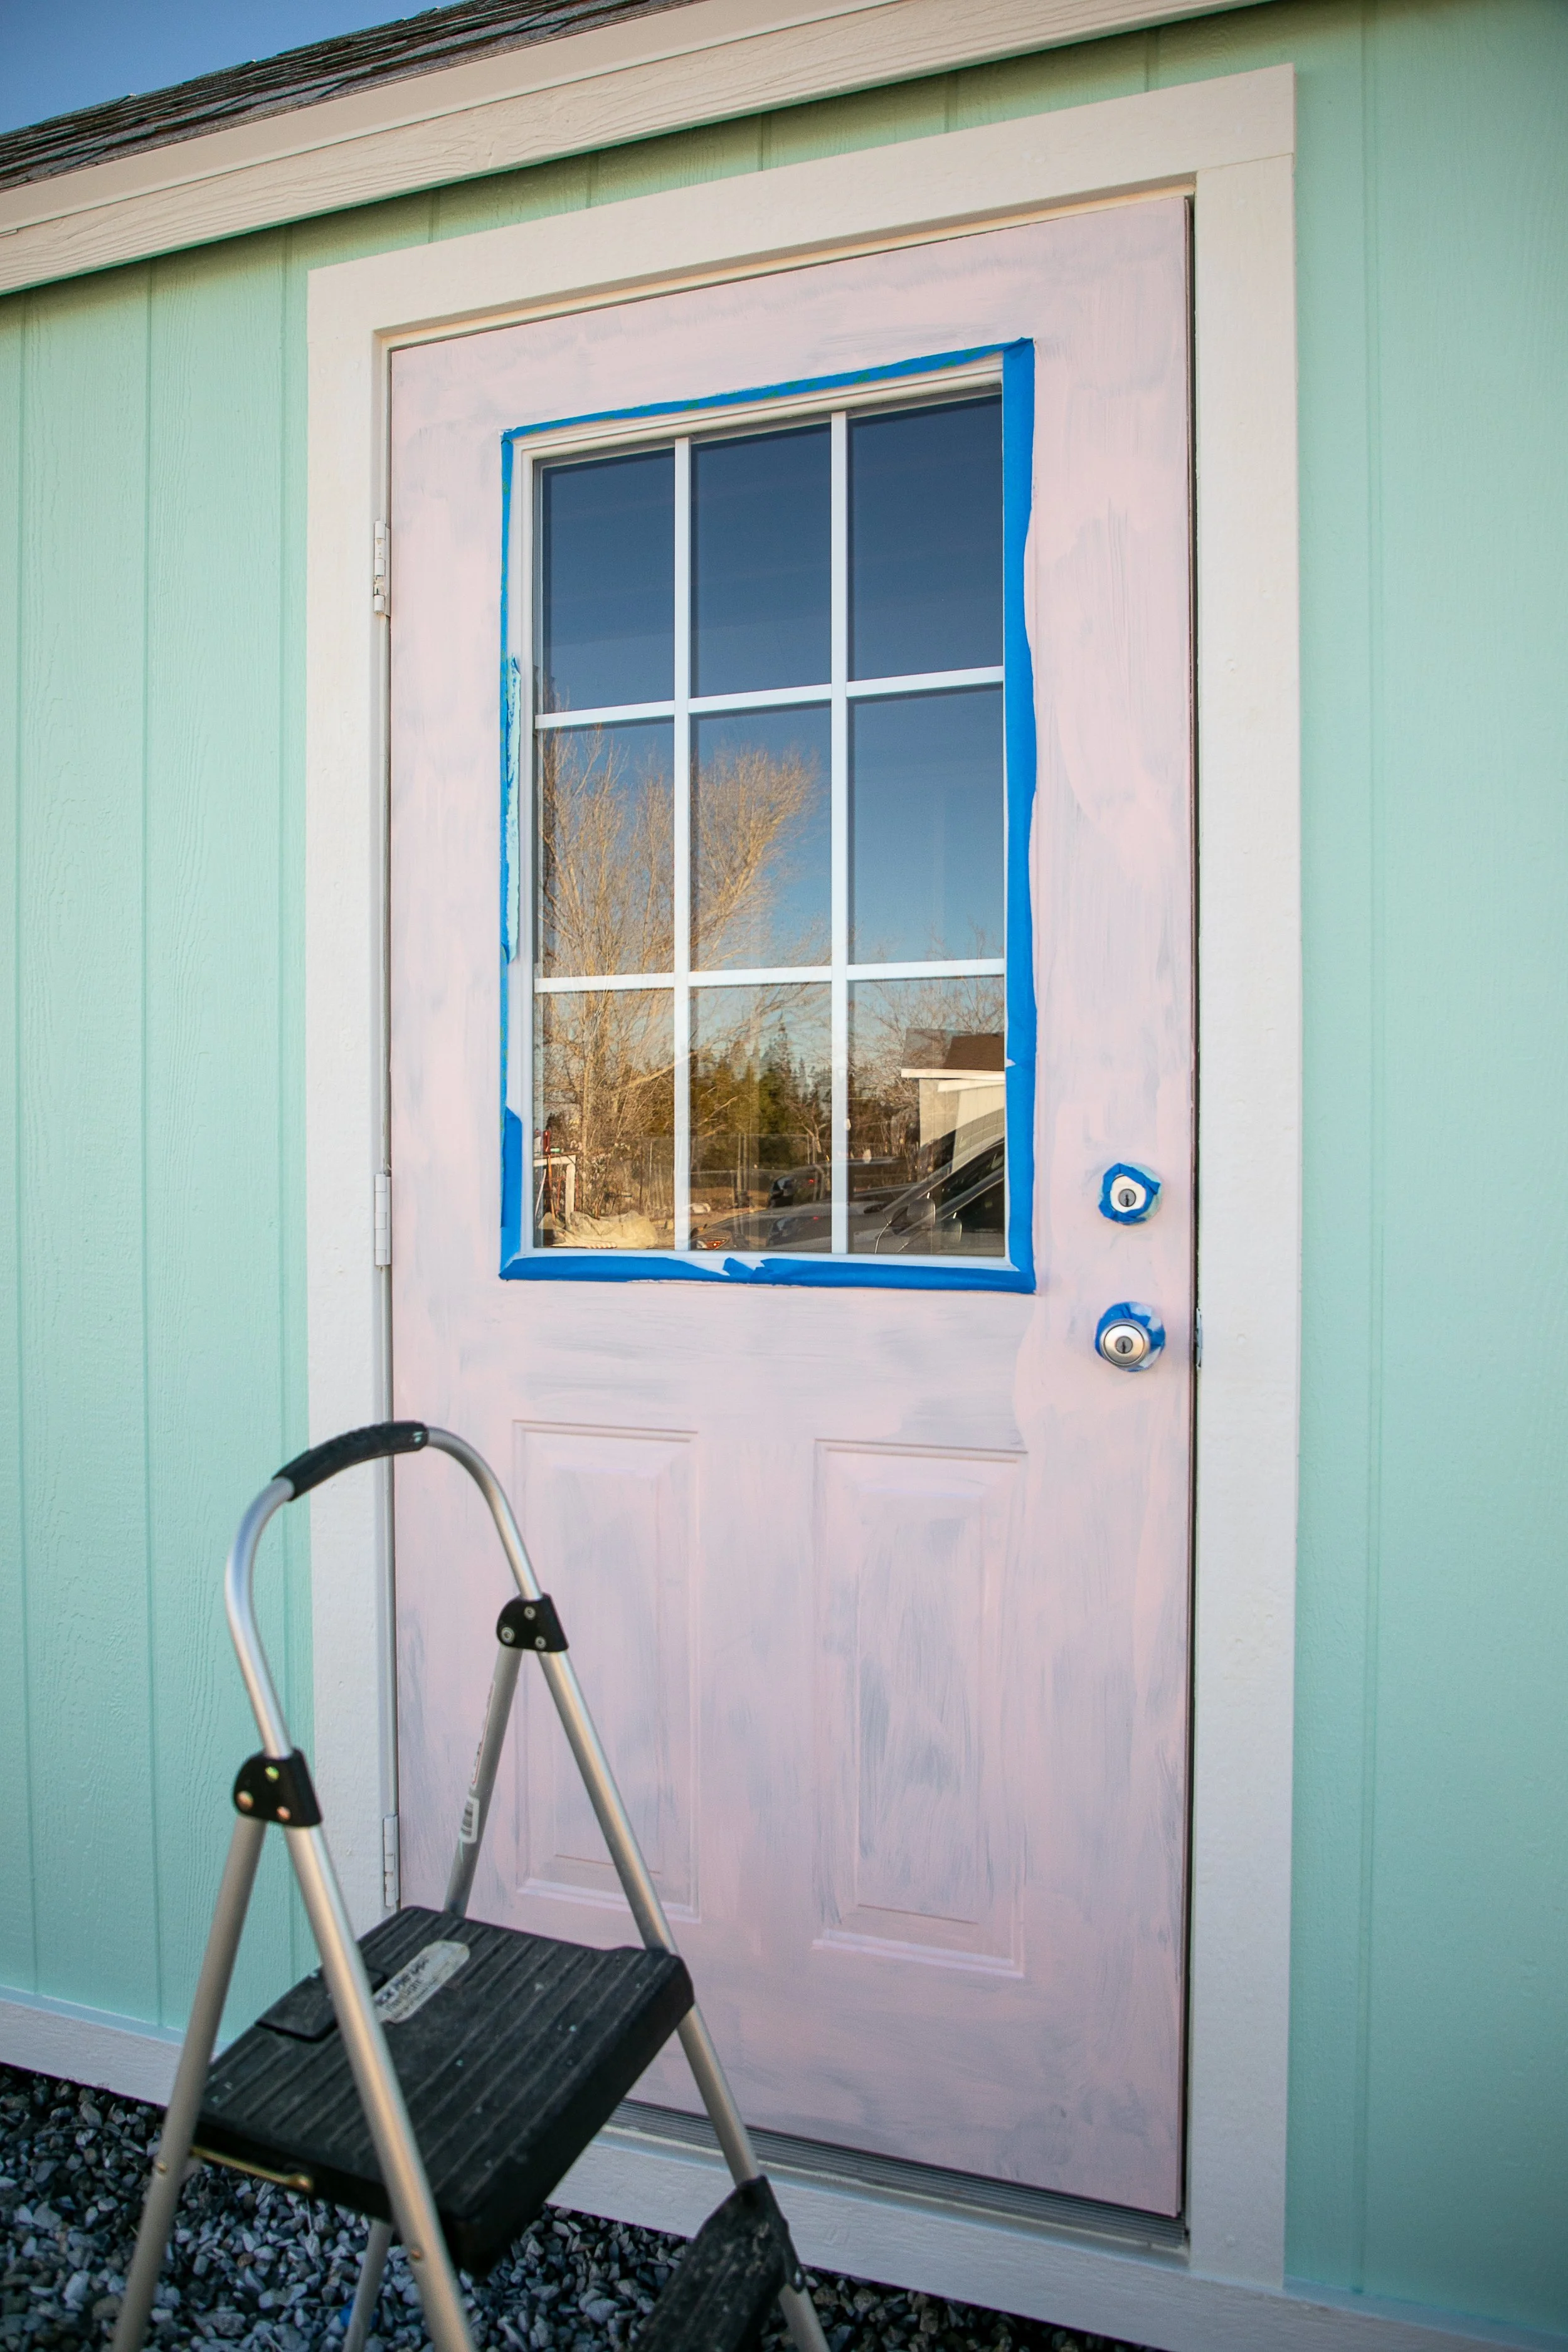
The door needs 84 more coats of pink. This is after 2 coats.
The pink door took sooo many coats. And, I’m still not sure how the paint quality will hold up. I’ll report back.
The trim was the last thing to get painted. I chose a warm white that matched beautifully with the other colors.
I like to stick tinfoil into the roller tray so that at the end of the day, I can remove it and toss it. No wasted water trying to clean it.
Brushes get washed and laid flat to dry, or hung. The paint sprayer got cleaned up and put away.
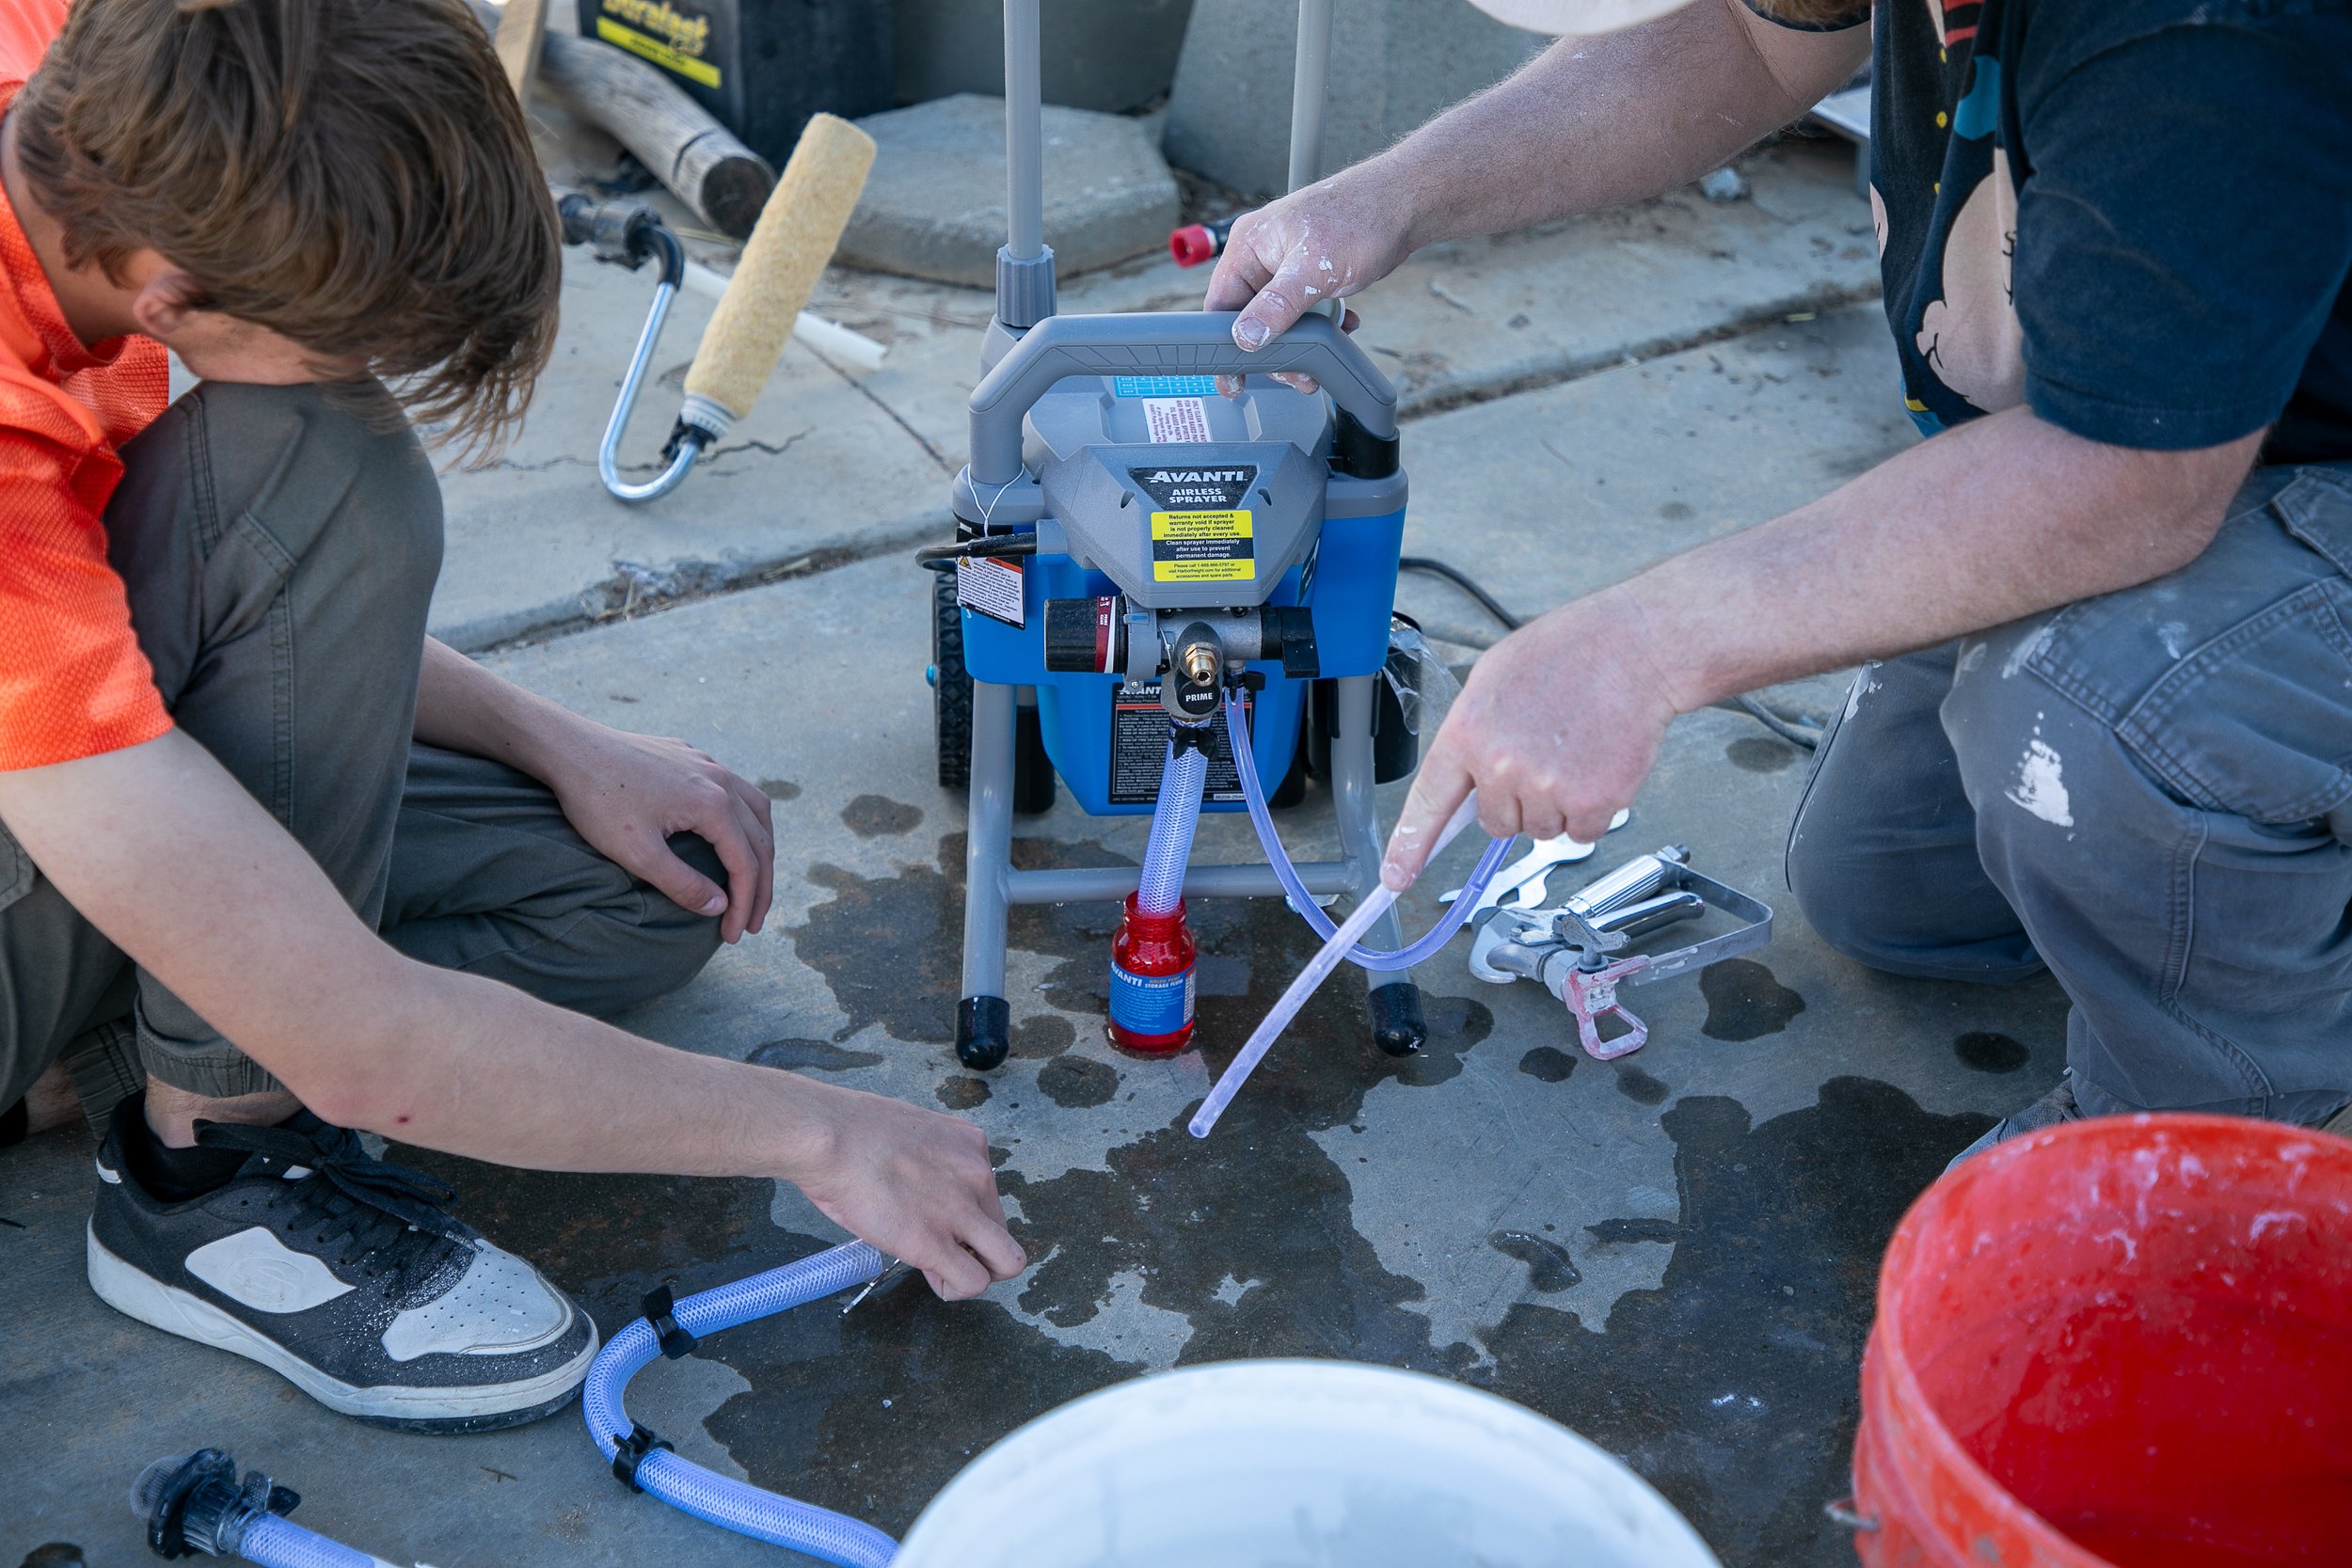
Washing out the paint sprayer is the worst.
Ta-da! Cottage style vibes.
The exterior is finished for now.
I want to add lavender and rosemary planter pots. They’ll go in front on the sides of the door. I also want to add something to the side of the studio to add color when you drive up. But, I’ll wait on those until late spring. We get snow through May where I live.
It needs front steps as well. Paving stones or stacked blocks will be sturdy and look nice.
The hose bib is here to stay, but I want to cover it with something cute and whimsical.

Stock image
My dream for this photo studio is for it to be a magical place where I want to hang out.
Editing photos, building displays and props, and printing beautiful portraits. I have visions of inviting friends over and just making it a space for creativity and whimsy.
It’s not huge, so I won’t be hostessing any elaborate parties, but I will invite small groups of friends to use it as a creative space.

Come Back for Part 2: Wiring and Drywall
Thanks for reading along. I’m excited to see this studio space unfold and turn into my dreamy print parlour. I hope this excites you and gives you ideas to create your own space as well.
Cheers,
Annette